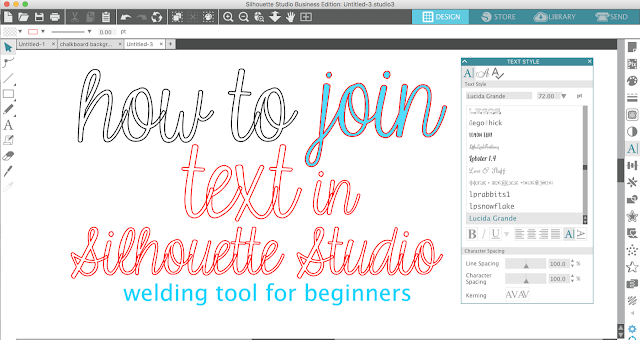
Connecting, or welding, text in Silhouette Studio is important, especially with script fonts, so the letters are cut as a single word instead of overlapping letters that cut into each other.
When you connect text in Silhouette Studio it's called welding. Welding connects the overlapping areas of letters so they join together.
To weld text, first type out the text in a text box. The text box is on the left sidebar. Click it and then click the cursor in the Silhouette Studio Design area to start a text box.
Type something. When you're done typing, click out of the box into the work area. The default text style does not need to be welded. Usually it's only script fonts that need to be welded.
To change the font style to a script font, click the text to get a selection box around it. (You'll need to click right on the red cut line to select it.)
Now open the Text Style Tool from the right sidebar. With the text still selected in the work area, from the drop down box pick a script font. Remember, all fonts downloaded and installed on your computer will show up in your Silhouette Studio font list.
You can now see that the text has overlapping areas where the letters connect. If you cut the text like this each letter would cut individually and would have cut outs from the letters on each side. To avoid this, you need to weld.
To weld them, keep the text selected > right click > Weld. You can also click the "Weld" tool along the top tool bar.
After you've welded, the area where the letters connect no longer overlaps and you've successfully connected the text in Silhouette Studio.
NOTE: One thing to keep is mine is once text is welded, the font style can not be changed unless, during the same Silhouette Studio session, you 'undo' prior to the weld.
Note: This post may contain affiliate links. By clicking on them and purchasing products through my links, I receive a small commission. That's what helps fund Silhouette School so I can keep buying new Silhouette-related products to show you how to get the most out of your machine!
Get Silhouette School lessons delivered to your email inbox! Select Once Daily or Weekly.


.png)


No comments
Thanks for leaving a comment! We get several hundred comments a day. While we appreciate every single one of them it's nearly impossible to respond back to all of them, all the time. So... if you could help me by treating these comments like a forum where readers help readers.
In addition, don't forget to look for specific answers by using the Search Box on the blog. If you're still not having any luck, feel free to email me with your question.