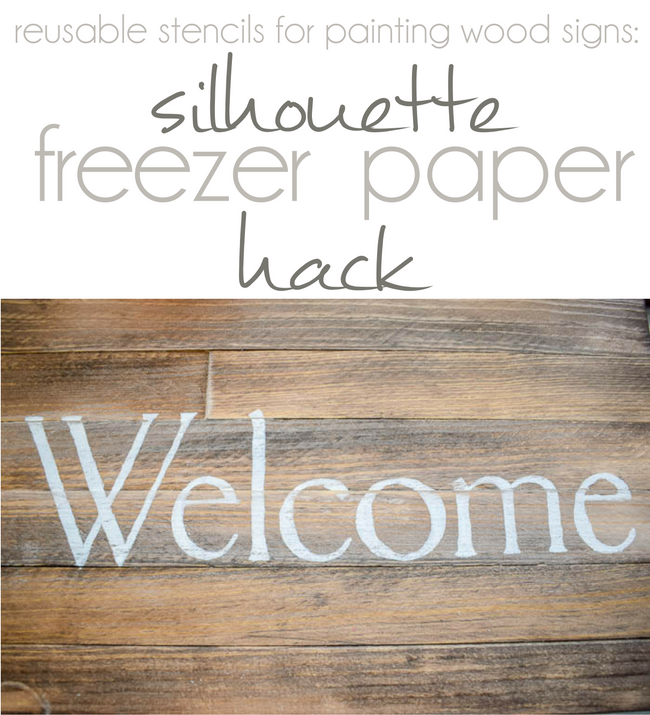
Silhouette School monthly contributor Cat is here today to share how to make reusable Freezer Paper stencils that are perfect for creating signs.
Here's what you'll need for this Silhouette CAMEO stencil project:
To make these easy and oh, so helpful stencils I simply created my design as always using my Studio
When creating a text-based design for a stencil, I prefer to add little bridge anyplace cutouts occur. Melissa has a tutorial on how to make designs and text stencil-friendly in Silhouette Studio if you need a refresher.This keeps everything perfectly in place without dealing with any little loose pieces. To do this I use the knife tool to cut a little gap at the top and bottom of the space surrounding the cutout.
Once all the cuts are made I use the draw line tool to close the end of each opening creating a bridge.
Once all the ends are closed make sure to go back and regroup all the pieces together using Object > Group in the Main Menu.

Once I am satisfied with my design it is time to cut it out using my Silhouette Cameo. I found the best Silhouette cut settings for Freezer Paper Stencil to be: Blade Depth: 1, Speed:10, Thickness: 22, Double Cut.
Normally when you use freezer paper you are cutting with the paper side up and the shiny side down. This is so you can iron the freezer paper onto your fabric to keep it in place. BUT we are not going to do that when using freezer paper for painted wood signs.
Instead, we are going to place the freezer paper on the cutting mat so the shiny side is UP and the paper side is down. This way the waxy or shiny side is up when we're painting which makes these freezer paper stencils re-usable. Tricky, huh?!
After the design is cut and weeded it's time to make it reusable. To do this, lightly spray, the paper side with Easy Tac. After a light quick coat, let it dry for 3-5 minutes. Then repeat with another very light coat. Again letting it sit for 3-5 minutes. Once the tac is set it is ready for use.
Apply the freezer paper stencil to the piece of wood aligning it using my Secret Weapon for Applying Vinyl Decals Straight and Level. Once it is in place use a plastic card to smooth the Freezer Paper to the wood creating a tight seal.
Once the Reusable Freezer Paper stencil is in place its time to paint!
I prefer to use acrylic paint, because it is so inexpensive and comes in a wide variety of colors.
Let the paint dry for a couple minutes and decide if it needs another coat. I don't recommend letting it dry all the way. You want to remove the stencil before the paint is completely dry. This reduces the possibility of tearing your Reusable Freezer Paper Stencil as you remove it.
Are you ready to see how my Reusable Freezer Paper Stencils turned out? Here it is! After 1 use and again after 4 uses! Easy, inexpensive and perfect for all kinds of projects!
Thank you for stopping by to check out my Reusable Freezer Paper Stencil Tutorial!
Note: This post may contain affiliate links. By clicking on them and purchasing products through my links, I receive a small commission. That's what helps fund Silhouette School so I can keep buying new Silhouette-related products to show you how to get the most out of your machine!
Get Silhouette School lessons delivered to your email inbox! Select Once Daily or Weekly.


.png)


TWO THUMBS UP !
ReplyDeleteWow! As easy as that, it seems counter-intuitive to stick the paper down with the glue side up? Do you need to clean the paper, or just let the paint dry? So many new and interesting things, I don't know how you do it.
ReplyDeleteJust wondering about the bridge, it shows that there is the gap once stenciled, but in the finished product link the words are all complete. Did you go back with a brush and close the gaps after stencil was complete?
ReplyDeleteHow do you store these for re-use?
ReplyDeleteCan I cut freezer paper without the mat?
ReplyDeleteHow can you put the paper on canvas instead of wood??? Help.
ReplyDeleteCan I skip the Easy Tac part (I'm not reusing)? Also, I'm making a large stencil so can I cut freezer paper without the mat?
ReplyDelete