Silhouette School monthly contributor Kati from Houseful of Handmade is here today to share her tips and tricks for resizing and modifying 3D Silhouette Studio design files.
This month I have been working on redoing my office & craft room on a budget. I am trying to transform this room by only spending $100. So when I needed some decor for the space, I turned to my Silhouette Cameo! I love making 3D home decor pieces with my Silhouette machine and cardstock. Perfect for a budget room makeover.
However, as I was working on making one of the Anthropologie knock-off mirrors for my desk area, I needed to shrink the cut file to fit the smaller mirror I found. Have you ever found a cut file for a 3-dimensional shape, but it wasn't the size you needed? Resizing 3D cut files can seem a bit tricky, but with a few tips you can make any 3D cut file work for your project!
The simplest way to resize a 3D cut file is to resize it with the same proportions. This will make the object grow (or shrink) equally in the width and height. To do this, make sure you open all of the pieces of the cut file. Group them together to help you resize them all equally. There are two easy ways to resize the objects.
First, you can resize the object by grabbing the box in the corner of the selection box and pulling it out or in depending on the size you need it. Pulling on the corner of the selection box will ensure the aspect ration is locked when it resizes.
Second, you can also resize by using the Scale tool, just make certain you click the "Lock Aspect Ratio" button so the file is resized with the same proportions horizontally and vertically.
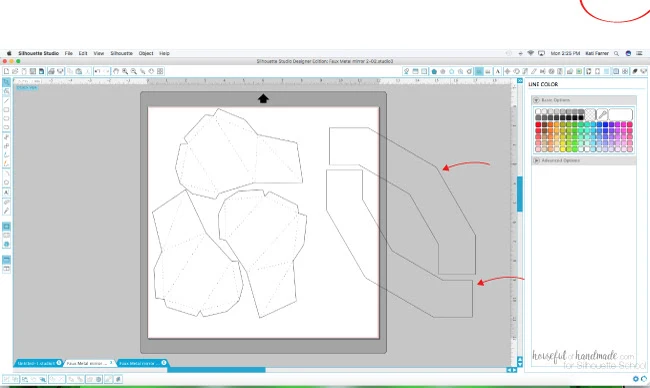
When resizing the mirror file, I needed to make it fit a mirror that was a specific size (5"). To help guide my resizing, I started by selecting the pieces that make up the backing of the mirror (there are only 2 but you are suppose to cut 4). 

I copied and pasted so I had 4 and arranged them as they would be assembled once cut. This gave me the finished size of the 3D mirror frame. I made a 12" circle, which is the size of the mirror needed for the original 3D design. Then I made a second circle the size of my new 5" mirror.
Selecting all the items in the design board except for the 5" circle, I grouped them together. Then I resized these objects until the 12" circle was the same size as the 5" circle making sure to maintain the aspect ratio as described above. You can use this trick to resize any 3D object to a specific size.
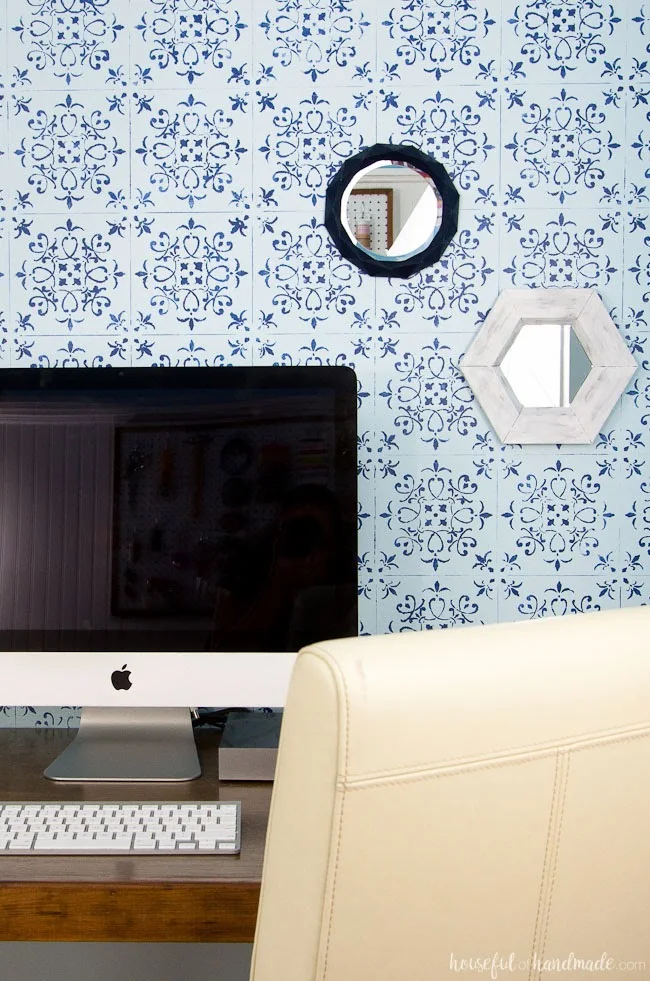
Now all the cut files were sized to fit the new mirror. I was able to fit them all on one 12x12 sheet of cardstock. I welded together the 4 pieces that created the backing since they all fit on one paper now, then cut it out and assembled my new, but smaller, mirror frame.
Everything fit together perfectly!

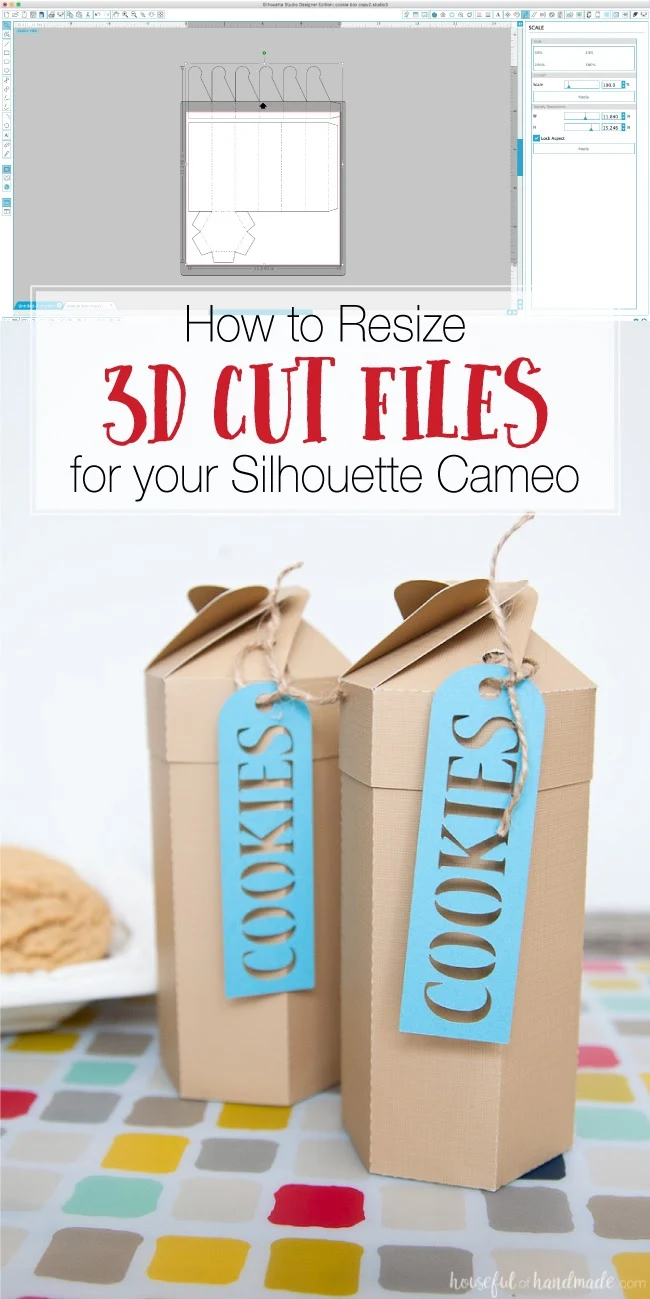
But what if you want to change the size of a 3D cut file so it isn't bigger or smaller proportionally? For this you need to be aware of the parts of the object that can be resized without messing up how they go together. Take this cookie box for example. If you want to make it taller or shorter, you can easily do that without messing up the way the bottom or top interlock.
To do this you will need to cut the object apart across where you want to resize it. For this example I am going to lengthen the base of the cookie box so it can hold even more cookies. Using the Knife Tool, make sure the "Treat Shape as Outline" box is checked. Then draw a line straight across the center of the box. If you hold down the SHIFT key while you drag your knife, it will keep it straight.
Using the Point Editing Tool, you can drag the point from the ends of the lines to barely overlap the other line. You may have to Ungroup or Release the Compound Path before you are able to edit the points depending on how the original design was created.
Continue for all the lines that were cut with the Knife Tool. Also if the dotted lines were created as individual lines instead of a dotted line, you may have to add your own dotted line to connect the two pieces.
Once you are done, you will want to group all the pieces of your 3D cut file back together. Then arrange them on your paper to cut out according to the material you are using.
This technique for cutting and stretching (or shrinking) 3D objects will work for any design that has parts that will not be cut across their closure. You could use if for things like these paper lanterns or just about any box design you find. No more wishing for the perfect 3D cut file.
And if you love creating 3D objects as much I do, make sure to stop by Houseful of Handmade and say hi! I'd love to see what you are creating and you can check see how I am coming along with the $100 room makeover.
Note: This post may contain affiliate links. By clicking on them and purchasing products through my links, I receive a small commission. That's what helps fund Silhouette School so I can keep buying new Silhouette-related products to show you how to get the most out of your machine!
Get Silhouette School lessons delivered to your email inbox! Select Once Daily or Weekly.


.png)


One thing you have to keep in mind when resizing is the material's thickness. If the pieces are meant to fit one inside another, say a box ad its lid, you will have to allow for the material's thickness as this obviously will not change. Simply scaling up or down may not work. (I know as I work mostly in miniature so for me resizing is a serious affair ;) )
ReplyDelete