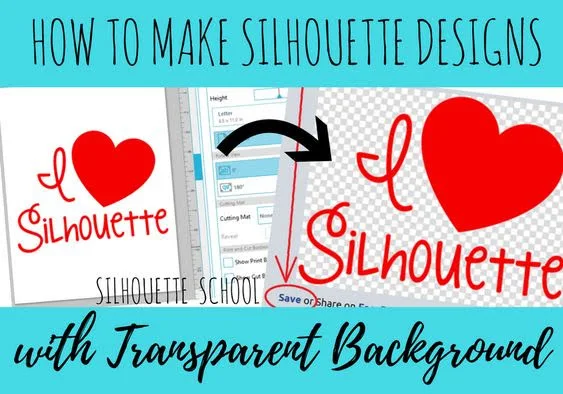
Silhouette School weekly contributor, Becky Dykes from My Paper Craze, is here today to explain how you can give your Silhouette Studio designs a transparent background.
You all know that I'm a big fan of designing in Silhouette Studio, but the one thing that has bothered me from the beginning is the inability to save my images with a transparent background. So of course, there's a very easy workaround that I'm going to share with you today!
You all know that I'm a big fan of designing in Silhouette Studio, but the one thing that has bothered me from the beginning is the inability to save my images with a transparent background. So of course, there's a very easy workaround that I'm going to share with you today!
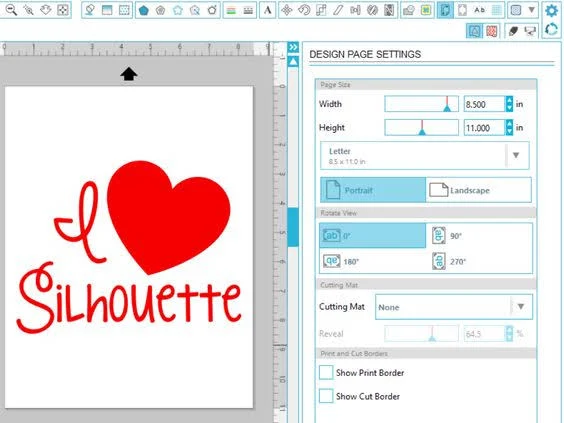
First and foremost, create your image or logo in Silhouette Studio.
I set my page size to Letter because I'll be printing it with Bullzip and it's just easier. If you need a larger image, check out printing oversized images in Silhouette Studio.


The second step is to use Bullzip to "print" the image and convert it into a format that you can work with, in this case a PNG. Another option is to save as a PDF and then convert the PDF to a PNG using an online tool like Convert-Image.
Now here comes the third and final step which involves Lunapic, a free online photo editor. It's web-based, so you don't have to download a program, which is a plus.
Use the Browse button to locate and upload the photo you created and saved from Silhouette Studio. This online editor will also work with images that you didn't create, so you can get creative if you want.
Once the photo is uploaded, go to the menu bar and click Edit, then scroll down to Transparent.
The instructions at the top break it down real simple: just click on the color that you want to turn transparent.
It worked really well for me, especially since my entire background was already white. If you are working with a more complex image, I imagine that this part would be more difficult. When the gray checkered background appears, that's how you know the transparency worked. You can even adjust the threshold, if necessary, although I found it worked just fine for my needs with the default.
Once you're satisfied with your image and background, scroll to the bottom and click save. I told you it was easy.
 Now what would you need a transparent image for? Layering image, of course. Think about a watermark or a logo ...if you've designed it in Silhouette Studio and you may need it on a transparent background for your website or to use in other image editing software program. Also, if you are designing logos or watermarks for someone else, they are going to need a transparent background.
Note: This post may contain affiliate links. By clicking on them and purchasing products through my links, I receive a small commission. That's what helps fund Silhouette School so I can keep buying new Silhouette-related products to show you how to get the most out of your machine!
Get Silhouette School lessons delivered to your email inbox! Select Once Daily or Weekly.


.png)


I use a Mac and didn't want to download another printer. I found a simpler way of getting the png image of your design, I simply took a screenshot of it. Then I uploaded it to Lunapic -- edit, ---and transparent background.
ReplyDeleteThank you so much for this tip! I had been getting very frustrated with not having a transparent background option and this is so easy!
ReplyDeleteThis is such a great resource that you are providing and give it away for free. I love seeing blog that understand the value of providing a quality resource for free.
ReplyDeletestep and repeat backdrop
I JUST emailed Silhouette School about how to do this very thing and then voila, this tidbit I found. If this works, I am going to be one happy camper. I am trying to print to an OKI White Toner Printer for dye sublimating my designs on cotton and dark fabrics, etc. OKI didn't offer this solution. Pray for me folks. I'm going' in.
ReplyDelete