Hi Silhouette School readers! I am sooooo excited to be here today with you all. I am a serial crafter; if you can make it I’ve tried it and baking is no exception! To make it even better I have found a way to use my Silhouette to make amazing stencils to customize my cakes and I can’t wait to see what you think.
I have so many icing templates but never the right one for the occasion…in comes my trusty Silhouette. Here are a few of the cakes I have done so far using my Silhouette.
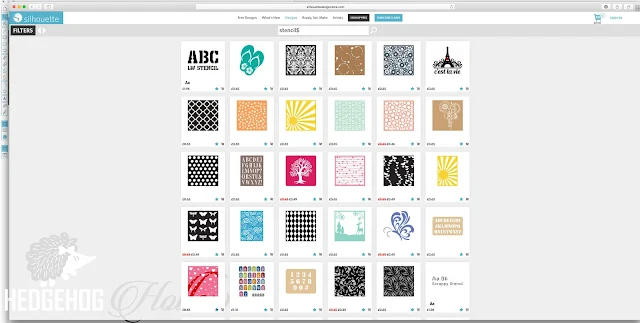
To create your own stencils to decorate cakes, search the Silhouette Design Store for stencil designs. There are quite a few as you can see:
The first thing you want to do is find the right stencil design. Some work better than others though; the picture below shows some of my hits and misses. What you want to look for is stencils that have large open areas. As you can see, the deer stencil was too small in the antler area and the pieces between the petals on the flowers was just too thin to get good definition when you ice the cake.
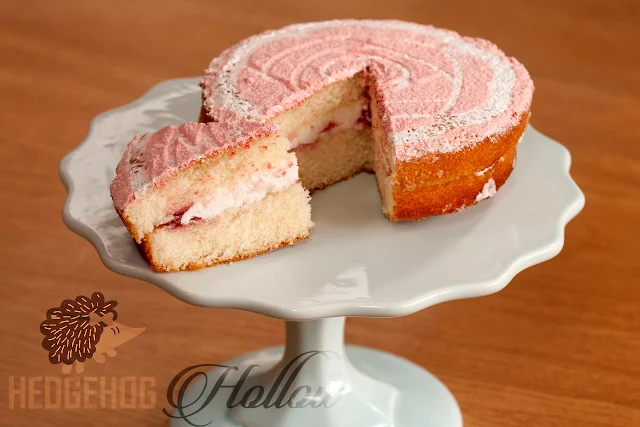
However, when you get it right the results are stunning.
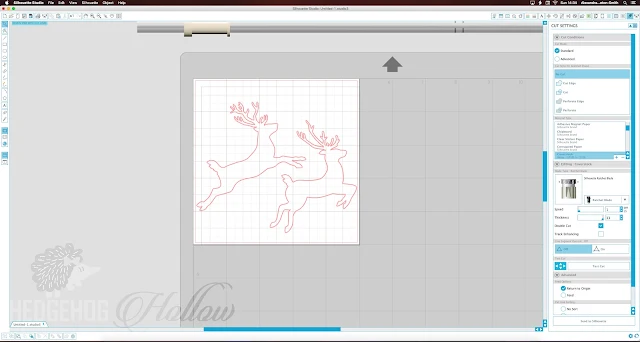
To create the stencils themselves I used a reasonably thick cardstock; I have a rather endless supply of retired Stampin’ Up! cardstock and this is the perfect weight. You can see my cut settings below; I did go higher on the setting as my blade is a little worn and I wanted a very precise cut to give my icing definition.
There are four easy steps to make your fab cake once you’ve cut your stencils: Having had quite a few misses during the experimentation here are some top tips to get a perfectly iced cake:
- Sift your icing sugar before you put it on the cake even if you don’t add a color; it will give you a more delicate result.
- Using a tea sieve is much finer than a flour sieve will give you a more delicate result and helps with intricate designs.
- You can color your icing sugar using this tutorial I found Petal dust on Amazon UK; but I found I needed one small pot and ½ cup of icing sugar to get real color intensity.
- Add your icing sugar to the sieve in a corner of your workspace otherwise you will get a lump over your cake and the result won’t be even.
- Using your rotary mat is great for any cake decorating work; I use cling film or press n’ seal to cover the surface; I love being able to see the measurement markings underneath, it gives you a nice firm surface and you can just throw the cling film away for easy clear up!
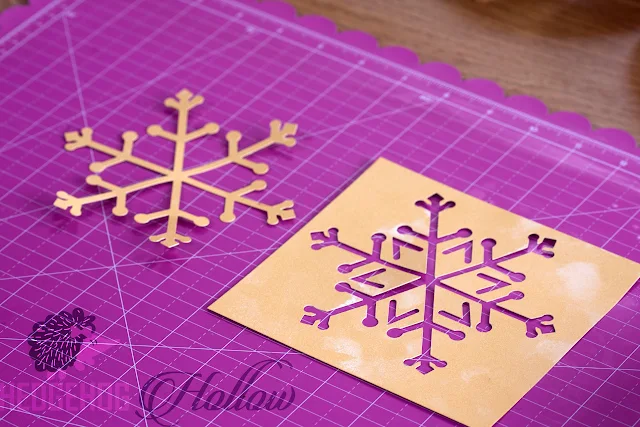
And finally, don't throw out the negative space..you can always use it for another cake!
This is my first ever tutorial post so thanks for coming along for the ride! I hope you’ll drop by the Hollow soon where I post all my projects in the kitchen, in the studio or off the needles. We also have a Facebook page where my brood like to post their latest makes too! See you soon and thanks for having me!
Note: This post may contain affiliate links. By clicking on them and purchasing products through my links, I receive a small commission. That's what helps fund Silhouette School so I can keep buying new Silhouette-related products to show you how to get the most out of your machine!
Thanks for coming to class today at Silhouette School. If you like what you see, I'd love for you to pin it!

Get Silhouette School lessons delivered to your email inbox! Select Once Daily or Weekly.


.png)


I never thought about using my Silhouette for this purpose - I love it! Thanks for the tutorial, Alexandria!
ReplyDeleteWhat an AWESOME idea!!
ReplyDeleteGreat idea. Thanks for sharing
ReplyDeleteWow thank you for such a detailed and informative article, I'm definitely going to use my silhouette for this!
ReplyDelete