I'm just going to put this out there right off the bat - sharpen your blade at your own risk. I would honestly just recommend you buy a new cutting blade if you're sure it's a dull blade that's causing your cutting issues. But if you'd rather not spend the $8 on a new blade every 4-6 months, then carry on.
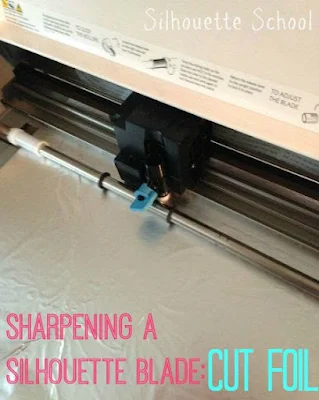
Rip off a sheet of foil from the roll about the same size as the Silhouette cutting mat. It's already 12" wide so you just need to cut a piece that's about 12" long too. Stick it right onto the mat trying to make it as smooth and wrinkle-free as possible.
Put the mat to the side for a minute and go into Silhouette Studio. Open up a new work area and use the Draw a Line tool (1.) to draw a single line the width of the mat.
Copy and paste the line about 8 or 10 times. Select all of the lines and from the Align tool (2.) "align left" (3).
From the Cut Style window (in blue along the top tool bar above) select vinyl or another very thin material like copy paper. Adjust the blade depth to a 2 or 3.
Now grab your mat and feed it into the machine. Send that puppy to cut!
If a large piece of foil gets caught in the blade, as mine did a few times, just hit the pause button on the machine. Remove the blade from the holder, rid the blade of the foil, pop the blade back in and press the pause button again to resume cutting right where you left off.
When it's done cutting pull off as much as you can, but be warned you will likely need to use the spatula to scrape some of it up off the mat.
Alright so here's the true test...does the blade actually get sharpened?
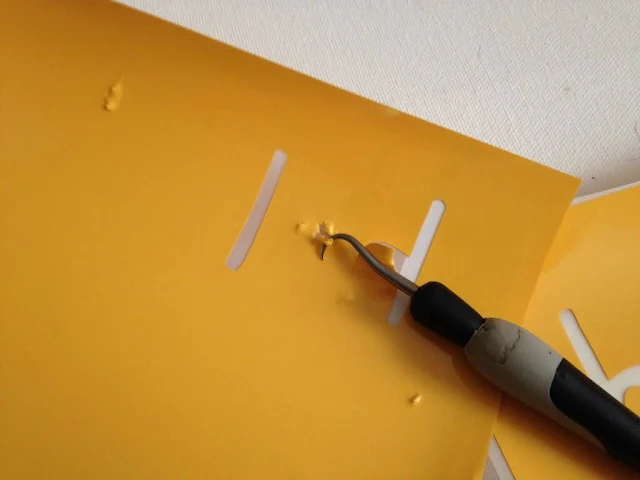
Before I tried sharpening this blade with foil this is how it was cutting...or actually NOT really cutting.

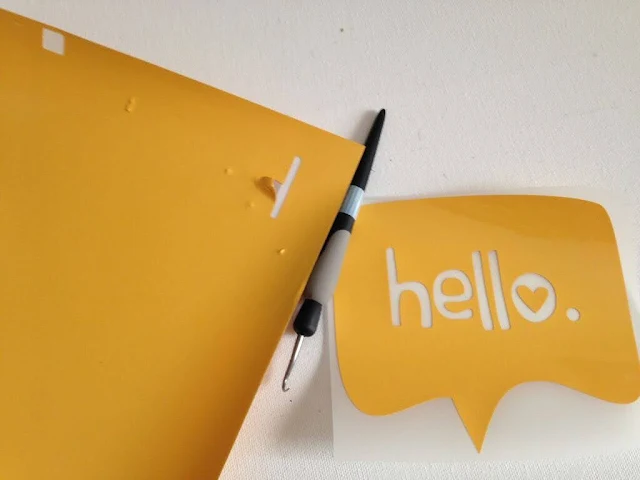
Then I did the above foil exercise and cut the exact same material, the exact same cut settings and the same size design...and this is how it cut.

So...I am happy to say it works. Sharpening a Silhouette blade with foil is a great way to extend the life of a blade, but I still say buying a new blade is better advice. You really do risk wasting more material and money on bad cuts than just spending a few dollars on a new blade every few months.

Note: This post may contain affiliate links. By clicking on them and purchasing products through my links, I receive a small commission. That's what helps fund Silhouette School so I can keep buying new Silhouette-related products to show you how to get the most out of your machine!
Thanks for coming to class today at Silhouette School. If you like what you see, I'd love for you to pin it!

Get Silhouette School lessons delivered to your email inbox! Select Once Daily or Weekly.


.png)


This comment has been removed by a blog administrator.
ReplyDeleteAwesome tip, Melissa! Thank you for sharing.
ReplyDeleteIf you are at a place where that's your last or only blade and you want to carry on, I think this is great. I agree, too, that buying a new blade is better, but sometimes, don't we forget we just put the last (blade, toilet paper, etc.!) one in? Thanks for a great tip!
ReplyDeleteInteresting tip! I was curious if you or anyone else has tried cutting shapes out of heavy-duty aluminum foil with a Cameo or Portrait -- not just to sharpen the blade. :) I'm working on a Halloween project and need some foil strips in shapes that will fit inside plastic cups. I will probably just trace & cut by hand (I only need 3 strips), but I wonder if the machine could handle it.
ReplyDeleteIn Australia blades cost around $18 each which is why people try and sharpen them, but tip to other Aussies - log onto Amazon in the US they will ship some silhoutte items to Australia, blades being one of them last time it cost me $22 for 3 blades including shipping! :)
ReplyDelete