***
Since I first received my Silhouette Cameo on Christmas Day 2014, I have sought to challenge myself and the machine with what it can create. I have not been disappointed.I run a cake business from home, so naturally my thoughts turned to how I could use my Silhouette to assist me in decorating cakes. I had already been using the Wilton Sugar Sheets in a printer with food color ink along with paper punches but had soon given up. While I'd had some great success, the printer battled with me constantly about the foreign cartridges and if I wasn't using it on a regular basis, the ink dried out very quickly.
I figured I'd try to take it one step further so I purchased a set of the Silhouette Sketch Pens and I looked around online for fun ways to use them. It was then I discovered Melissa's DIY tutorial for converting the pens and the wheels started turning. Why couldn't I use the Silhouette to sketch with the Wilton FoodWriters onto the sugar sheets?
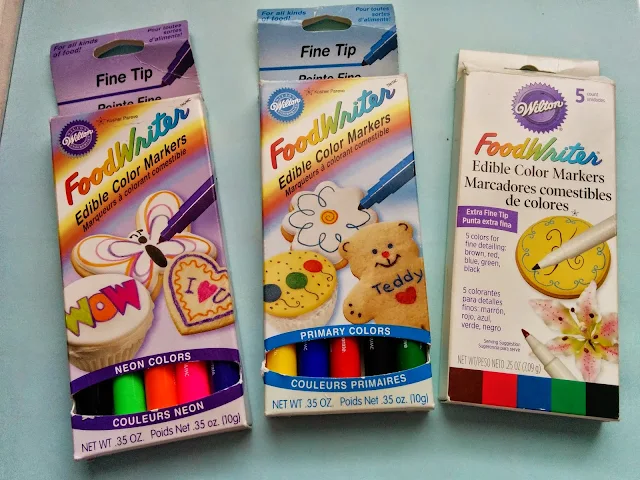
I have three sets of Wilton FoodWriters; two fine tip sets and one extra fine tip. As you can see, there is quite a difference between them.
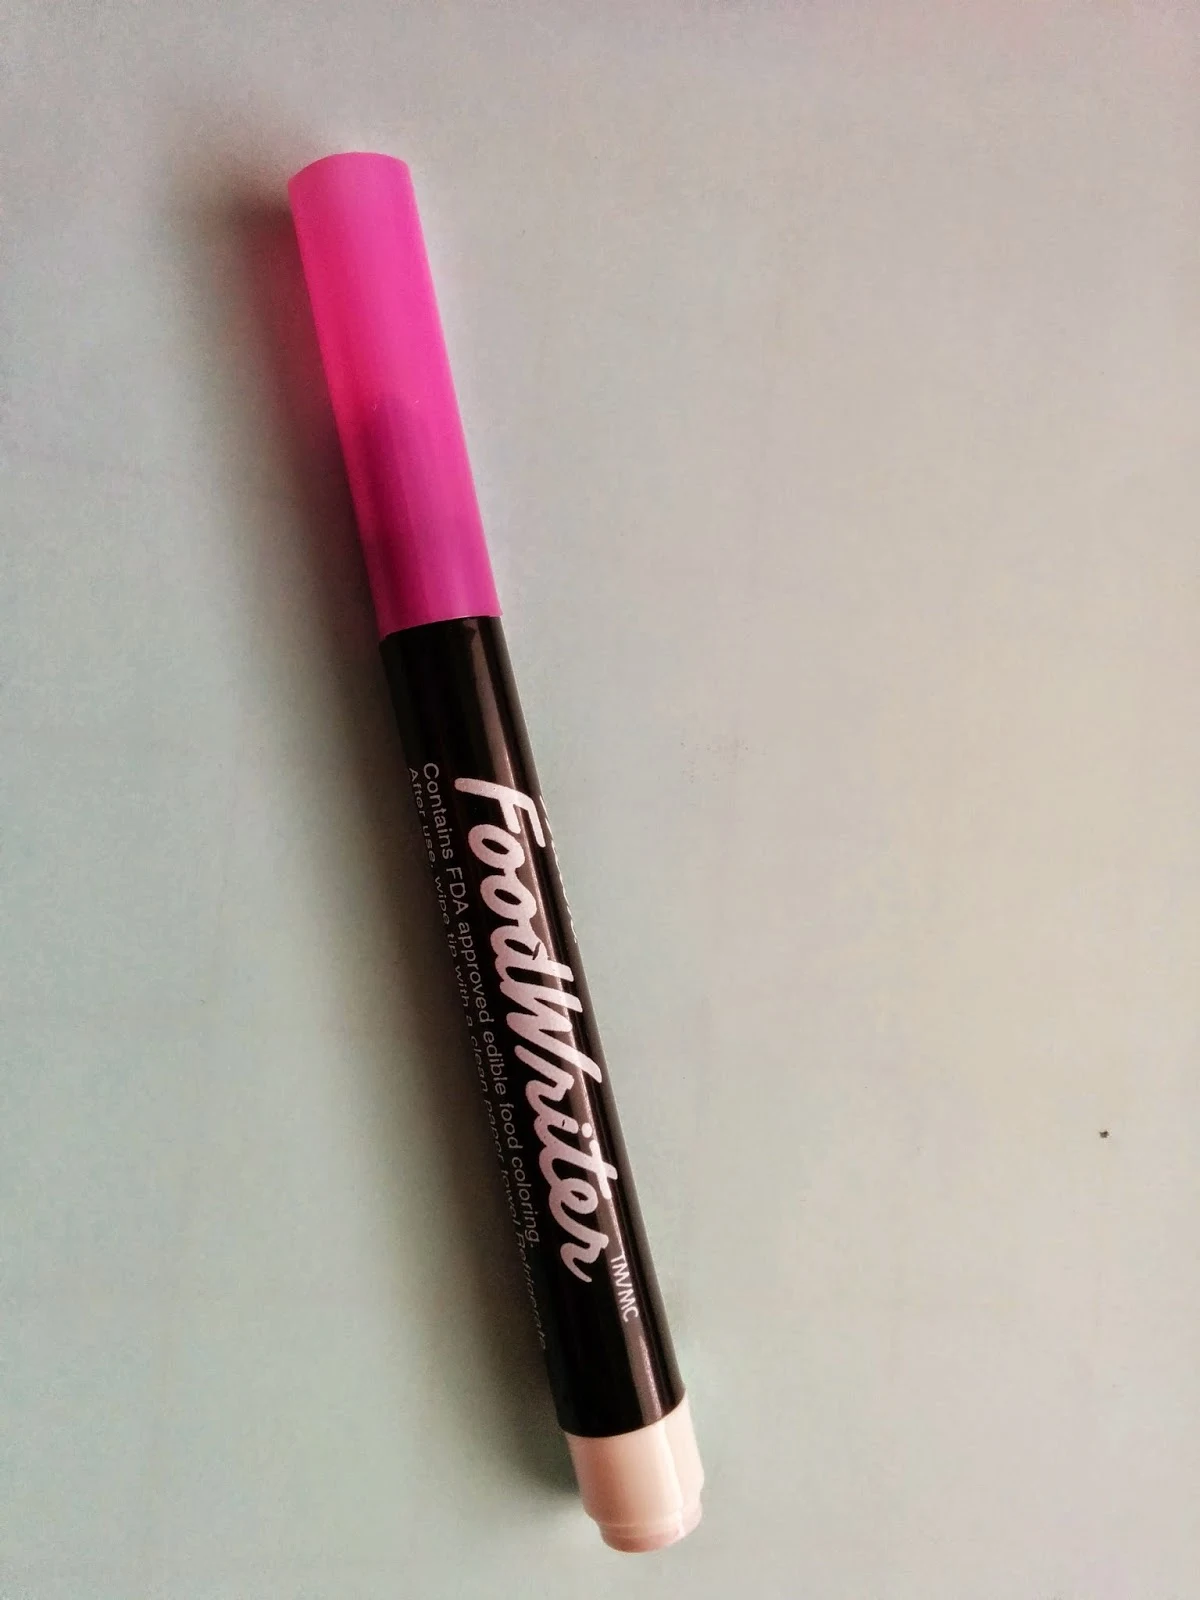
For the purpose of this post, I used the fine tip, the fatter pen. I am not even certain you can get these any more as I have not seen them in quite some time, so the thinner pens would work great with the above tutorial by Melissa if you have empty pen cartridges. I did not, as my pens are brand new, so I started to look around for something that would work to hold the larger pen inside the blade cartridge. A piece of PVC pipe would work swimmingly here but I did not have any of that so I found the next best thing, bubble tea straws. (Melissa chiming in here - the Amy Chomas pen holder would also work.)
I obtained these at my local dollar store. They cost $1.25 for a package of 50. I already use these as cake supports so I know them to be sturdy.
First I cut two lengths of straw, approximately 2 3/4" long (4.5 cm) As you can see, the straw does not fit over the pen so I cut a slit across each piece of straw and wrapped them around the pen, one over the other with the cuts in different spots.
Then I lined it up with one of the sketch pens to make sure I'd have the tip where I needed it and taped it around the straw and the pen.
Now for a trial run. I found my design in the Silhouette Design Store (they now sell super hero designs!!) and selected Silhouette Sketch Pens from the material list on the Cut Settings page. I started by sketching on paper first so I'm not wasting my sugar sheets.
When you place the pen into the blade cartridge, you have to make sure it isn't fully touching the base. I used the flashlight on my phone and my fingernail to feel where it was. I apologize, but this part is sort of trial and error. As you can see, I made a boo-boo. Whoops! Melissa actually shared a great tip on avoiding stray lines with sketch pen that you can read here.
I adjusted the pen slightly and voilà, ready to go! This is why we try it on regular cardstock to start!
Now to print on the real thing. In this instance I am going to use the typical Batman symbol (Design ID #31727) inside the oval. However, here is where I have to insert a message from the **Disclaimer Police** (imagine that with an echo and Twilight Zone music or something).
The Silhouette Cameo is not intended in any way to cut food products so you are doing this at your own risk. I highly recommend keeping a separate blade for the purpose of cutting sugar sheets. Before you get started it is wise to wash both the blade and the underside of the cartridge with some pure alcohol. Vodka is my preferred choice as it dries clear and odorless. Use a cotton swab to get underneath the cartridge and wait a while for both to dry. Drink some vodka while you are waiting, if you like. Once you've completed cutting, make sure to re-wash the blade before storing and I'd suggest keeping it inside either the packaging it came in or a container of some sort. Ensure there is no dust on your machine prior to cutting, too. No one wants to eat dust.
Okay, now back to your regularly scheduled blog post.
Open up your design in Silhouette Studio - design it, buy it, use a dingbat font - whatever you want. Just open it up.
Resize and position the design if you need to.
Now keep in mind - I only want the batman to sketch. I want the oval to cut. So to do this, I need to be able to control their cut settings independently. To do so, you will either need to ungroup and/or release the compound path.
After I ungrouped, I also released the compound path by right clicking > release compound path.
Now I can go into the Cut Settings. Since I am going to sketch first I selected the bat and clicked "Cut" and then selected the oval and hit "no cut". (After I sketch the bat, I'll flip flop the settings to cut the oval out.)
Here is where another warning comes in. The Wilton Sugar Sheets are very sensitive to air, so I first recommend using a brand new unopened sheet. You must work quickly as they can become brittle and break. A helpful tool is the Wilton Gum Paste Storage Board that you can slip the item into once cut. Otherwise have something flat and some plastic wrap ready or return it to it's resealable bag but note it may stick to the remaining sugar sheet piece(s). As well, because the sugar sheets are somewhat flexible, smaller cuts are less successful and the "paper" can tear and pose a potential risk to your Silhouette by going up into the cartridge. If this starts to happen, pause and eject it right away.
(Please excuse my lobster claw. Evidently I need to moisturize!)
With my edible ink pen in the machine now instead of the blade, I adjusted the material type to sketch pens and sent the bat to sketch.
Once the sketch was finished, I did not remove the mat from the machine after it ejected. Instead, I went back into Studio and from the Cut Settings set the batman to "no cut" and the oval to "cut." Then I swapped out the edible ink sketch pen for the new blade (I set up a custom material for 'Edible Paper': Blade 4, Cut Speed 3) and hit "Send to Silhouette" again. Keeping the mat loaded in the machine with the sugar sheet is key!
Once you've sketched and cut the sugar sheet, the best way to remove the sheet from the mat is to flip the whole mat over and gently peel it downwards in the same fashion as with paper that tears easily. This way you can prevent the sugar sheet from separating from its plastic backing.
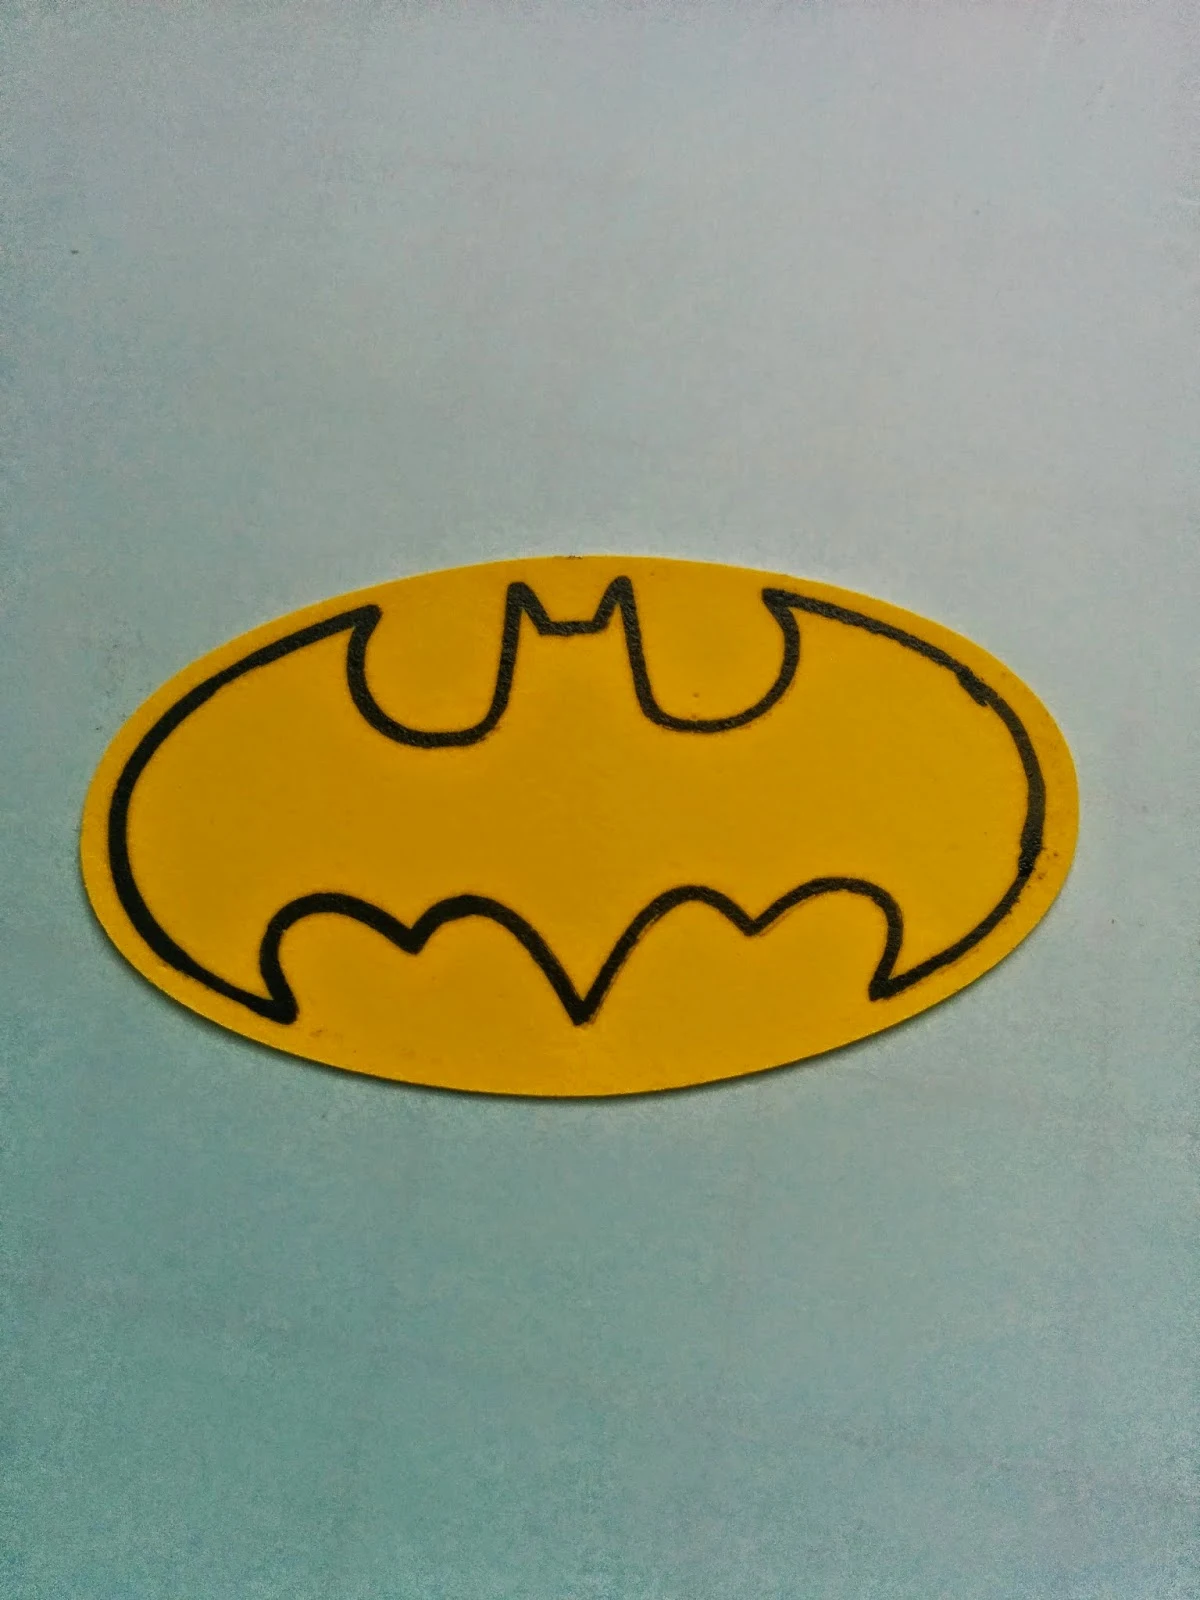
No matter, because I simply filled it in by hand, although make sure your hands aren't shaky like mine were! As you can see, I have not nailed it down to an exact science yet but I'm sure there are some innovative folks (Melissa included) that can build on what I've started.
Many thanks to Melissa for allowing me to post on your blog!
P.S. Here is a photo of the completed Superhero cake. All of the symbols/logos were done with edible paper on the Silhouette. And yes, I had to be very careful with the spider's legs so they didn't break off!
Note: This post may contain affiliate links. By clicking on them and purchasing products through my links, I receive a small commission. That's what helps fund Silhouette School so I can keep buying new Silhouette-related products to show you how to get the most out of your machine!
Thanks for coming to class today at Silhouette School. If you like what you see, I'd love for you to pin it!


.png)
.png)
.png)


.png)
.png)


.png)


The cake turned out fabulously! Thanks for the cool tutorial.
ReplyDeleteAwesome post. I like it. Law Essay
ReplyDeleteThis was great!
ReplyDelete