Today I'm going to show you exactly how to make custom stickers too!
If you have Silhouette Studio Designer Edition this is super simple! If you don't, I'm going to show you a little work around so you don't miss out on making personalized stickers.
First the Designer Edition Method:
Save all of the photos that you want to turn into stickers to your desktop.
Open up Silhouette Studio and go to your library.
Then click on the My Patterns folder.
Drag and drop the photos from the desktop into the My Patterns folder.
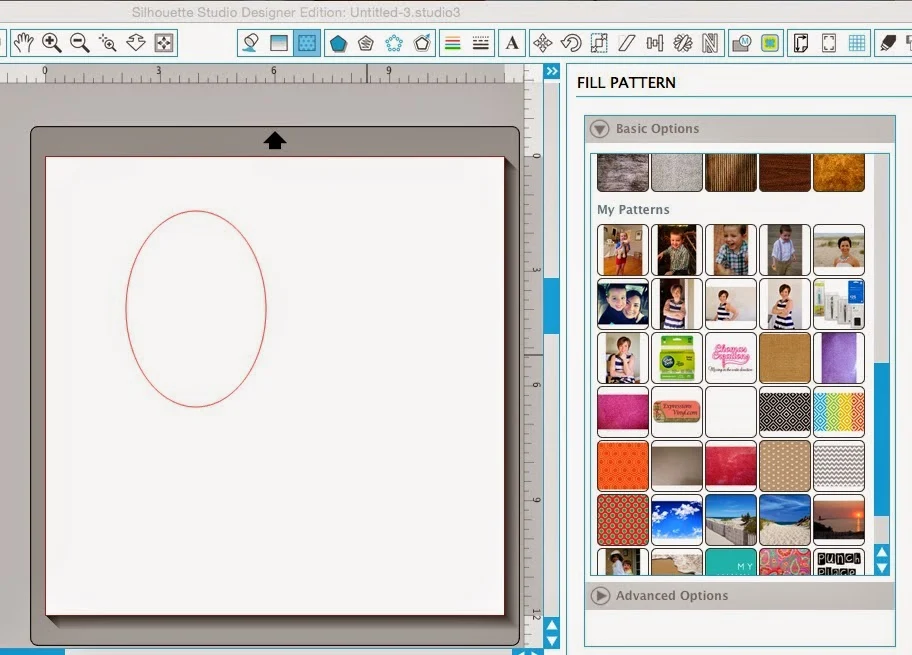
Select the shape by clicking on it and click Fill Patterns (highlighted in blue along the top tool bar above).
In the window on the right, scroll down to My Patterns and click on the image...now the photo has filled the shape.
Standard Silhouette Studio Method:
Save all of the photos that you want to turn into stickers to your desktop.
Open up Silhouette Studio.
Drag and drop one image or photo at a time into the work space in Studio.
Use the Draw an Ellipse tool to draw out an oval or circle.
Place the shape you've drawn on top of the photo exactly how you want it to be positioned as a sticker.
Now select both the image and the shape at the same time. Click on the Modify tool and pick "Crop".
You can't pan or scale the photo with this method, but it still works nicely.
* Now that you have your photos into the shape you want the stickers to be, you can continue as a regular print and cut. I'm going to go through this part pretty quickly. If you need more details on any step, you can click the links throughout or refer to The Ultimate Silhouette Guide pages listed below.
- Size the stickers, if necessary
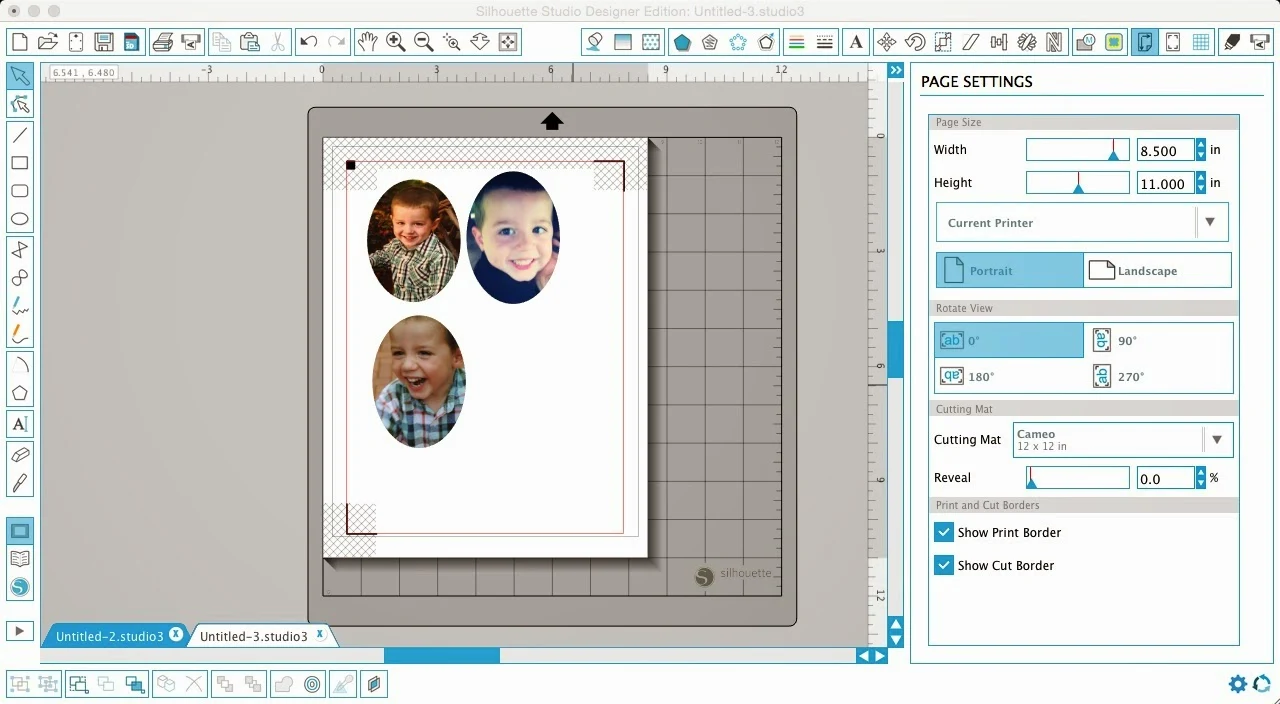
- From the Page Settings window, set up the print area to match the current printer
- Add registration marks and move all stickers within the safe print area (do as I say, not as I do...clearly some of my stickers were outside the print area)
- Print the stickers on either Silhouette printable sticker paper or an alternative sticker paper.
- Place the printed sheet onto the Silhouette cutting mat
- From Silhouette Studio click on the Cut Style window and pick "Printable White Sticker Paper" as the material
- Adjust the blade, if necessary
- Send to Silhouette to cut
NOTE: I went one step further to make the chart so that my son could place the stickers right onto the chart with an outline the exact same size as the stickers. To do this, I simply copied and pasted the stickers and then from the Fill Color tool selected either white or transparent.
In order to get the outline of the oval to print, it's necessary to give the line a weight. Go to the Line Style window and adjust the weight. I usually type in .07. If you don't change the line color from the Line Color window it will print in red, I changed it to black.
Oh and good news...Happy Blake is well on his way to his Spiderman Pez (he picked the prize...).
For more on techniques found in this tutorial, refer to the following pages in
The Ultimate Silhouette Guide:
Page 100 - Importing Custom Patterns
Page 44 - Designer Edition
Page 97 - Print and Cut
Page 44 - Fill Color & Line Color
Page 44 - Fill Color & Line Color
Thanks for coming to class today at Silhouette School. If you like what you see, I'd love for you to pin it!


.png)


These are so cute!!!!! Shared :-) Can't wait to meet you in person at SNAP!!!
ReplyDeleteWhy did you save your photos to the desktop and then into patterns instead of opening them through design? I have not been able to do this since I updated my mac to the new version that contains the new Photos application? Any suggestions?
ReplyDeleteI don't use the new Photos program on my Mac even though I've updated my OS. I am still using iPhoto. I think it's easier to drag and drop photos straight from the desktop into Studio and directly into the Patterns folder
DeleteAny way to trace around the head/shoulders as opposed to doing an oval shape?
ReplyDeleteHalle-freakin-lulah! Thank you! I used your tutorial to print some non photo stickers and the whole page print & cut perfectly! This is a project I've been trying for a very long time with mixed results!! They always seemed to crawl out of alignment further down the page so I threw away the last couple rows! ***You need to add one step: Select the image after its cropped and Select Cut Edge from the Cut Menu. Without that step you haven't got a cut file.
ReplyDelete