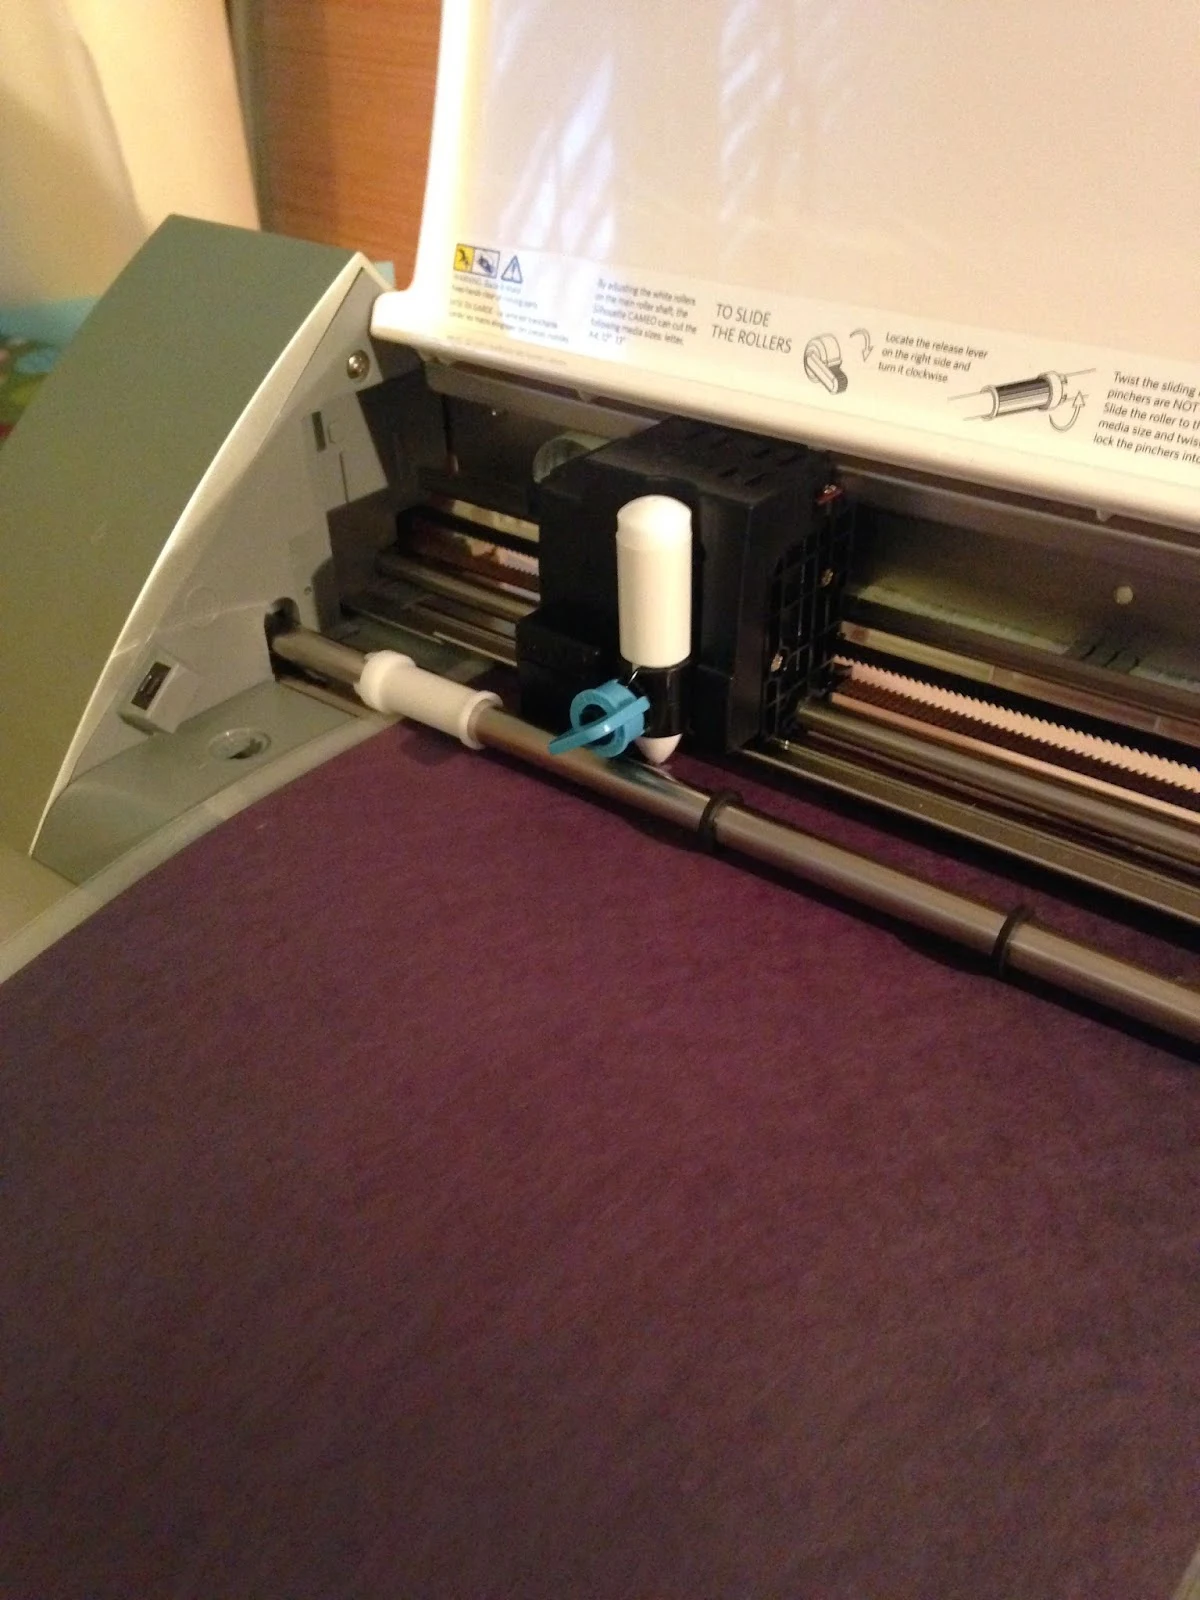
 So you've attempted to cut construction paper with your Silhouette and lemmeguess it basically looks like an infant gnawed up the edge of the paper and someone sprinkled construction paper dust all over your mat? Yeah, not pretty. I don't cut a lot of construction paper for this reason, but sometimes my 6 year old asks for some basics shapes for her crafts and I don't want to use my "good" paper. Ahem....just bein' real.
 I also use construction paper - specifically black - when going for the 'chalkboard' look. I was recently making a card in which I wanted to get the chalkboard look by using the white Silhouette Sketch pen on black construction paper. (You can read my review of the white and metallic Silhouette sketch pens here.) I didn't however like the idea of putting the construction paper directly on my currently-perfectly-sticky cutting mat. The fibers in the construction paper tend to stick to the mat and the blade sometimes causes the paper to tear more than cut.
Soo...I had a moment of pure genius (IMHO).
I put down a piece of white cardstock onto the mat. Then I put down a few strips of double-sided tape pretty much stretching all the way across the card stock. I carefully laid the construction paper down on over the tape and the card stock.
I didn't press it down too firmly because you want to be able to peel the construction paper off away from the tape.
LOOK!! It cut perfectly (no gnawed edges) and it peel away from the tape beautifully AND the best part is...my mat is no worse for wear!
Note: This post may contain affiliate links. By clicking on them and purchasing products through my links, I receive a small commission. That's what helps fund Silhouette School so I can keep buying new Silhouette-related products to show you how to get the most out of your machine!
Thanks for coming to class today at Silhouette School. If you like what you see, I'd love for you to pin it!


.png)


This is great! I can't wait to try this next time I need to cut construction paper... I assume this would work as well with textured "fancy" paper... as in artsy,pulpy, fibre-y paper... gotta experiment! Just a question though- what cut settings did you use for this? And what brand double sided tape? Did the design cut through the cardstock as well?
ReplyDeleteThanks!
-Silhouette Angelika
Great idea, thanks for sharing. Love the new blog look, by the way. Especially no more ads popping up on the picture. Looks very professional.
ReplyDeleteWhat cut settings did you use for your blade?
ReplyDeleteI to wonder this!
DeleteGreat post. Glad to find your blog. Thanks for sharing.
ReplyDeletenon woven fabric bag making machine
Awesome Just tried it and it worked !!! Thanks
ReplyDeleteWhat were the blade settings?
ReplyDelete