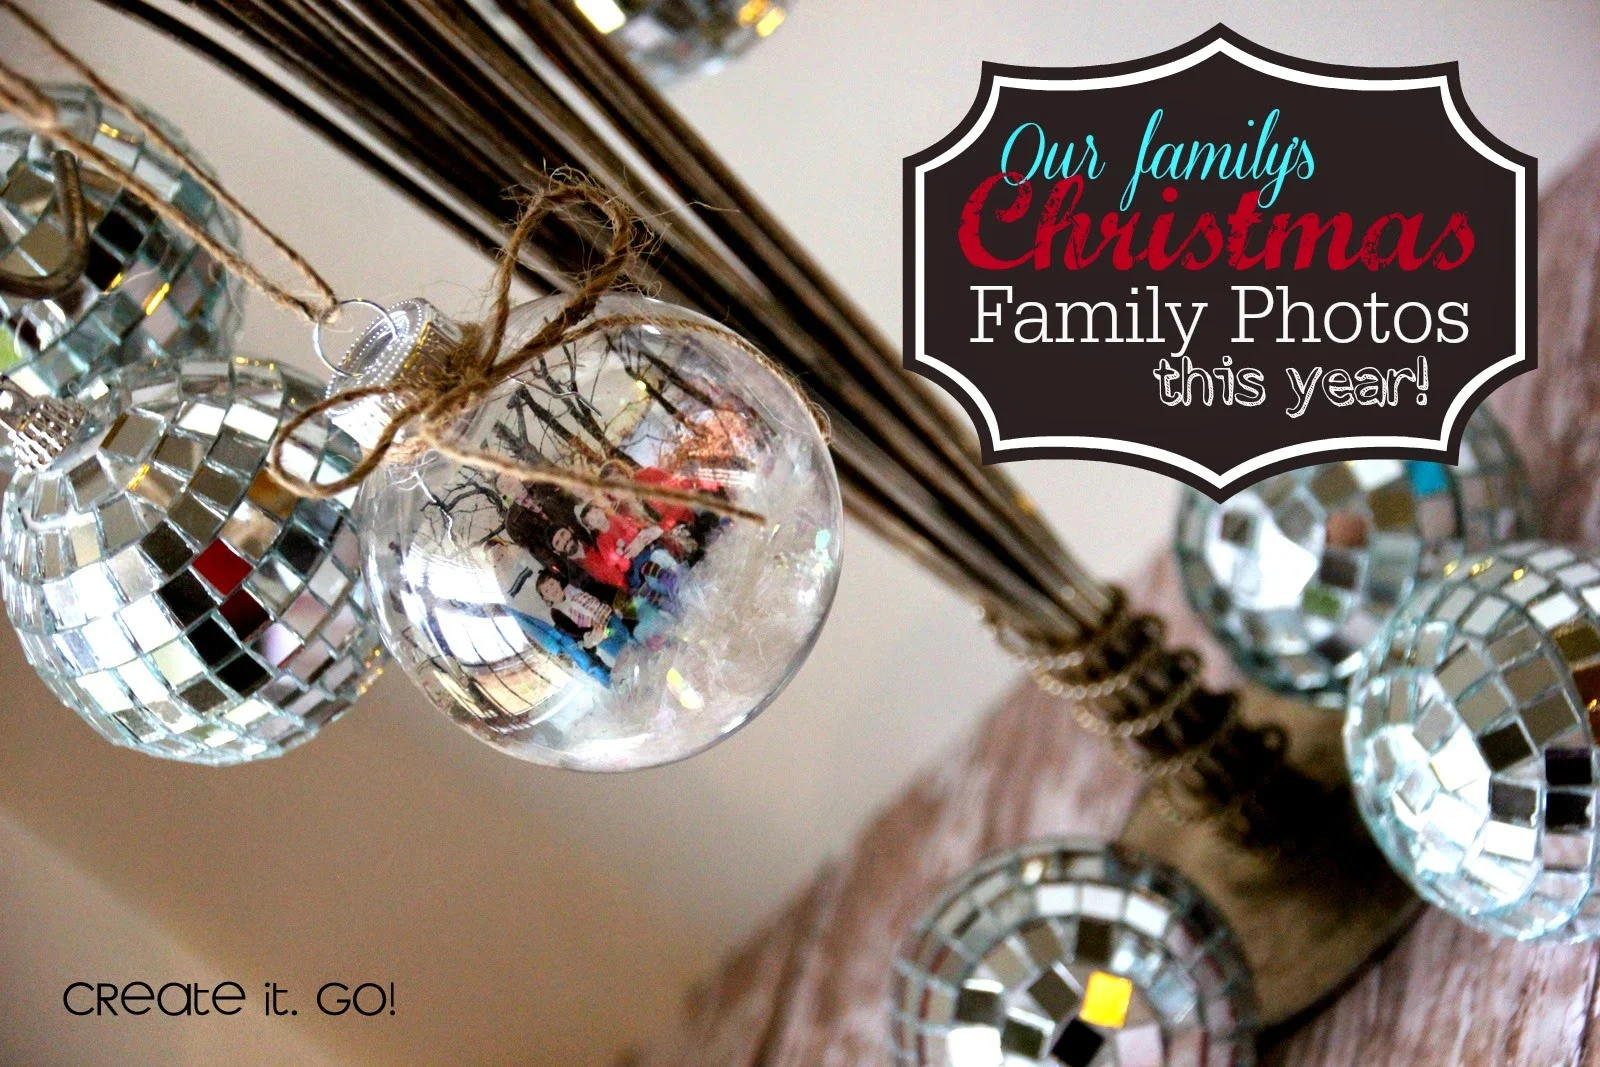
It's the season of giving, right? So today I've giving you what you've been asking for...a tutorial on making the popular photo transparency christmas ornaments. I KNOW! I know!!!
I've brought in the extremely talented, Robyn from Create It. Go blog to share this awesome tutorial and an idea which I think is simply genius...taking the traditional christmas photo to the next level. I'll let Robyn take it from here!
Hey Silhouette Friends! I'm Robyn from over at Create it. Go! and am thrilled and flattered to be guest blogging here today for Melissa. I LOVE all the creative inspiration I get from her at the Silhouette School.
I have a bit of an obsession with Silhouette machines myself. (I have an SD, Cameo, and a Portrait. haha) And I actually and honestly use one of them almost every single day! Truth!
Well, one of my favorite things I make this time of year is floating ornaments. I absolutely adore the unique look of them and the personalization you can make with each one. And it helps that they are sooooo incredibly fast, easy, and inexpensive, but impress everyone who sees them!
Today I'm going to share with you a DIY and what I did for our family's Christmas photo this year. So, I had this scathingly brilliant idea ;) I decided instead of just handing out our family picture as a Christmas card this year (which nobody knows what to do with after Christmas), that I would put our family picture into an ornament and include it on top of a gift for them or just gift it that way to some of my siblings. Perfect! Because then it just gets put up with the ornaments each year and it has a "home".
Items you will need to make your own:
1. Ornament bulbs.
(I got mine at my local Hobby Lobby. You can buy them as glass bulbs or plastic. (I have little ones, so the ones I use are plastic, although you would never ever know by the look of them! I love that about them! AND they are available year round too!)
2.Transparency sheets for inkjet printers
(that I pick up from an office store or on Amazon)
3. Ribbon, fake snow, or any other embellishments that you want
The bulb shape I used to cut out on my SIL was a free shape of an ornament that came with my Silhouette SD machine. BUT, there are others that you can purchase as well if you don't have that one OR it's easy to draw one yourself by just drawing a circle in your SIL program and adding another little circle or square to the top and then welding them together. That's really all there is to it! One of the most simple designs you can make ever!
I cut out my bulb inserts on my SIL and then printed these pictures on my printer. Then I put the two together. (This would be much easier if I had a Pixscan mat (on my wish list right now) bc then you could print your pictures first and then put them into your SIL and cut your ornament ball shapes around each picture.) You can make it work either way though. :)
(Melissa chiming in here with a little tip (not trying to hijack Robyn's awesome tutorial, but this just came to me..) ...after creating the bulb shape, you can also drag and drop your photos right into the shape of the ornament) and then do a print and cut on the transparencies.)
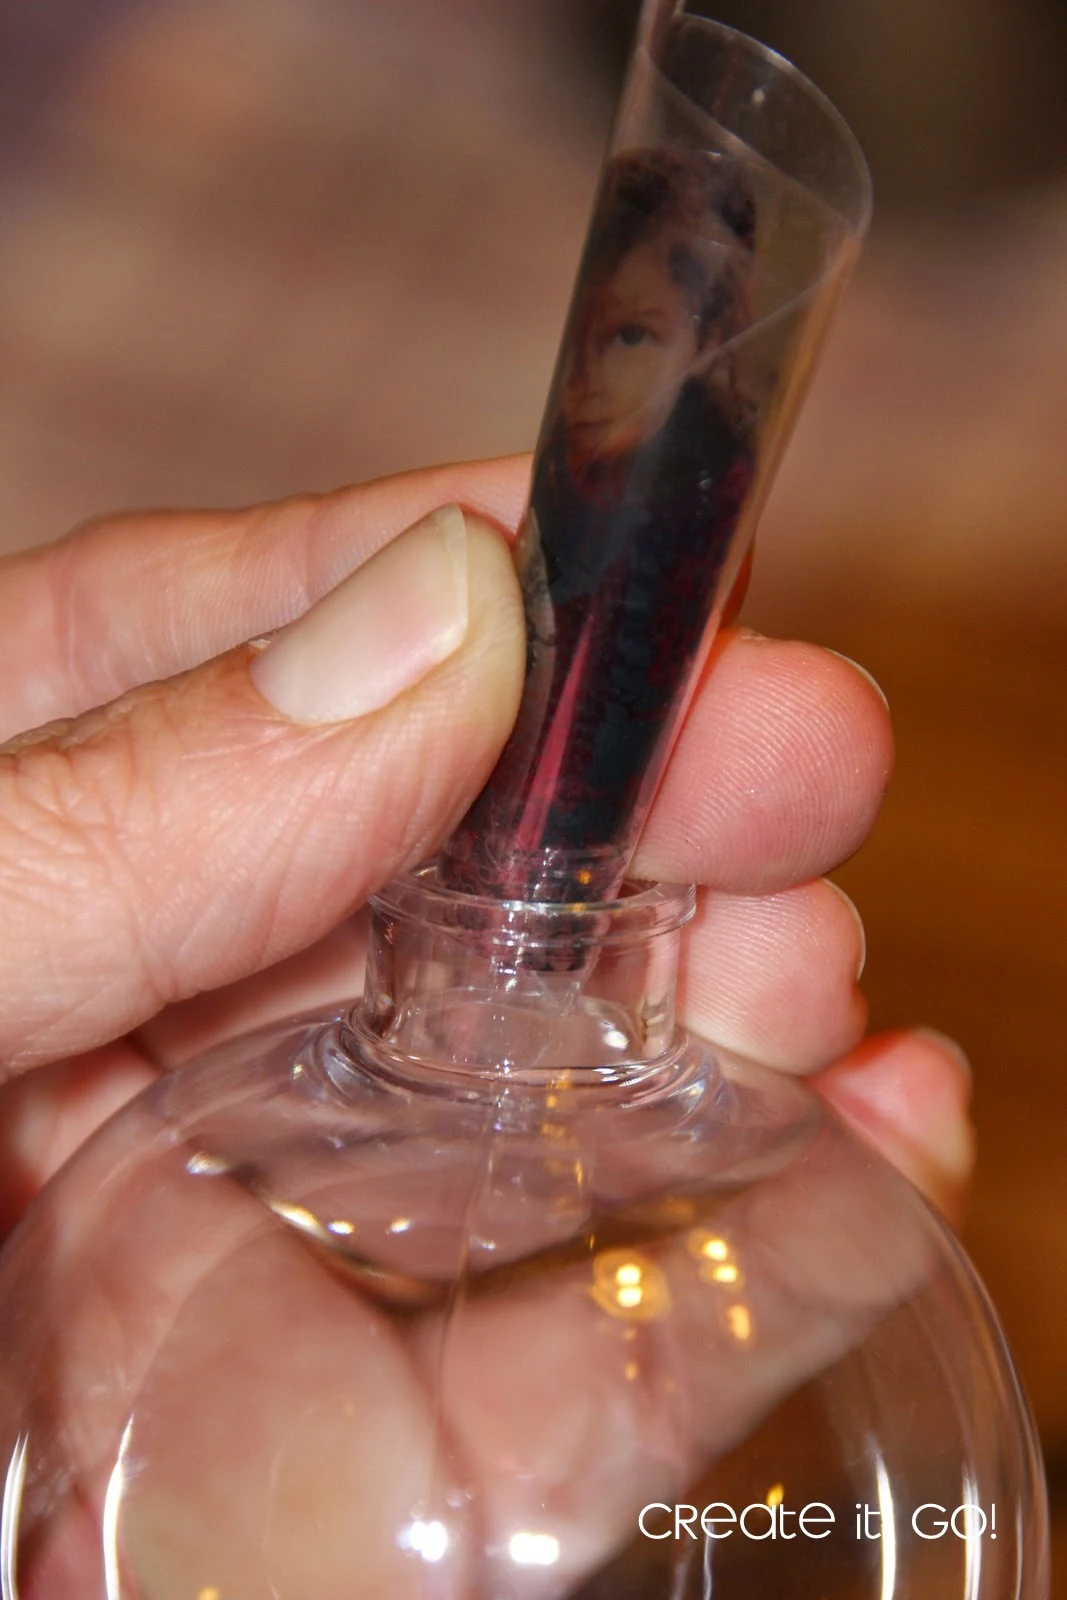
You may need to use some tweezers to maneuver it a bit and to get it to sit just right in there. You want it to be tight in the bulb, so that it doesn't twist around. You also want the tab sticking up into the neck of the bulb to help keep it in place.
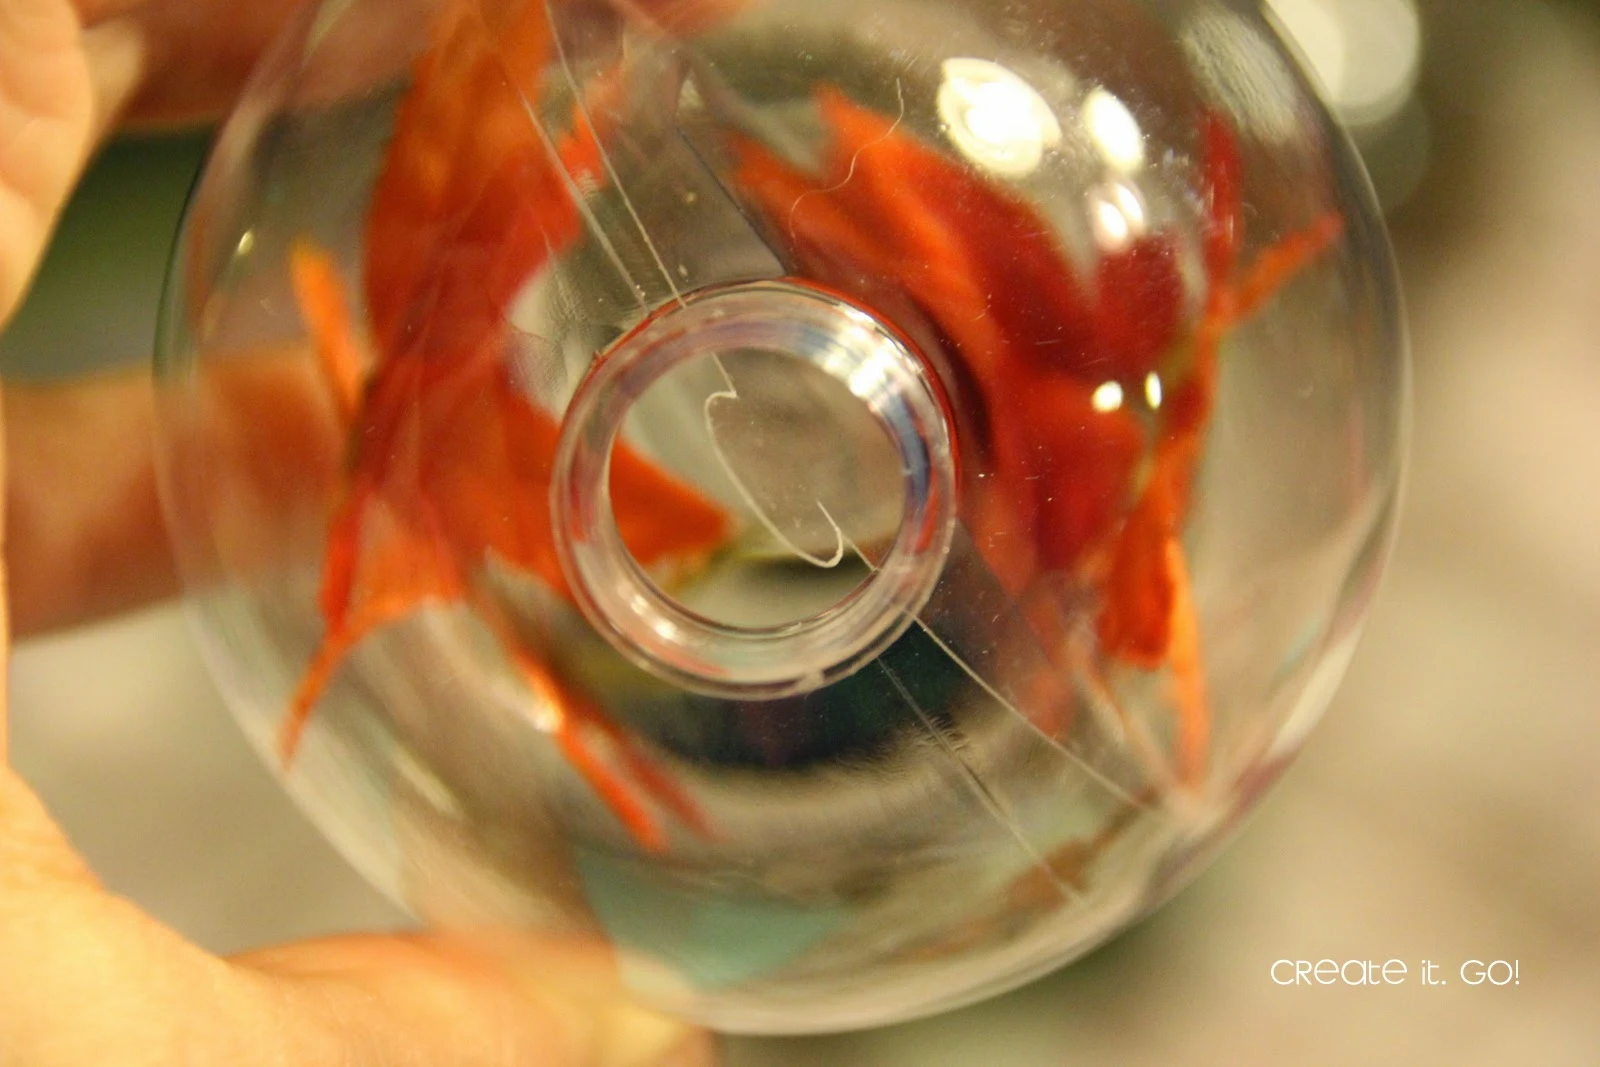
If you are adding fake snow (or little leaves like in the one above), you do it next. Make sure you put it on both sides of the insert. When I add the little metal top back on, I make sure that one of the little metal prongs is on one side of the transparency inserts and another on the other side. This also helps to keep it in place. Then you can add a ribbon or other embellishments as you want.
After LOVING our new family ornament that I made, I had another great (to me!) idea to make a "family tree" with bulbs that contain pictures of either your kids and family members separately like the one below, and then you can fill a whole Christmas tree of individual pictures of loved ones and great memories throughout the year (Like the one below of my daughter jumping in the leaves).
ANDDDD...that lead me to ANOTHER idea...
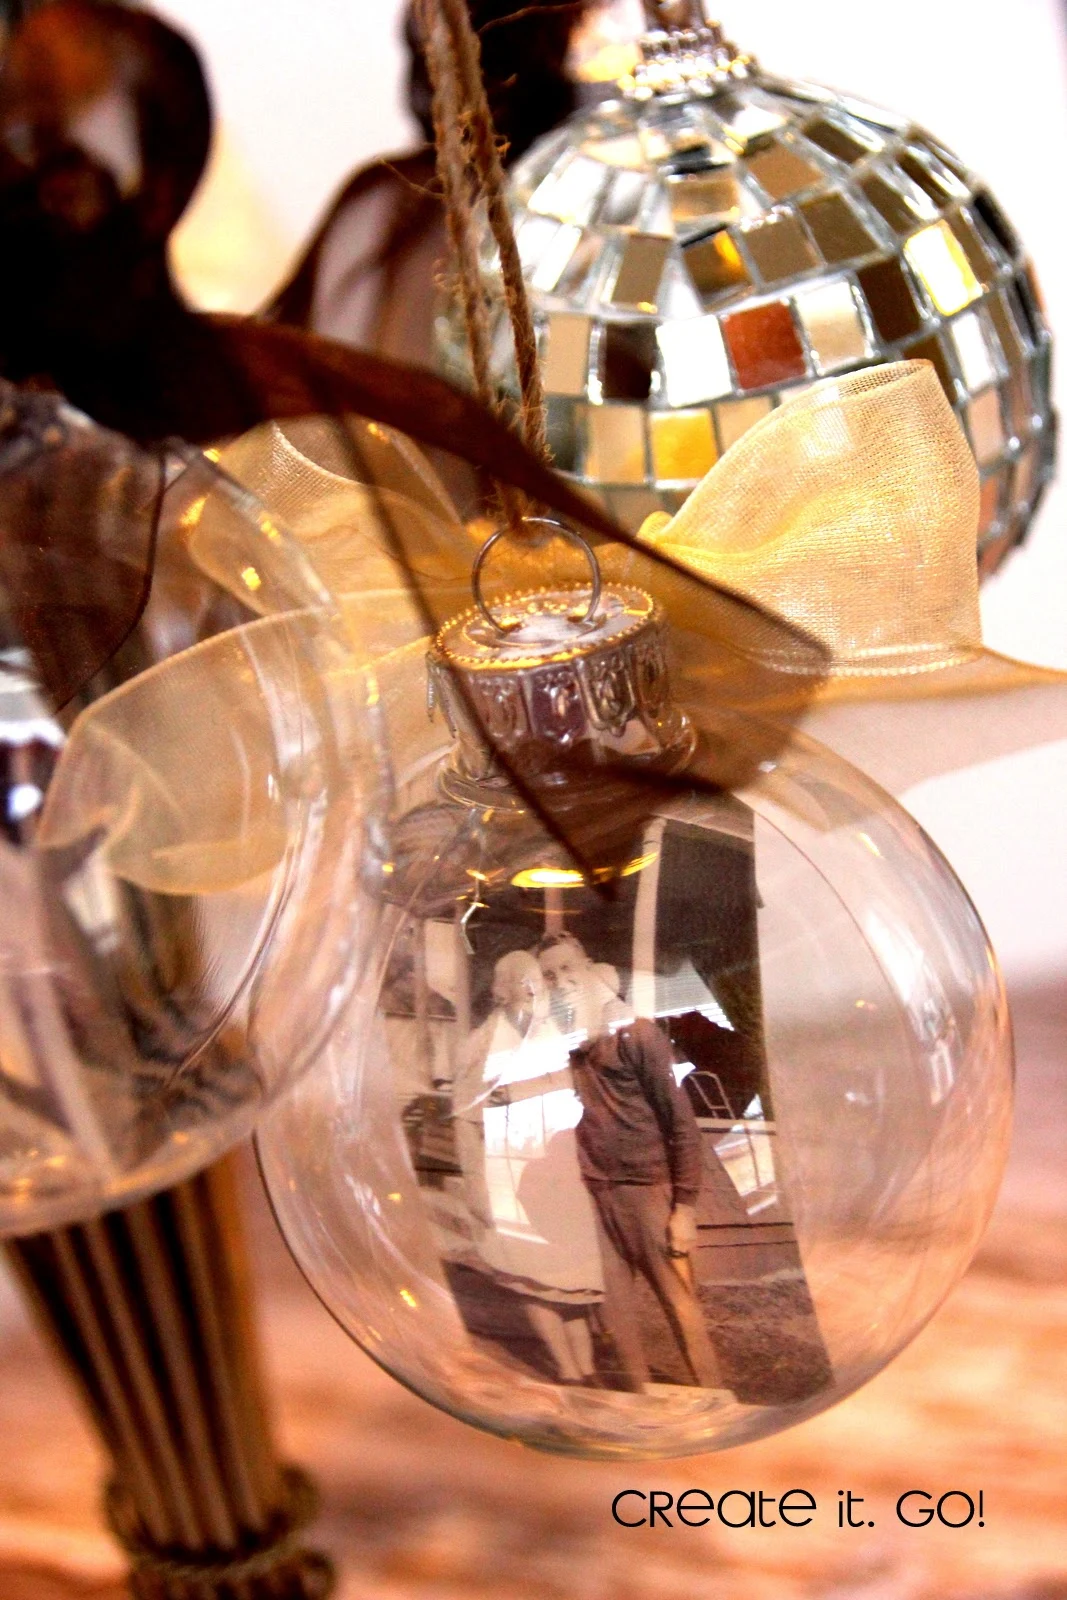
You can make them of a bunch of different ancestors, making it a true FAMILY TREE! I have to say that I loved it when this idea crept its way into my head. I love to have my children learn more about their family and who and where they came from. And I knew that my mom would also love this idea. (Hint: would make a great DIY Christmas gift for people that it's hard to buy for!)
For these, I made them a little differently. I cut the ornament shape out of regular transparency this time and then printed the pictures on some see-through large adhesive address labels. Then I just peeled the labels off and stuck them onto the transparency. Either way you make them, you are able to see the image from both sides of them bulb and I love that!
I love seeing these pics of so many of my relatives and ancestors displayed, whether it be on the actual Christmas tree or on a display like this. I love the life lessons that we can learn from our families and keeping their memories near.
I printed all of these family ones in either black and white or in sepia, even if I had colored photos of them. I love the monochromatic theme it makes and the vintage feel this way.
Thanks for having me here and hope you have a great holiday crafting season!


.png)


Tried this and did not work at all the white faces were totally washed out you could not see them at all. Lighter colored clothing was also a big problem.
ReplyDeleteI have made these too and they are fun. One thing I do is make 2 of each picture, exactly the same. Then I put them together and roll them up and slip them in the clear ornament. The pictures show up much better that way. I also change my printer settings to vivid color.
ReplyDeleteQuestion... Laser jet printer on ink jet transparencies?
ReplyDeleteI'm also wondering this as my inkjet sucks and i have a bunch to do
DeleteGet the Best sweet and colorful candies for Christmas Tree Decoration to enhance the decoration and celebrate the Christmas Day 2015
ReplyDeleteJust f those o you wondering about these. I have an Inkjet printer, and I have multi use transparencies. What I learned is that there is a bumpy side (Inkjet) and a smooth side (Laser Jet) o put them in your printer with whichever side ou are using, but face it down. Print them on a Custom Setting and choose the appropriate printer paper method, and it will work great. Have been making and selling these for over 7 years now.
ReplyDeleteHow much do you sell them for?
Deletejust wondedring what the cut setting are, camero 3 software 4.1 auto blade
ReplyDeleteI still remember the way we decorated real trees with ornaments and greeting cards. Its a different feeling and i collect new Christmas tree ornaments every year. Nice article... +1
ReplyDeleteSil cut settings for transparencies anyone?
ReplyDelete