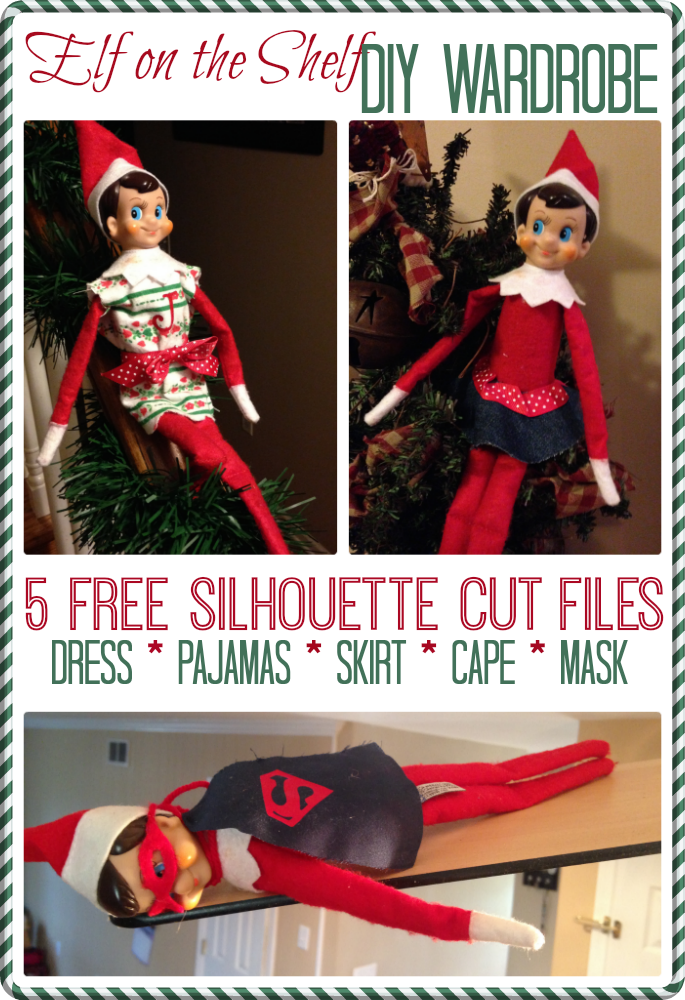
 Let's talk elf clothes because a night last week I spent the evening making elf clothes...with my Silhouette.
Seriously, I have 8,000,000 things to do and this is how I spent about 3 hours. Why? I'll tell you why because I had a lot of experimenting to do so I could tell you all the best way to make your elf (because I know you have one) a new wardrobe. Ain't nobody got time for an unstylish, nakey elf!
So...I raided my scrap fabric supply..and by that I mean the crumpled up stuff under my desk and clothes that my kids have outgrown (more on that in a second), to find the perfect fabric to make some elf pajamas (err...tunic), a jean skirt, and a super hero cape and mask.
Yes, you read that right, this elf is Santa's finest dressed helper...ready for all occasions be it the elf prom or saving Santa from the bad guys.
The great thing about making elf clothes is they're super small so they fit right on the mat, even my Portrait mat. (Yes, I got the CAMEO, but I still love my Portrait and since it's a little more portable I moved it to the living room temporarily so my littles didn't hear me making elf clothes....although my daughter swears she heard my sewing machine 'buzzing' in the night).
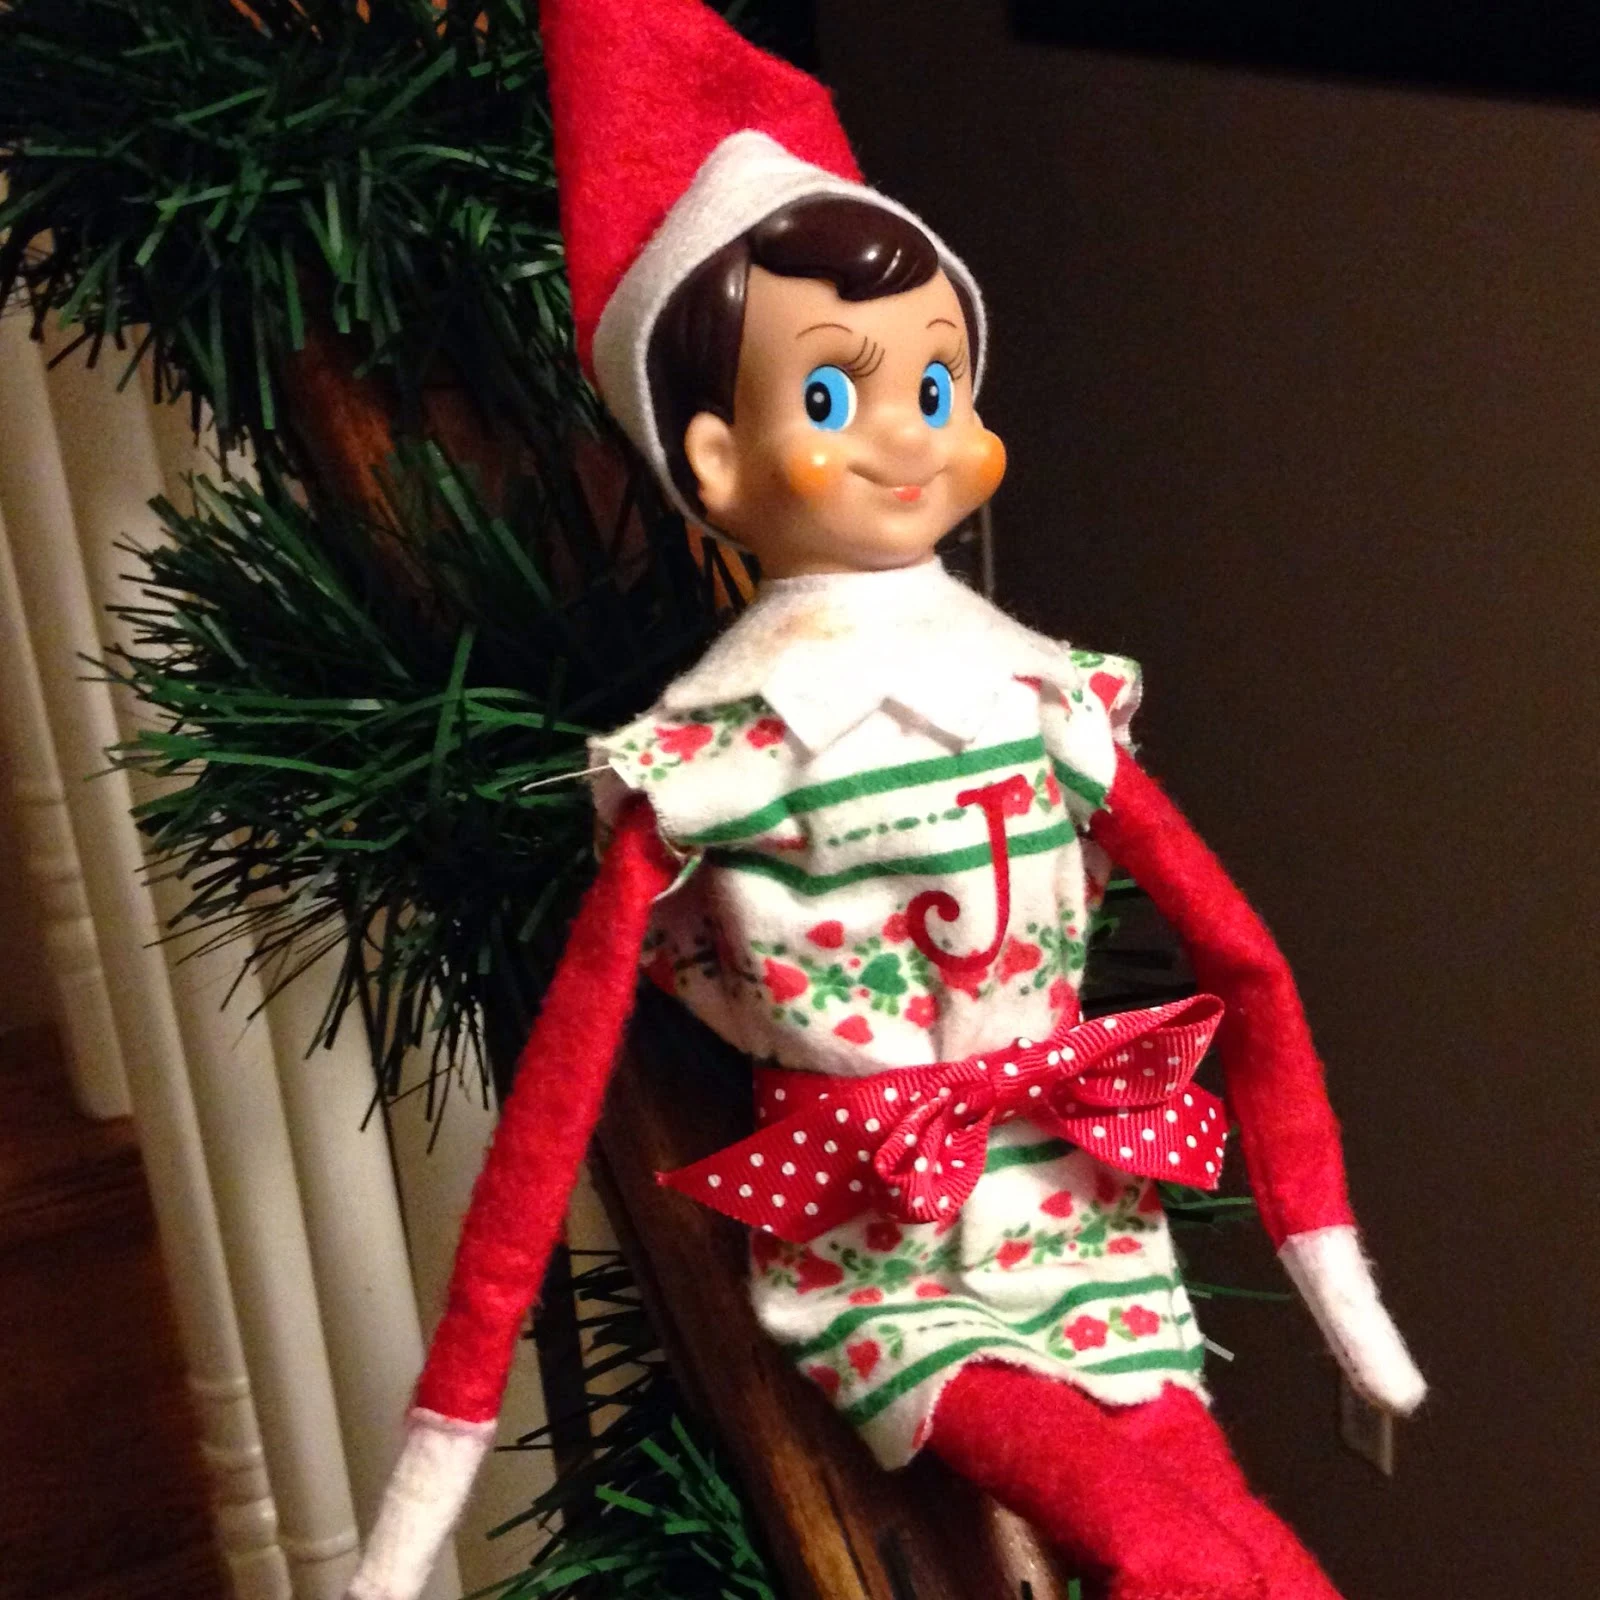
Now I don't know the first thing about designing elf clothes so I went hunting on Pinterest and came across the best.elf.patterns.ever on Sew Love Le blog! The patterns needs some adapting to work on my Silhouette, but with some flipping, mirroring, and welding they were ready to be cut. The original pattern was for a set of pajamas along with a few dresses and some other totally cute stuff. Again, I did a little modifying and decided that the pajama top did not need sleeves (or bottoms) and hence turned into a long tunic. Our elf doesn't sleep, she stays up all night sewing a new wardrobe..so why would she need pajamas?
Anyway, Anh-Chi over at Sew Love Le has graciously allowed me to adapt her pajama pattern and convert it into .studio files so I can offer them to you (and here she's one of us - a Silhouette user...go figure!) as free downloads. Huge shout out..so click here to download the studio file for the free tunic/dress and pajama pattern.
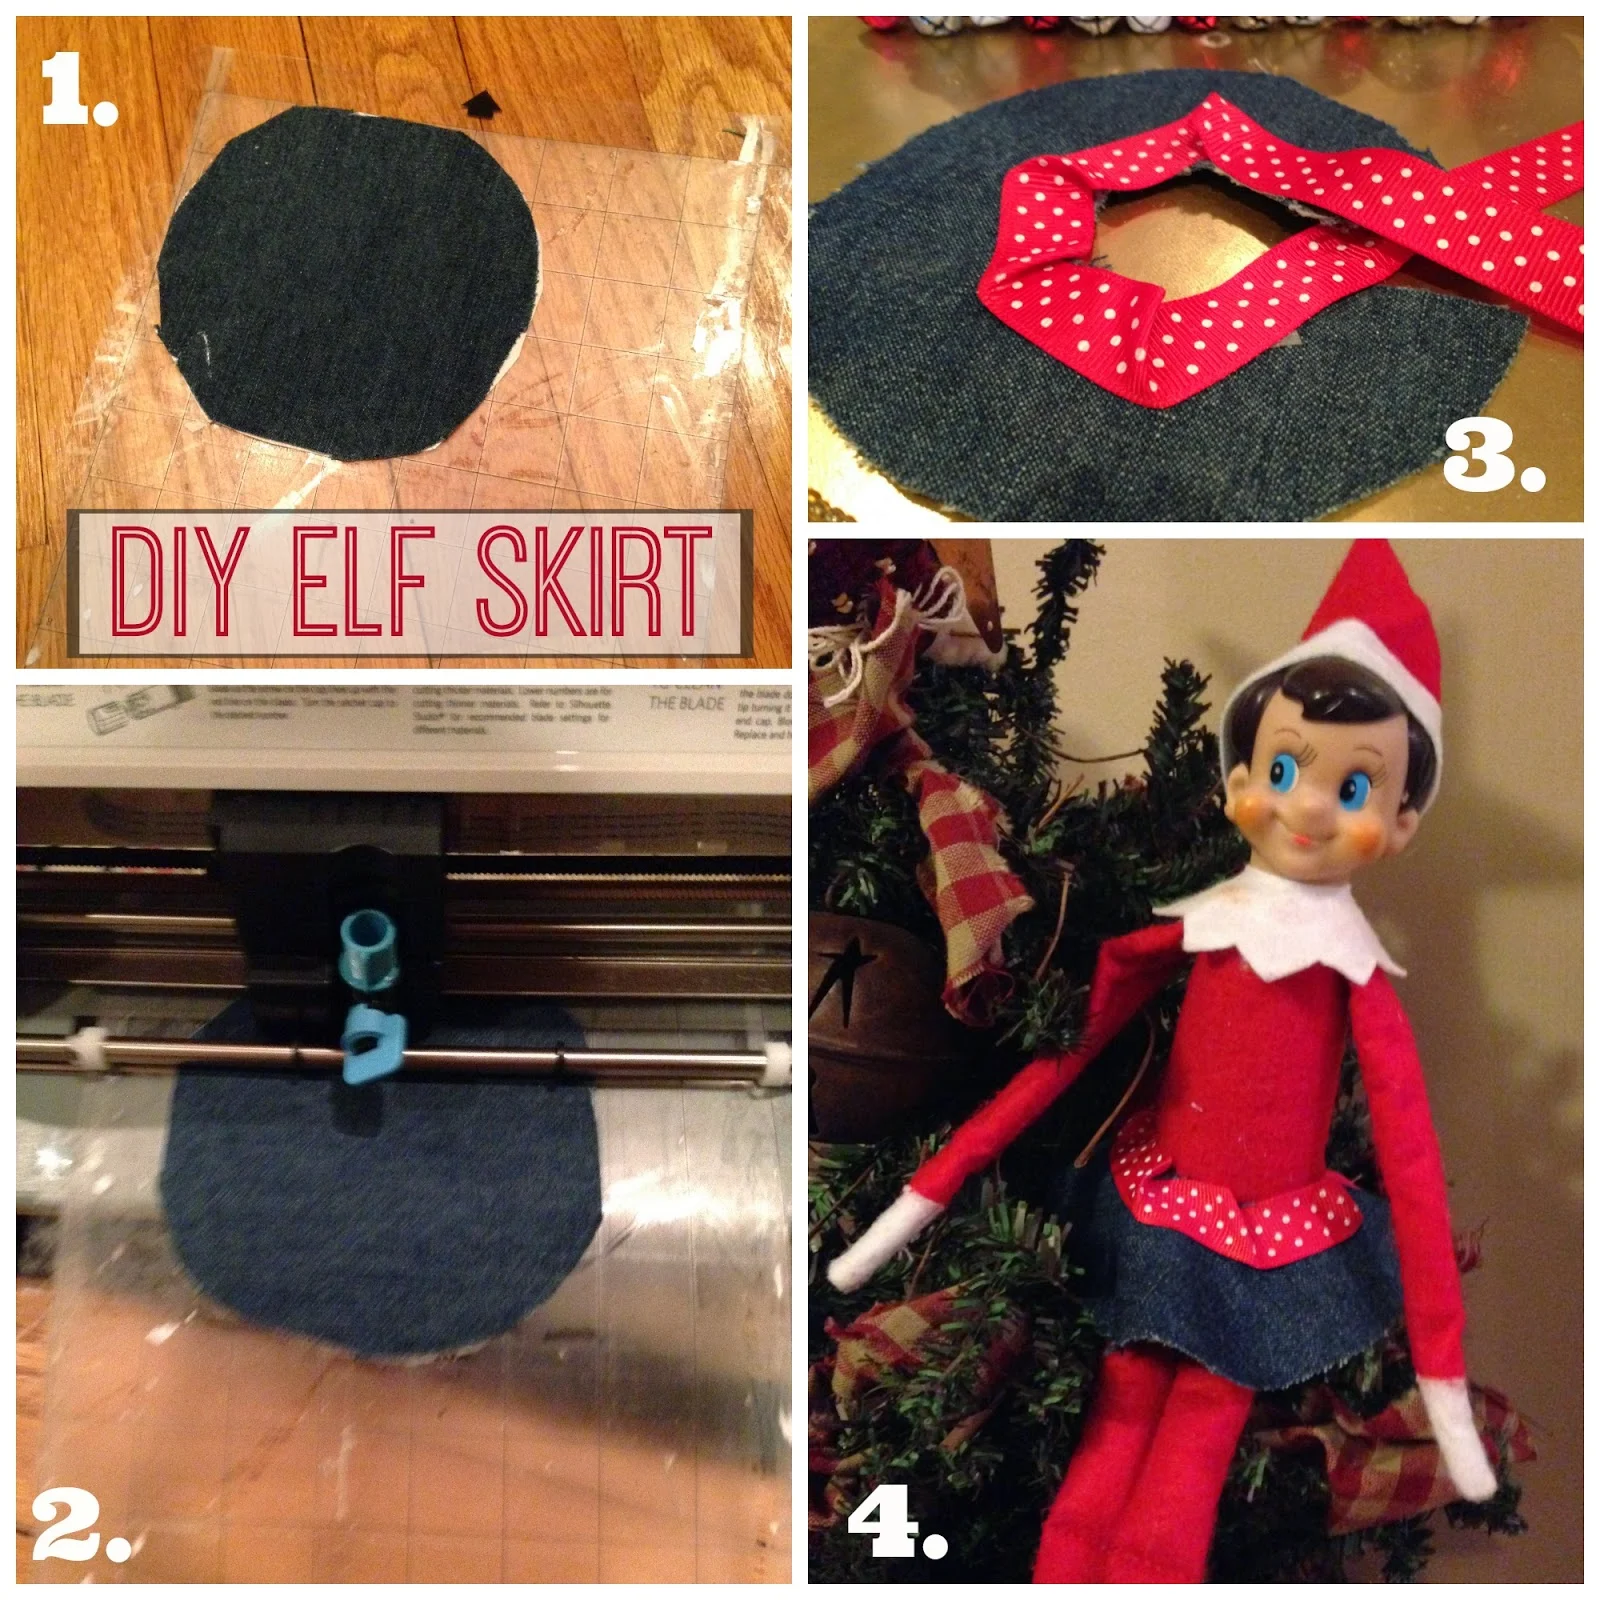
I also designed Miss Jackie a simple little skirt that I cut out of an old denim hat that no longer fit my daughter. It's upcycling at its best.
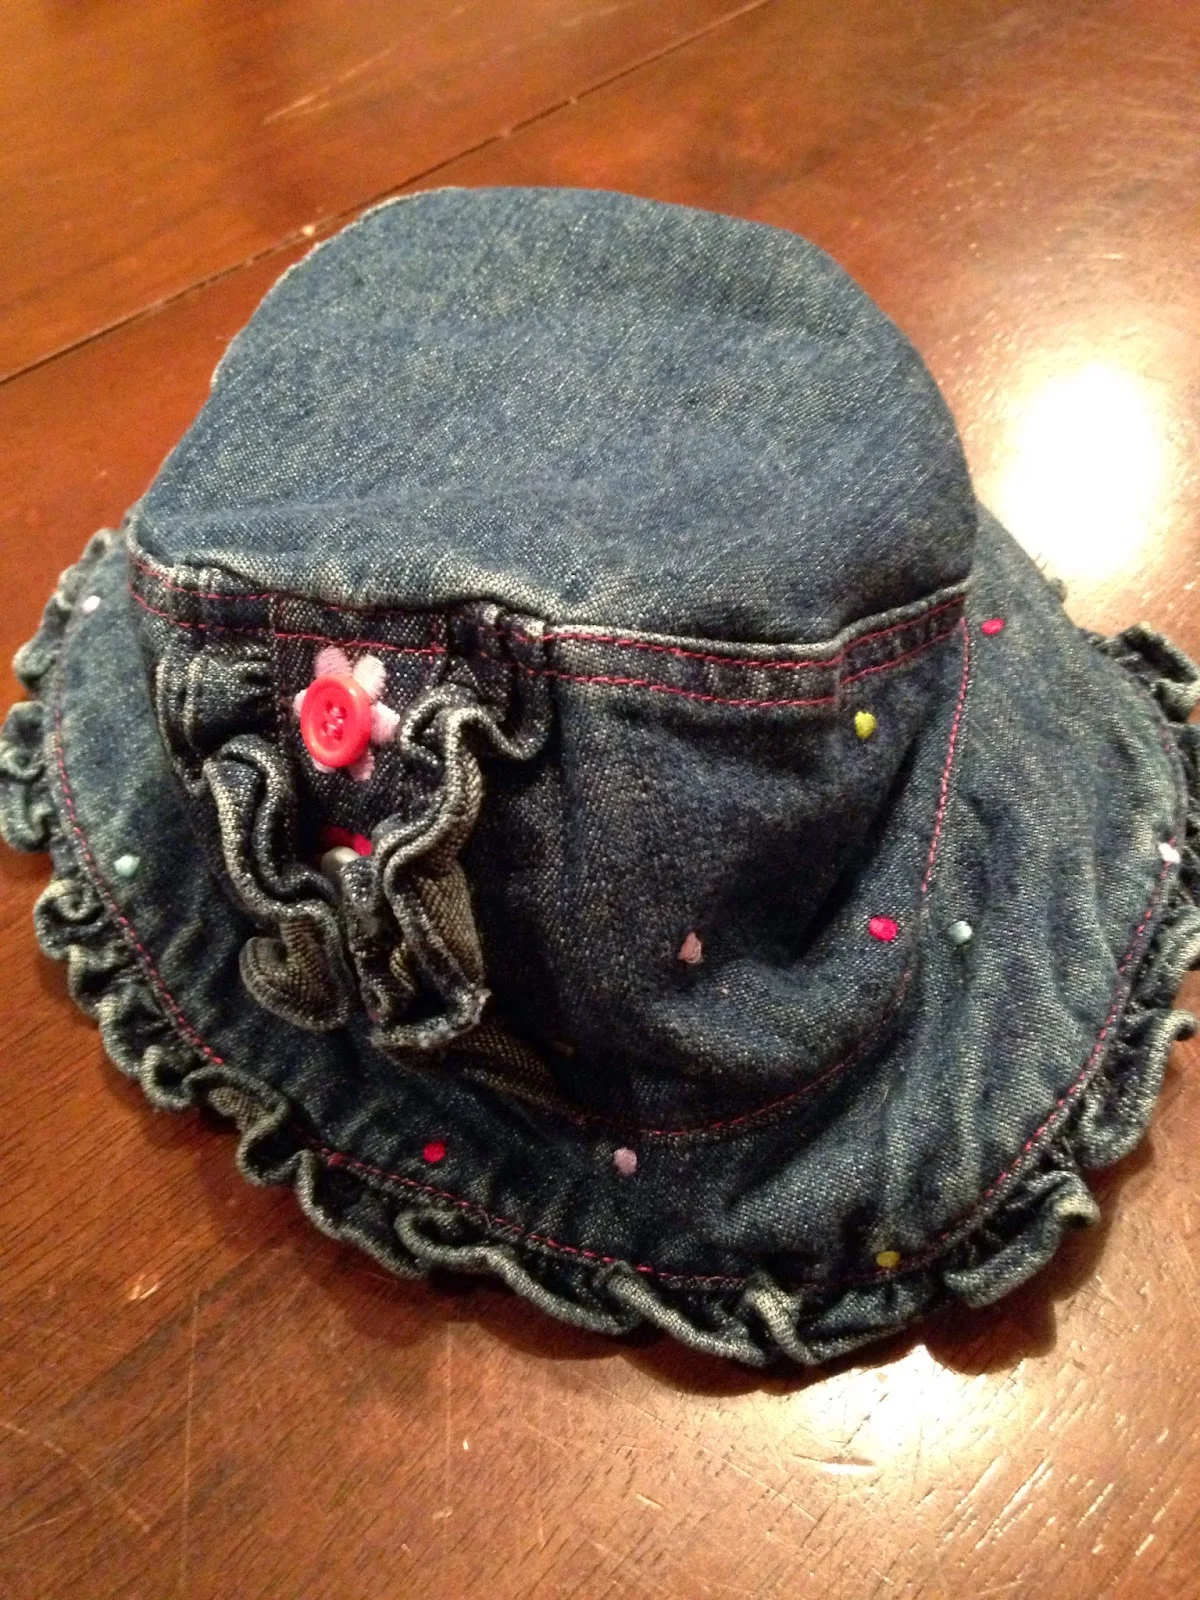
To create the skirt design in Studio, I drew a 5" circle. Then I drew out a 1.5" circle and used the align tool to center them. Both were selected > right click > make compound path. Then I use the knife tool to draw a straight slit between the two circles. Don't worry too much about this since I'm giving you the pattern. :)
Don't cut yet...we need to design the last piece of our wardrobe, the super hero cape and mask for Super Jackie.
I reused a super hero cape shape I had from gift tags I made for favors a few months ago. Didn't even need to resize it, just a quick trace and the cape was ready to be cut. I cut the cape on the lining from the denim hat.
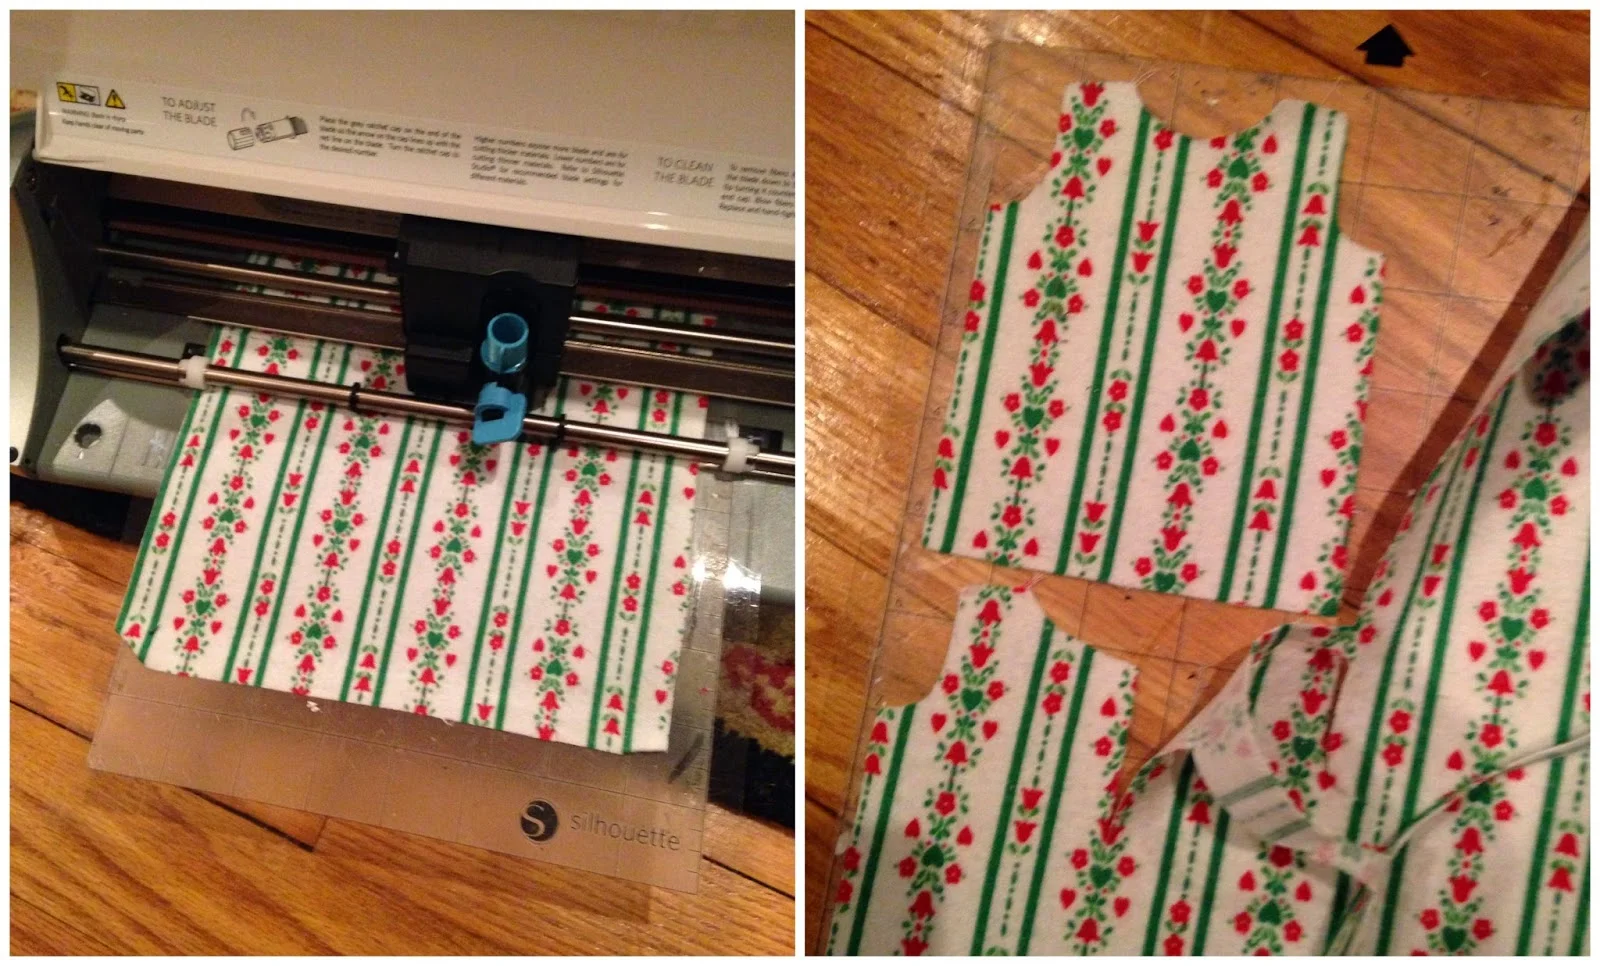
Alright so now we have all the pieces for our wardrobe and we're ready to cut. If you never cut fabric before you can't just go and cut it..you need to do a little prep work first.
Iron a piece of interfacing to the backside of your fabric. This just gives it a little rigidity. I was in a pinch so I used the Silhouette seweable interfacing and I have to warn you DO NOT REMOVE THE PAPER BACKING until after you sew because it's super sticky and makes it tough to sew. More on that in a minute.
Again, peel the front and back pieces of the shirt, with the paper part of the interfacing up off the mat together as best you can. The reason you want to do this is because if you don't have the backing when you put the right sides together to sew, the sticky part of the interfacing is right up against your presser foot and machine and it makes it nearly impossible for the pieces to move through the sewing machine because of the resistance caused by the interfacing, but with the paper there, it can easily sew.
Sew along the sides and on the shoulders and then flip your shirt/tunic/pjs right side out.
If you're adding any HTV, like I did for the monogram, press it on before removing the paper backing of the interfacing (if you are using the same type as I did) or you'll stick the insides of your shirt together. After sewing and after you add any htv detailing, you can rip off the paper backing from the inside.
If you're making the pants repeat the same process.
I finished the dress up by tying a pretty ribbon around the waist, but you could leave this off if you're making the pj version.
The skirt was cut next in the same way and with the same settings since denim, like flannel, is a thicker material.
I used double sided fabric tape from Punch Place Plus to add the ribbon detail at the top. It's also what keeps the skirt tied around Miss Jackie.
Ya know what made three hours of elf clothes-making all worth it...my kids' response. "Ohhhhh my gooshhhh, MOM!!! You have to see, Jackie! She used your sewing machine and your cutter thingy and your really hot thing - we aren't supposed to touch - and your ribbon and made a dress. I can't believe it." (Wait 'til they see Super Jackie!)
Speaking of super...you won't believe the amount of super holiday Silhouette projects my Silhouette Challenge buddies have come up with! AND not only that but we've all teamed up to give away A PORTRAIT and a CAMEO to TWO lucky winners. BUT FIRST.... we're all sharing projects on our blogs today, so peruse the projects below for a wealth of Silhouette inspiration! Just click right on the graphic to go to the project!
 1. Pineapples and Pinecones // 2. Simply Kelly Designs // 3. Architecture of a Mom // 4. Just a Girl and Her Blog // 5. Two Purple Couches // 6. Chicken Scratch NY // 7. Creative Ramblings // 8. One Dog Woof // 9. Ginger Snap Crafts // 10. The Thinking Closet // 11. Please Excuse My Craftermath... // 12. Designer Trapped in a Lawyer's Body // 13. weekend craft // 14. Dragonfly & Lily Pads // 15. Practically Functional // 16. Living My Given Life // 17. My Paper Craze // 18. The Kim Six Fix // 19. Home At Eight // 20. Queen of Everything // 21. Tried & True // 22. Mama Sonshine // 23. unOriginal Mom // 24. Create it. Go! // 25. From Wine to Whine // 26. GetSilvered // 27. It's Always Ruetten // 28. Nearly Handmade // 29. McCall Manor // 30. Silhouette School // 31. It Happens in a Blink // 32. Create & Babble // 33. Sowdering About // 34. Where The Smiles Have Been // 35. My Favorite Finds // 36. Lil' Mrs. Tori // 37. Designed Decor
Thanks for coming to class today at Silhouette School. If you like what you see, I'd love for you to pin it!





.png)


Do you have a pattern for Elf on the Shelf that is a robe?
ReplyDelete