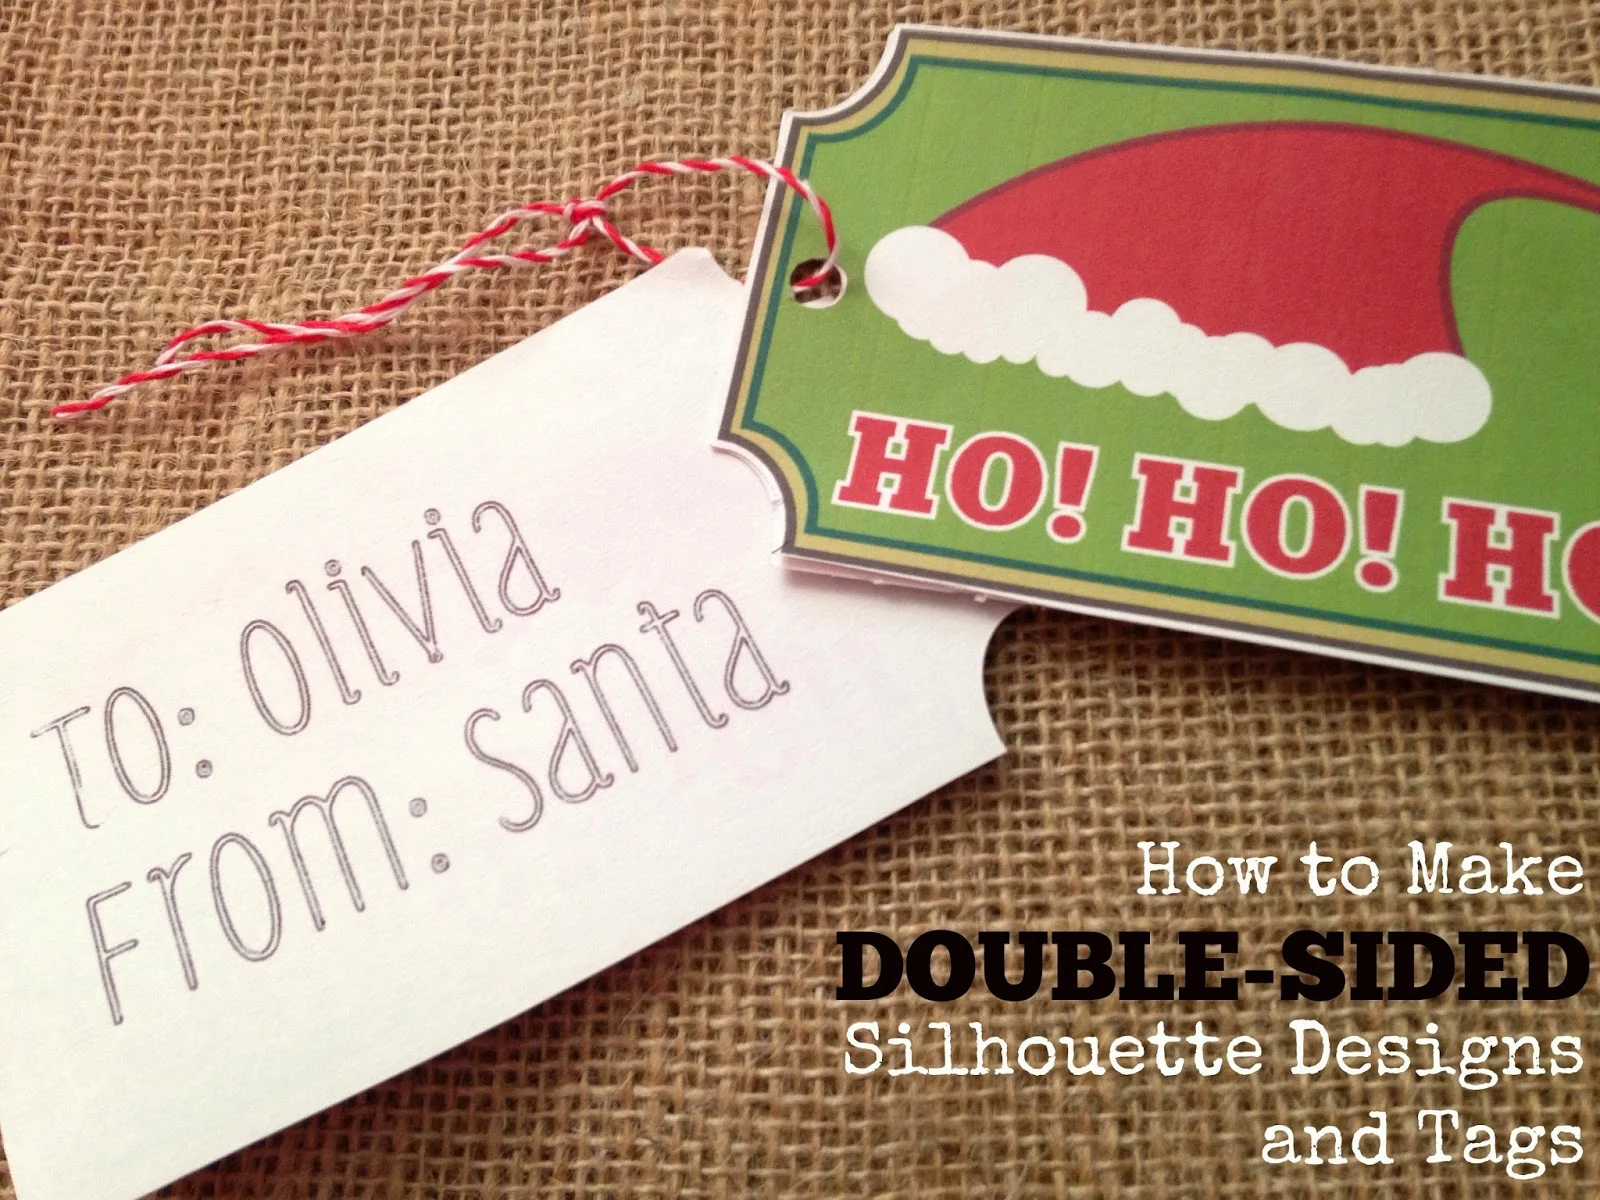
 Today I'm answering another reader question on the blog - this one has to do with how to make double sided designs using the Silhouette. Specifically the Silhouette School reader wanted to know how to make double-sided Christmas tags with a design on one side and the To/From on the other side. There are actually two ways to do this - one uses just one piece of paper and the other is two that are then put together.
For the first method, the key here is going to be PixScan mat. If you still haven't invested in a PixScan mat, I would suggest it and I honestly can't say that about every Silhouette product...ahem.
Alright so here goes...we're gonna to to start by picking a design. I am going to work with this print and cut Christmas tag that I have in my library. It was one of the free designs that came with my software (I have the Portrait and I believe some of the designs are different than what is provided to CAMEO users.) I did add the little circle to the left of the hat so I can string a ribbon through it and use this as a gift tag.
Follow through just like you would with any other print and cut... Add registration marks > send to printer > put on cutting mat > feeding into Silhouette > Send to Silhouette to detect registration marks/cut. (Click here for the Print and Cut 101 tutorial)
Now after you have successfully printed and cut your tag you want to load it onto the PixScan mat, but put it printed side down. If you're unfamiliar, follow the PixScan 101 tutorial so you can get it to open up in Silhouette Studio. Snap a picture > upload > open PixScan image in Studio.
After the PixScan image with the backside of your tag opens in Silhouette Studio, normally you would trace it (and normally you wouldn't be able to trace a white design because there's not enough contrast off the white mat, but since we're not tracing, white on white is fine). But today we're going to skip that step. Instead we're going to type out our To/From info. You're going to be sketching this so pick a font you like to use with sketch pens...here are two of my favorite sketch pen fonts.
Size and position the text so it's exactly how you want it to appear on the tag.
Now swap out your blade for the sketch pen and pick Sketch Pen from the cut material list in Studio. Load the PixScan mat into your Silhouette and tell Studio to start sketching. The PixScan technology tells the Silhouette exactly where to start sketching so the placement is perfectly on the back of your tag!
Awesome, right?
Okay so let's say you don't have PixScan and you don't have or care for sketch pen. Boo!! But since I still love you, I'll show you another way to do this.
Open up your print and cut design in Silhouette Studio.

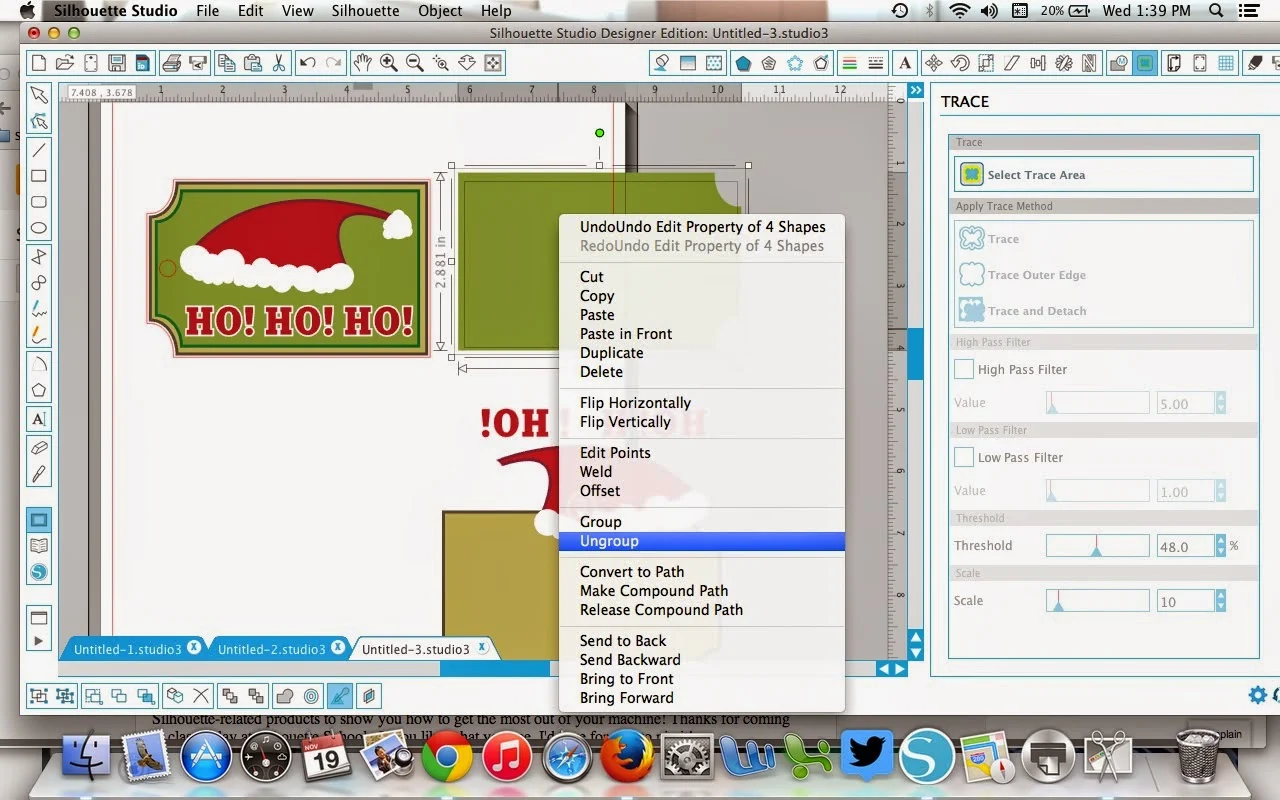
Select it and then mirror right.
Ungroup the mirrored design and delete everything except the outside cut line (and the little hole where the ribbon will feed through).
Now you should have this...
Using the text tool, type out your text and move it onto the blank side of the tag. Fill the text with a color. If you'd like to add any other designs or details, do so now.
Add your registration marks and continue on as you normally with a print and cut design.
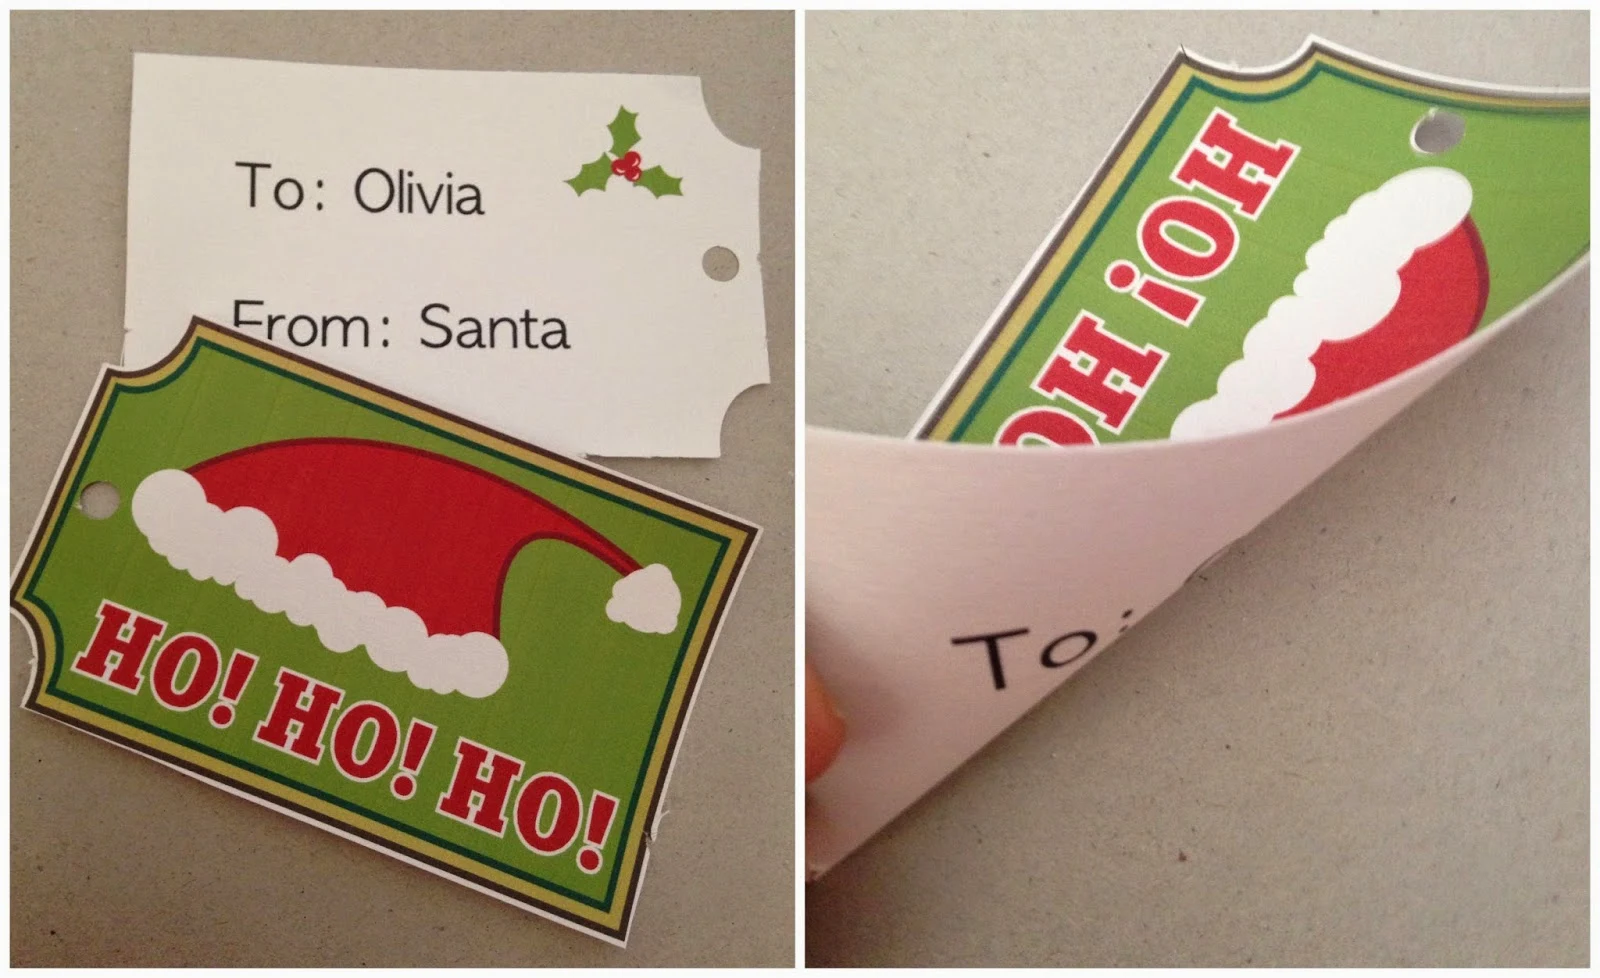
Here's mine after it printed and before I cut...
After you cut, you'll end up with two sides of your tag that you'll need to put together with some kind of adhesive. I just used a glue stick. Real pro...I know.
Note: This post may contain affiliate links. By clicking on them and purchasing products through my links, I receive a small commission. That's what helps fund Silhouette School so I can keep buying new Silhouette-related products to show you how to get the most out of your machine!
Thanks for coming to class today at Silhouette School. If you like what you see, I'd love for you to pin it!


.jpg)


.png)


No comments
Thanks for leaving a comment! We get several hundred comments a day. While we appreciate every single one of them it's nearly impossible to respond back to all of them, all the time. So... if you could help me by treating these comments like a forum where readers help readers.
In addition, don't forget to look for specific answers by using the Search Box on the blog. If you're still not having any luck, feel free to email me with your question.