I knew there had to be a way to make a lighted sign with my Silhouette, I just wasn't really sure how....until NOW! Woohoo..I am so stinkin' excited to share this with you because it's soooooo stinkin' easy..plus it's a total Silhouette hack and I love hacks!
I will warn you up front you need Silhouette Studio Designer Edition for this because you need the rhinestone tool..yes, you heard that right. But I'm sure you'll be totally convinced that DE is worth the $30 or whatever after you see how how awesome and easy this is.
First of all you want to type out your word. My suggestion is to pick a basic font and a word that's not too long...at least until you get comfortable making lighted signs. I typed out JOY in all caps and picked Arial...definitely don't want serifs and script is not as easy for beginners. We take baby steps here on Silhouette School. So just trust me and go with Arial.
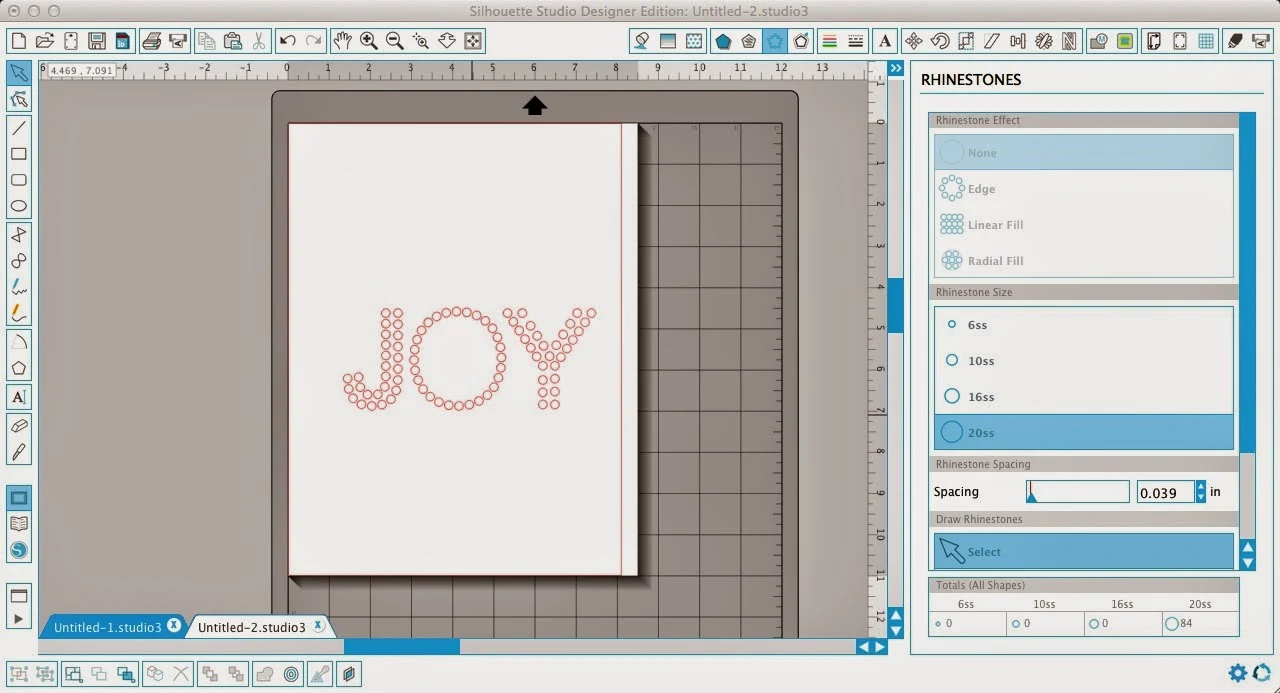
Now...select your word and click on the Rhinestone button. Again, you must have Silhoeutte Studio Designer Edition or you won't have this option. For the effect you want to pick "edge". I went with the largest size rhinestone - 20ss (Yes, I know...still way too small for lights!)
Now you'll notice I have two lines of rhinestones on each letter. I only want one so ungroup and release the compound path of rhinestones (right click for both options) so you can delete one line to give you a single line of rhinestones.
If necessary, which it was for me, click on 'release rhinestones' in the right window panel so you can get access to each individual circle. Delete an entire line to give you a single line in each letter.
SOOOO you need to do a little workaround and actually trick Studio into not know you are working with rhinestones, but instead just basic circles. We're going to do this by tracing.
So fill in the rhinestones with a solid color (this just gives you a better trace) then go to the trace tool > uncheck the high pass filter > trace. And you'll have something like this.

Pull the trace away from the filled in rhinestones and delete the filled in rhinestones. Remember, the unfilled/traced design is NOT rhinestones, but instead just a regular ol' design. The filled in circles are still rhinestones....and you don't need them anymore.
At some point, you're going to want to ungroup the circles so you can see how large each circle is - if you are working with christmas lights you want them between .4 - .45 inches.
When you find the right size, now you can get ready to cut. You can cut on contact paper, stencil material or vinyl. I had some brown vinyl lying around and honestly I don't see myself using it because well..it's kinda ugly (don't tell anyone I said that) so... I cut on that.
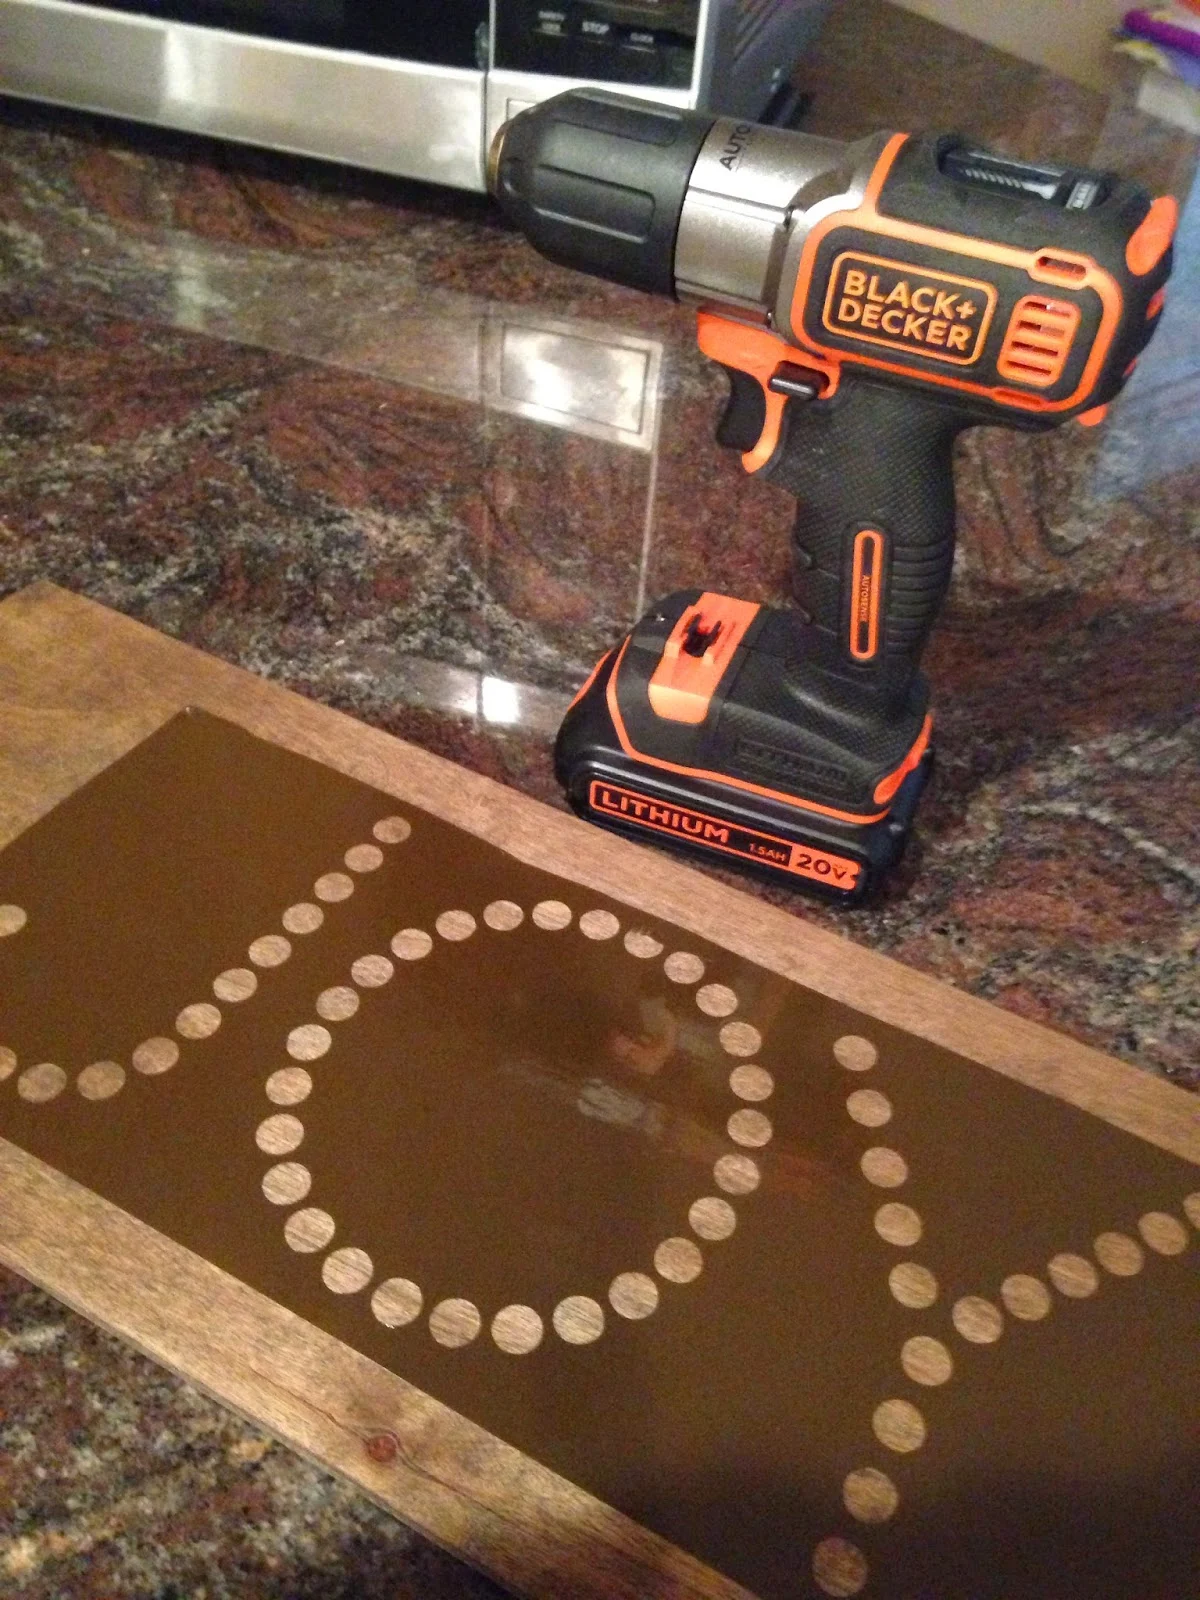
The vinyl is going to act as a stencil so you know where to drill your holes. So weed out the circles and then put the vinyl down onto your piece of wood.
Now go grab your drill....I use the Black + Decker Autosense. I used the 3/8" bit which was just slightly smaller than the holes in my vinyl.
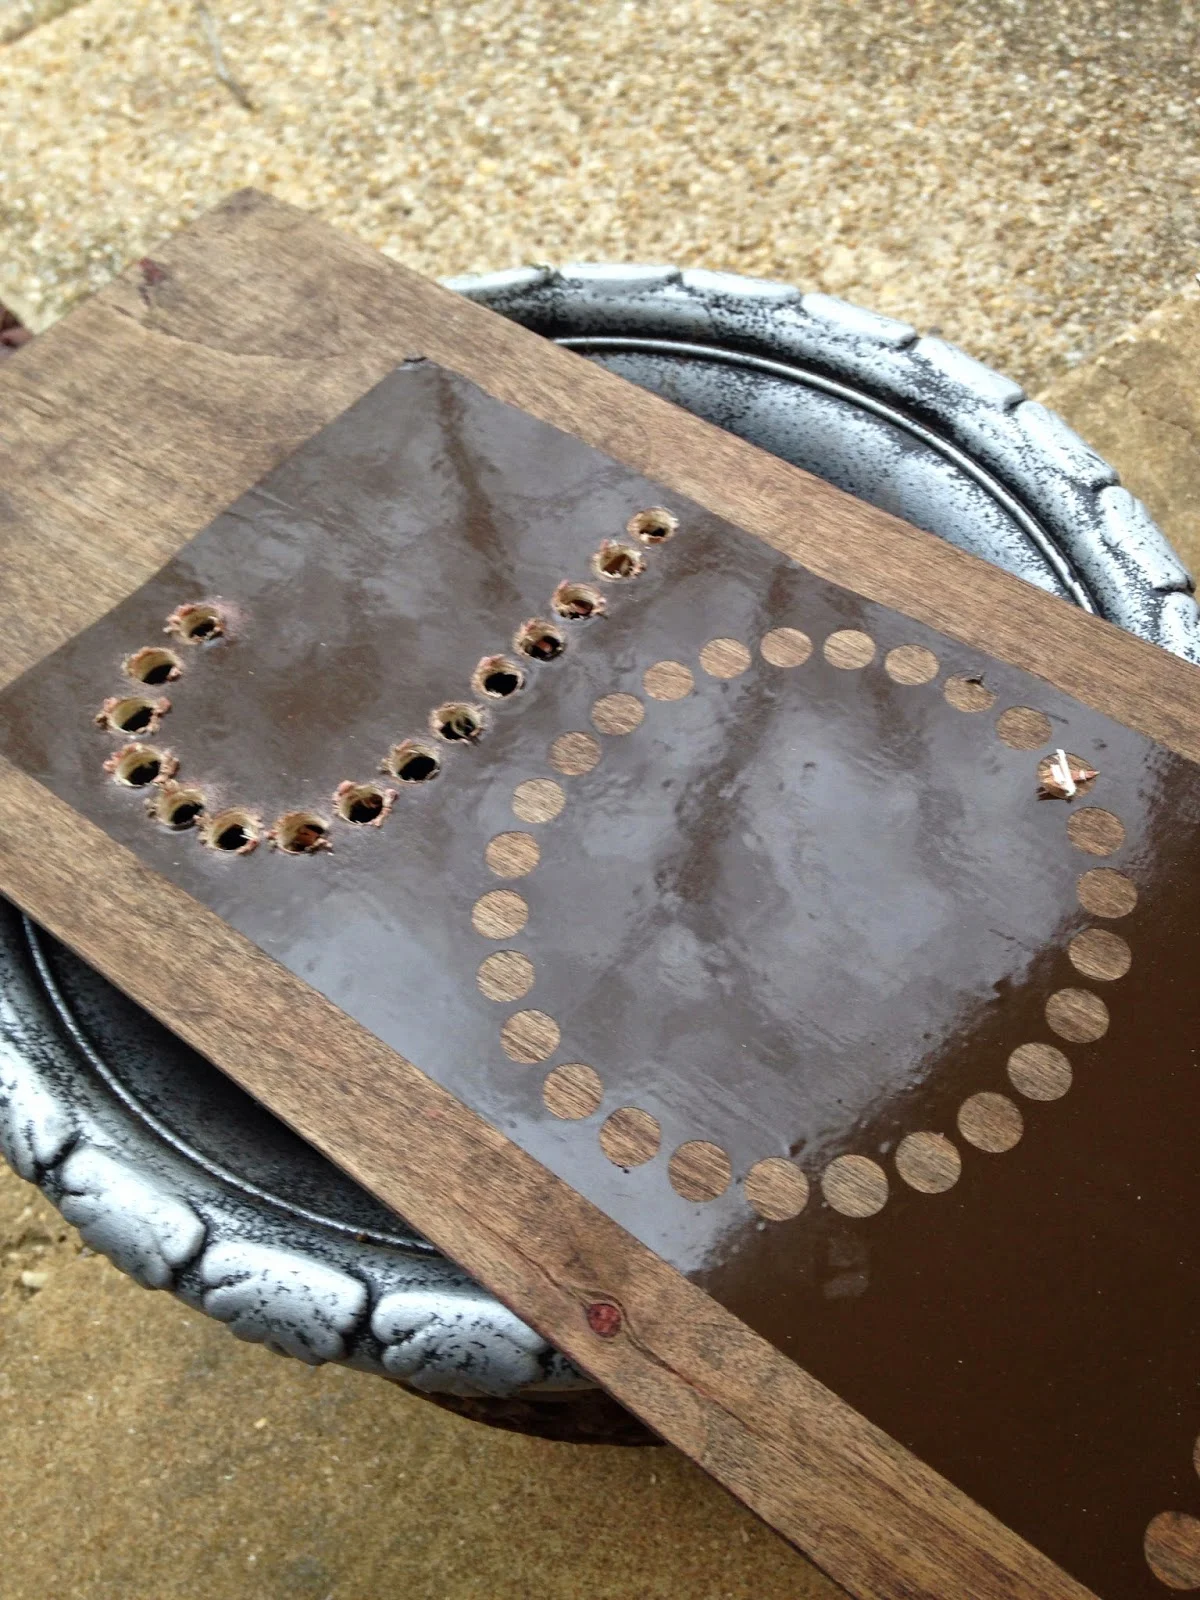
This worked perfectly because I drilled right into the middle and it didn't mess up my vinyl template at all and the holes weren't too close together that I was worried that the wood would split.
The vinyl is going to act as a stencil so you know where to drill your holes. So weed out the circles and then put the vinyl down onto your piece of wood.
This worked perfectly because I drilled right into the middle and it didn't mess up my vinyl template at all and the holes weren't too close together that I was worried that the wood would split.
Once all the holes are drilled, remove the stencil and sand down the wood. If you haven't already painted or stained your piece of wood you can do that now. (Mine was pre-stained and just waiting for an awesome project to hit me.)
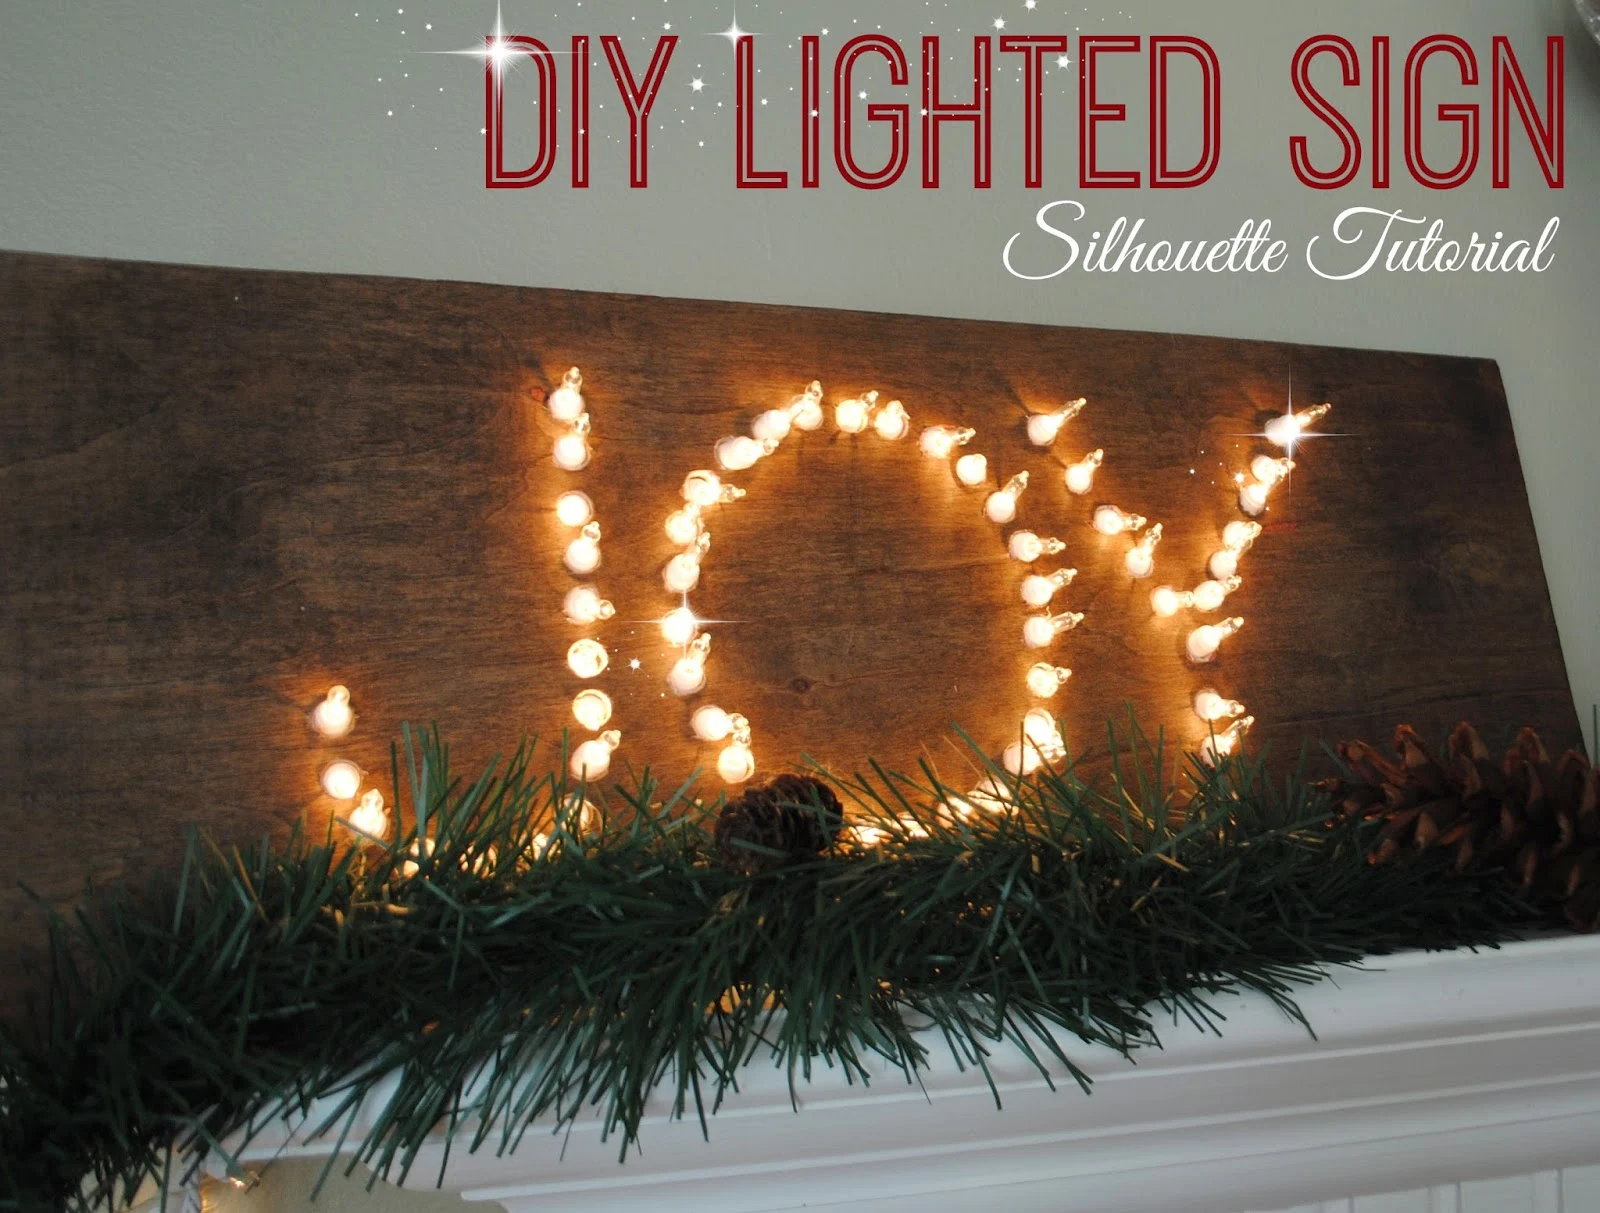
Now just thread the lights through the back of the wood and into the holes and you've made yourself a DIY lighted sign using your Silhouette.
Note: This post may contain affiliate links. By clicking on them and purchasing products through my links, I receive a small commission. That's what helps fund Silhouette School so I can keep buying new Silhouette-related products to show you how to get the most out of your machine!
Thanks for coming to class today at Silhouette School. If you like what you see, I'd love for you to pin it!


.png)


I.LOVE.THIS.!!!! Great tutorial to make a special sign for my parents' 50th anniversary.
ReplyDeleteI just hacked your 'hack'! I didn't have the upgraded version of Silhouette so I just made small circles inside the word 'JOY' and then removed the text and got... exactly what you made!
ReplyDeleteGorgeous! I'm curious what kind of lights you used to fill the holes though.Was it just a string of those little white Christmas lights? Thanks!
ReplyDelete