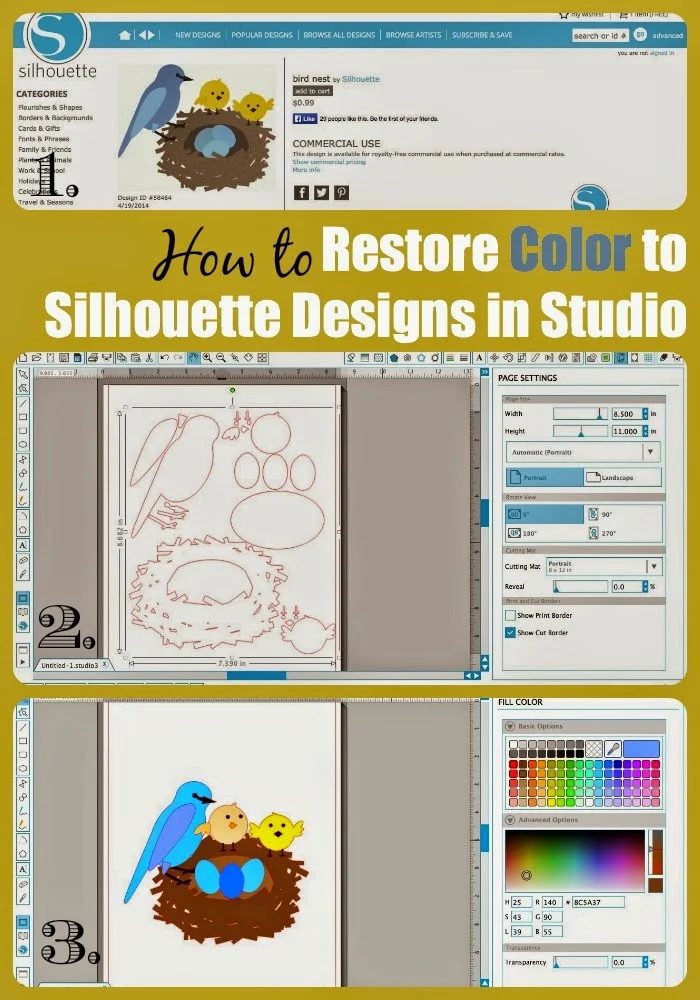
Recently I've had a lot of questions about how to get designs downloaded from the Silhouette Online Store to open in the original colors shown. Here's the thing...unless you purchase a design that's specifically designated a 'print and cut' design (marked with a tiny P in the store), the shapes you purchase will open in Silhouette Studio with only the red cut lines.
The above design comes into Studio as shown below...because, remember, it's optimized for print and cut noted by the little 'P'.
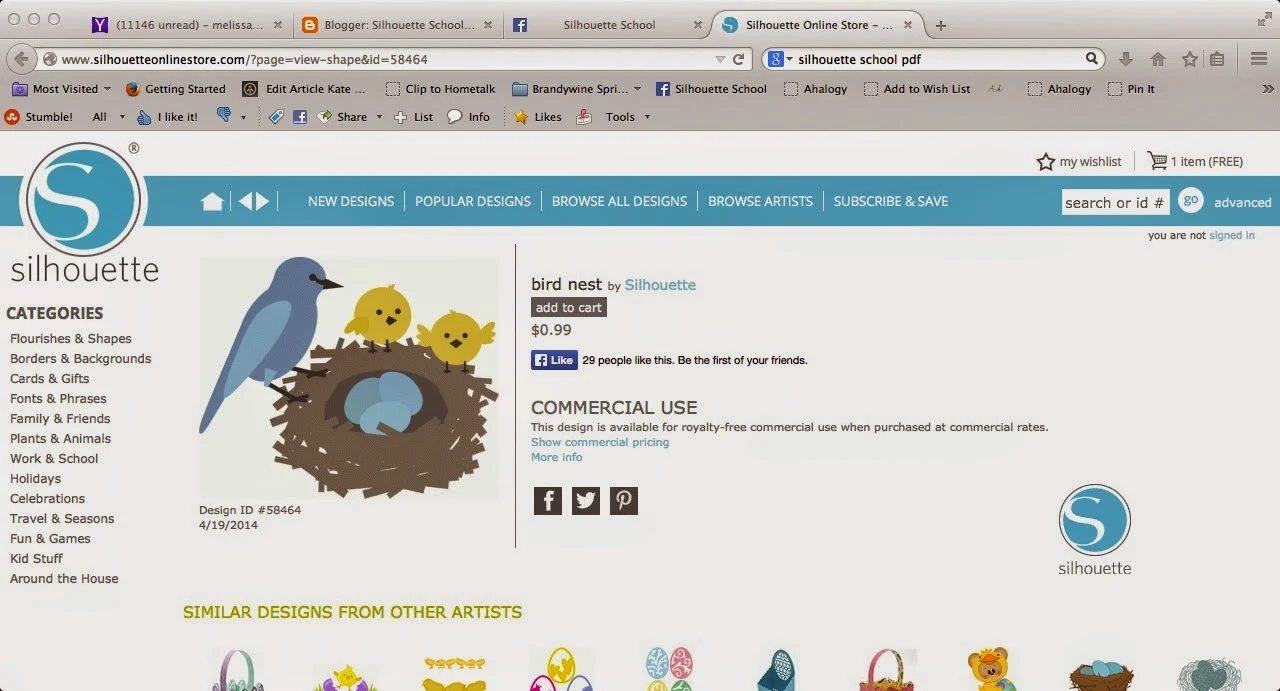
However, this bird nest, for example was a free shape of the week a few months back. In the Silhouette Online Store the design is all filled in with colors. Notice, though, that it's not specifically marked as a print and cut file.
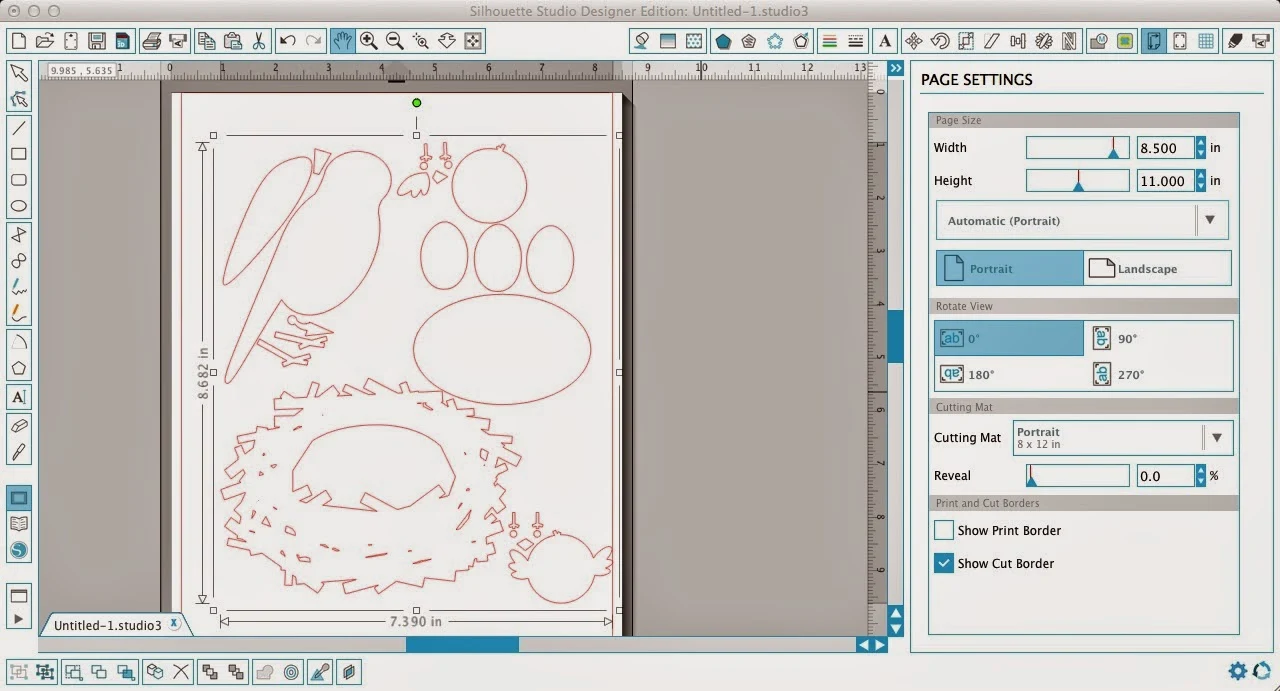
When I open it up in Studio it looks like this....
That's because the Sil Store version is only offering an idea of what your finished product could look like. It all depends on what YOU want and on what material you cut on. Maybe you want a red bird or a tan nest or three chicks and two eggs...so you cut those pieces of the design on red and tan respectively and modify the design by copying and pasting an extra chick and deleting an egg.
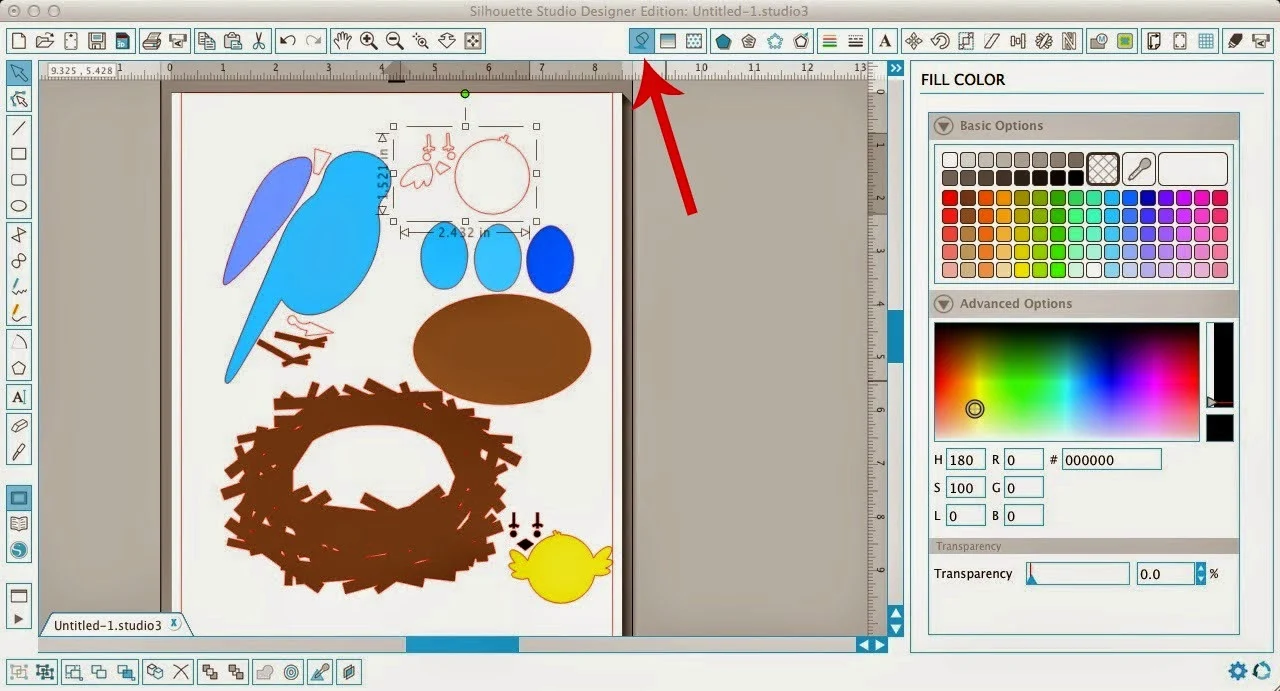
That's where the fill tool and your creativity comes in. I'm a big supporter of filling in your shapes with color in Studio. Using the fill tool offers a few different benefits:
- You know what your finished product will look like BEFORE you go cutting your paper, vinyl, HTV, washi sheets, etc. Consider it a mock up.
- You can create your own Print and Cut files from files that aren't specifically 'print and cut'
- You can group same color objects on the virtual mat AND the cutting mat so you can accurately cut as many pieces at once, even if they are all different colors.
You'll need to start by ungrouping. Select the design > Right Click > Ungroup. You may need to ungroup a few times to get all of the pieces separated.
Next, pick a piece of your design and select it.
Then click on the fill tool. Pick the color that you want that piece from the color options. You can find more color options by clicking 'Advanced'.
 Repeat until you have all of the pieces filled. Refer back to the design in Silhouette Online Store if you're trying to recreate the original design.
Now it's decision time....
Paper Piecing/Vinyl Layering (skip below for print and cut)
Once you have all of your pieces filled in you can group them by color if you're going to paper piece or cut on vinyl. Click here for an in-depth tutorial on how to cut multi-color designs all at once.
Print and Cut
Grab each piece of the design and move it into place to create the original design. If an object is behind and you need to bring it forward - Select Object > Right Click > Bring Forward/Send to Back/Send Backward/Bring to Front to get it to layer correctly.
Once everything is in position, click on the cut settings tool. You'll notice there are cut lines all over this design which means you'll end up with about 35 different pieces. That's no good for a print and cut since you want one solid piece...and since your bird may want his beak and legs and wings. ;)
Note: This post may contain affiliate links. By clicking on them and purchasing products through my links, I receive a small commission. That's what helps fund Silhouette School so I can keep buying new Silhouette-related products to show you how to get the most out of your machine!
Thanks for coming to class today at Silhouette School. If you like what you see, I'd love for you to pin it!


.png)


This site is excellent and so is how the subject matter was explained. I also like some of the comments too. Looking forward to your next post...
ReplyDelete