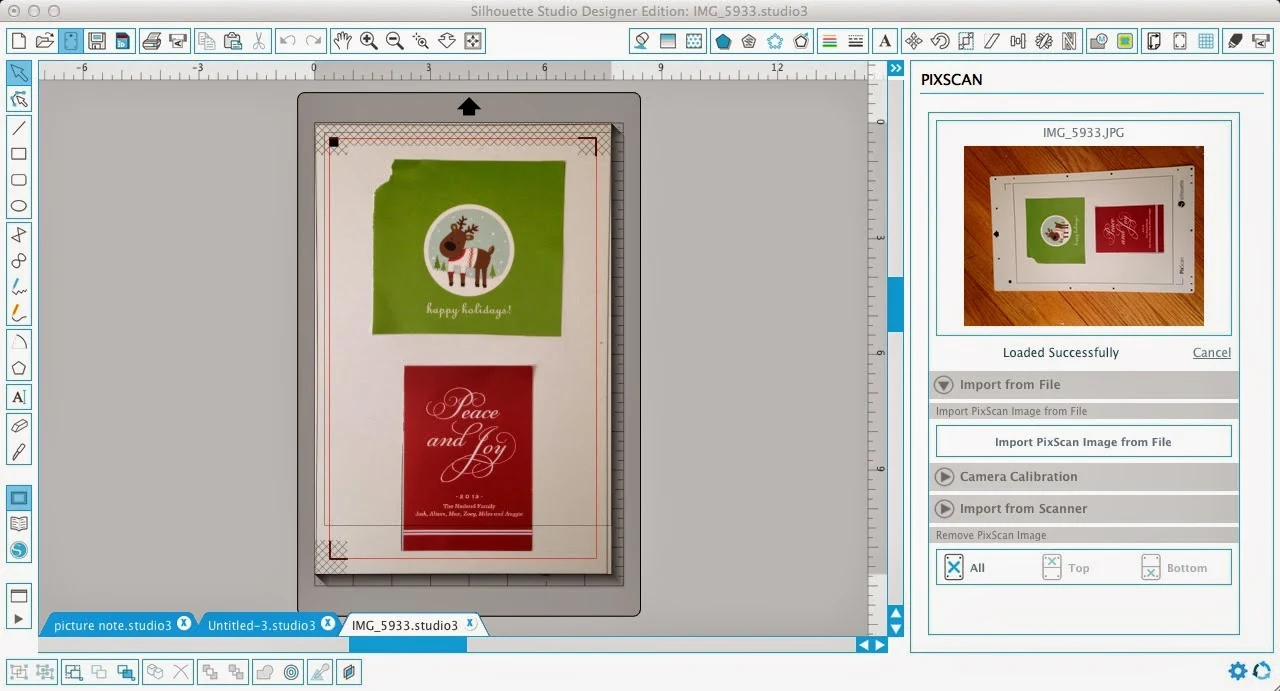
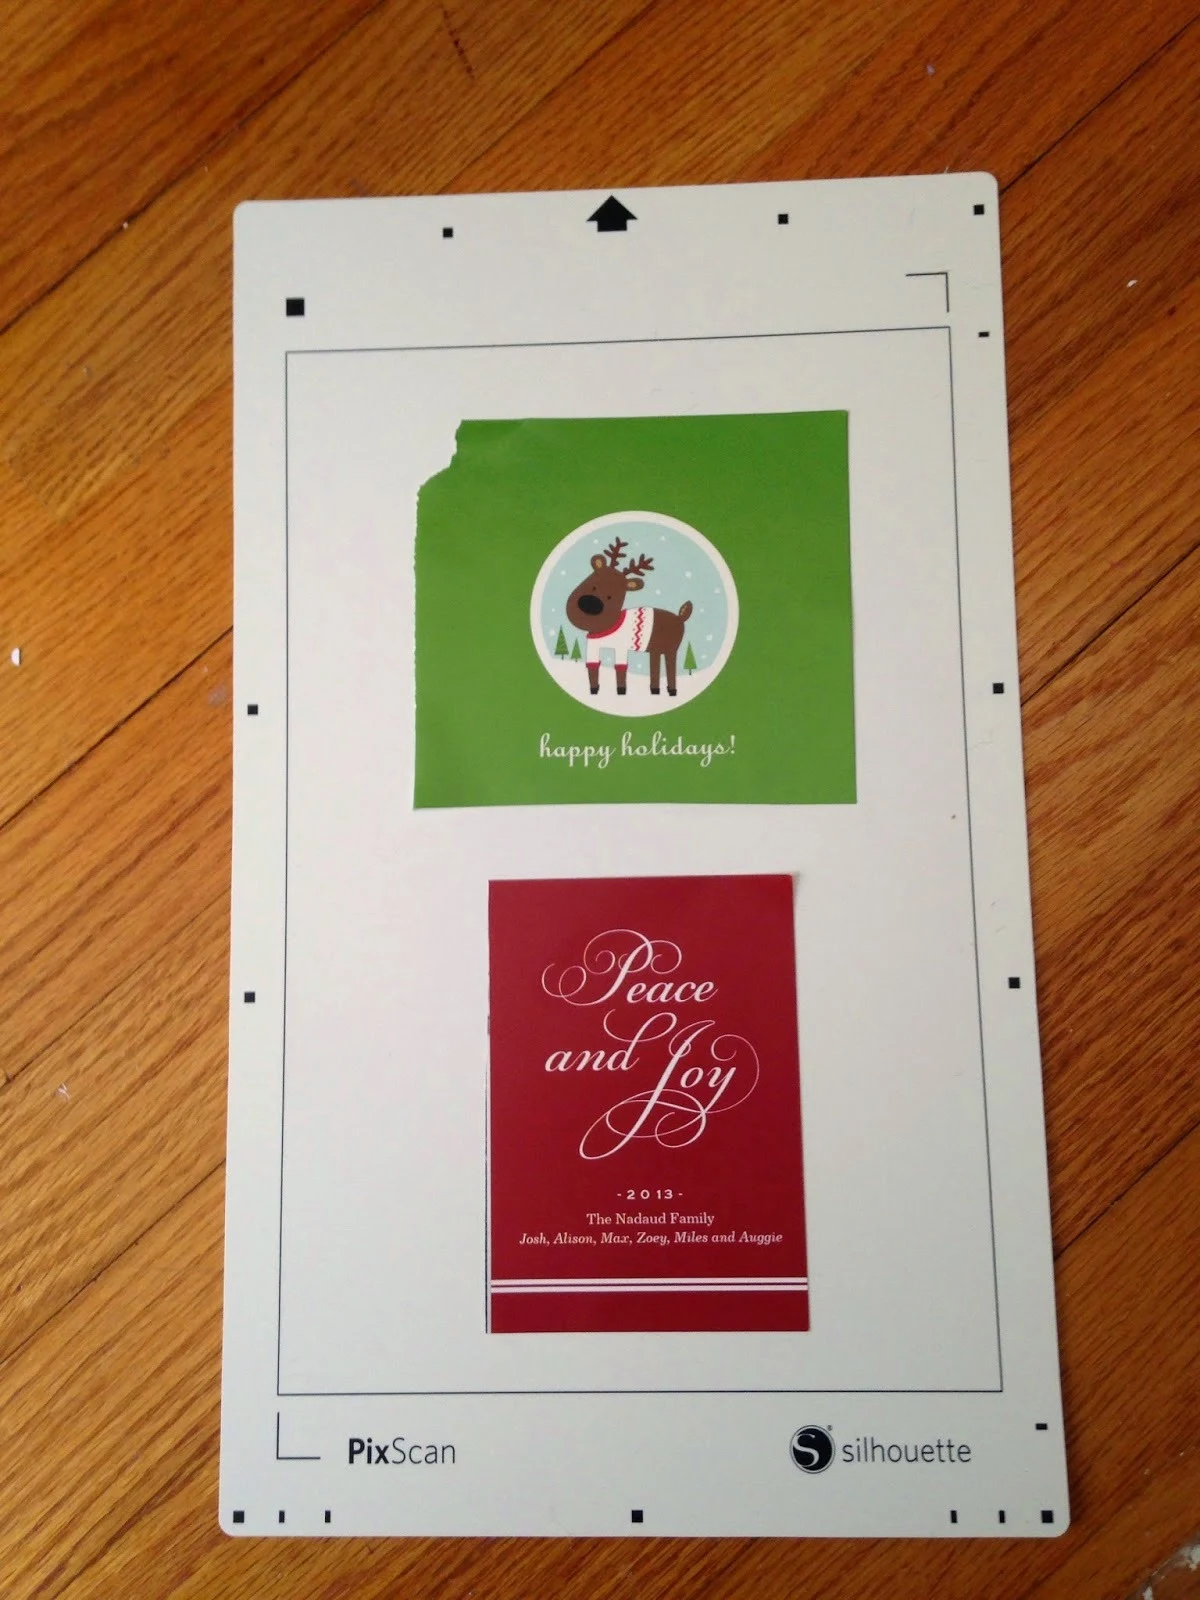
Last week I shared a beginner-level tutorial on how to use the newly released Silhouette PixScan Mat. If you didn't catch it, read through it here before you go any further as this tutorial will build off the basics.
Now that you understand the basics about using the PixScan technology let's about customizing your designs. In this example, I'm going to upcycle Christmas cards we received last year into gift tags for this year. Don't add the ribbon hole and you can have beautiful new sentiments for paper crafts like scrapbooking or cards!
The very reason I hung onto all.these.cards (much to my husband's eye rolls) was to do this sort of thing - only at the time PixScan hadn't been released yet and I hadn't figured out a way to easily cut out the designs and sentiments form the cards that I wanted. Well, Silhouette America must have been reading my mind because PixScan makes this super duper easy.
I'll skim through the basics here since I'll be repeating myself.
- Place card in the middle of the mat
- Snap picture of the entire mat with card on it
- Import photo onto the computer use the PixScan tool to bring into Studio

- Trace the area to cut
For this project I wanted to cut out the sentiment "Peace and Joy" so I could turn it into a gift tag. When I traced the image in Studio, the software put the trace line right around the text as would be expected. But if I cut like this I'll get a whole bunch of letters and that's not what I want.
So I made an offset (tool is circled) of the cut line. I made it large enough that when it automatically welded I would be left with just one large cut line creating a border around my entire sentiment.
Once you get it separated, delete the original trace and move the offset around your image.
To finish up my gift tags, I used the 'Draw a Circle' tool to draw a small circle and place it near the top of the gift tag. This is where my ribbon will be looped to tie onto the gift.
Now I continue on like normal by placing the PixScan mat into my machine and sending it to cut.
The machine uses the registration marks on the mat to know exactly where to cut on the pre-printed image - in this case, a card.
And that's how you can get more out of your PixScan projects...
Of course there are tons of ways to use the PixScan technology to cut pre-printed papers, fabrics, and designs. How have you used Silhouette's PixScan mat?
Note: This post may contain affiliate links. By clicking on them and purchasing products through my links, I receive a small commission. That's what helps fund Silhouette School so I can keep buying new Silhouette-related products to show you how to get the most out of your machine!
Thanks for coming to class today at Silhouette School. If you like what you see, I'd love for you to pin it!


.png)


After reading this great tutorial-I really want (maybe even "need") a PicScan Mat.
ReplyDeleteI am not sure exactly what I am doing wrong but I have stickers from a scrapbook kit that I want to cut chipboard to make them stand out more but when I use the pixscan the picture comes up perfect but when I trace it won't read the lines as a whole its a line here and a line there. So then I tried to put it onto the chipboard first and retook the picture and the same thing happened. Can you tell me what I am missing to get it to work on them
ReplyDeleteRegarding redeeming google play gift card codes, I could only say that we could only redeem them if we have any google play card and after scratching it the code will reveal and we could use that google code to take some discount.
ReplyDeleteI noticed that on the 'peace and joy' that you cut out that it cut too close on the right side of your image and too far on the left--not centered like you told it to. My pixscan cuts too far on the right and too close on the left--every single time. I've tried calibrating, contacting Silhouette, putting my mat in a little to the left, my mat is still very sticky so the paper is not moving... Any ideas?
ReplyDelete