I'm still on vacation and so I'm thrilled to welcome yet another sub to Silhouette School! Meet my fellow-Portrait user...Rachel from Architecture of a Mom.
Hi Silhouette School Students! My name is Rachel and I can typically be found over at Architecture of a Mom. I'm an architect and a mom, and I write about crafts, recipes, and raising 3 little girls, two of whom are twin preschoolers!
Since I'm so addicted to using my Silhouette Portrait, Melissa asked me to substitute teach here at the Silhouette School and share an amazing technique (at least to my simple mind) using your silhouette and etching cream. Did you know that you can etch tile with etching cream? That's what I did to make these awesome nautical tile coasters.
I'll pause a minute and repeat while that sinks in. You can
etch tile with etching cream, not just glass.
Now that you've picked yourself off the floor and recovered
from the shock, let's cover what I'm talking about.
I have done this project two different ways. I have etched
glass tile--glass etching cream works wonderfully on these tiles, which are
basically glass that has a tinted film on the back. I made monogrammed tile coasters a while back for my sister, and they turned out wonderfully!


The other way to etch tile may come as a surprise. You can etch
smooth glossy glazed tile. These are the tiles you often see as backsplashes in
kitchens and may find in showers or on bathroom walls.
How does this work? When you glaze clay, the glaze actually melts and becomes a glass-like substance. The words "glaze" and "glass" are even related etymologically! The etching cream actually works to kind of microscopically rough up that reflective, glossy surface—be it glass or glaze. (As a side note, matte or textured tile, such as you would see on a floor, will likely not etch well at all—what you see when something is etched is the difference between the gloss and the microscopic roughness of the etching.) Basically, tile that looks like this will etch nicely:
How does this work? When you glaze clay, the glaze actually melts and becomes a glass-like substance. The words "glaze" and "glass" are even related etymologically! The etching cream actually works to kind of microscopically rough up that reflective, glossy surface—be it glass or glaze. (As a side note, matte or textured tile, such as you would see on a floor, will likely not etch well at all—what you see when something is etched is the difference between the gloss and the microscopic roughness of the etching.) Basically, tile that looks like this will etch nicely:
So here's what I did to
make some Nautical Etched Tile Coasters:
I selected some shapes
in my Silhouette Library. I wanted some sea-themed images. I tweaked my shapes
slightly to fit the exact look I was going for, but you could really just use
any shape you want. I have found that simple shapes work best--less chance to have your etching impacted by a bubble in the stencil material be it contact paper, Silhouette stencil material, or vinyl.
Cut out your shapes with
your Silhouette into your stencil material. I used the Silhouette etching stencil vinyl, but you
can use any kind of vinyl. Make sure that your tiles are squeaky clean and dry.
(I use rubbing alcohol to make sure none of the oils from my hands are left on
the tile.)
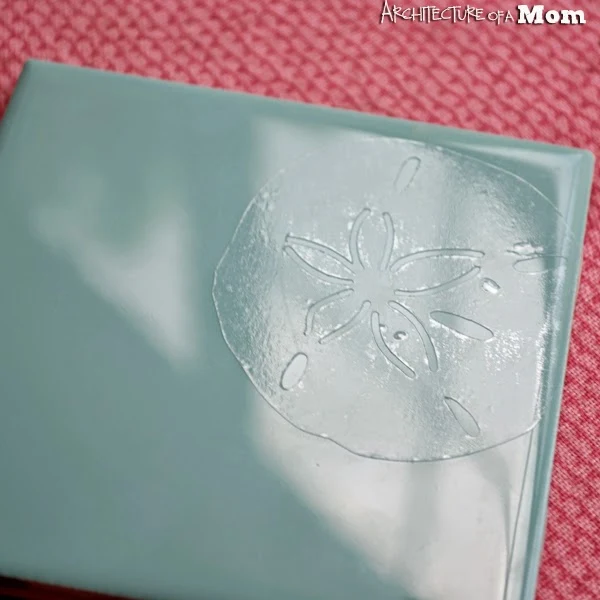
Apply the vinyl and make sure you have as few bubbles as possible, and none at the edges of your vinyl.
Apply the vinyl and make sure you have as few bubbles as possible, and none at the edges of your vinyl.
Apply your etching
cream.
And that's it! I hope you enjoyed my etched nautical coasters on glazed tiles.
If you did, you should check out my other Silhouette projects over at Architecture of a Mom...I have almost 30 projects that will inspire you! Here are a couple of my favorite etching projects:
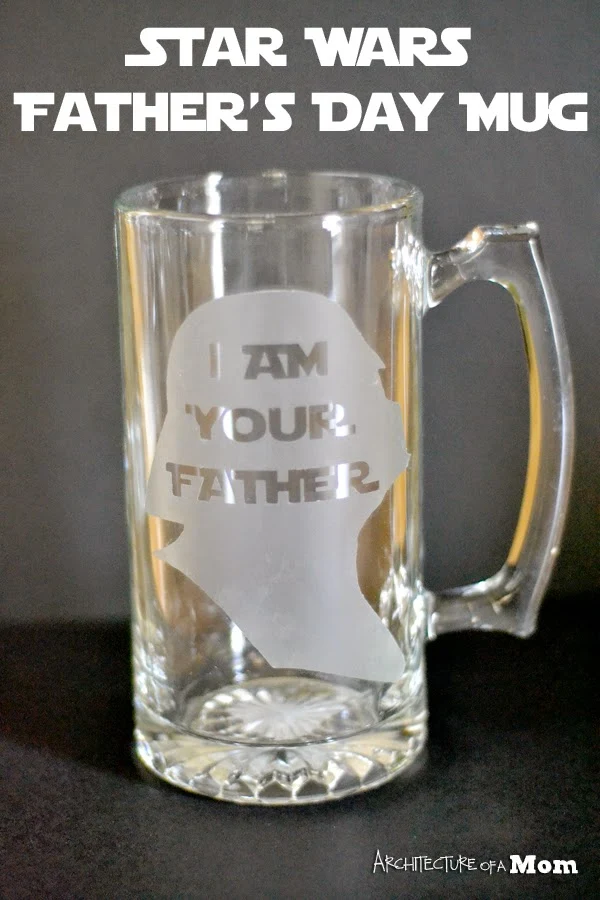
I Am Your Father Star Wars Mug
and of course, the Etched Glass Tile Monogram Coasters I already mentioned!
Thanks again for letting me substitute teach!
Follow the instructions of the cream. Be sure to apply in a well
protected, well ventilated area. Remove the cream after the required time,
rinse, and then remove the vinyl.
Use adhesive furniture protective bumpers on the bottom of the coasters to prevent the tiles from scratching table surfaces. You can find these at any big box store, and in most dollar stores, too.
And that's it! I hope you enjoyed my etched nautical coasters on glazed tiles.
I Am Your Father Star Wars Mug
and of course, the Etched Glass Tile Monogram Coasters I already mentioned!

If you'd like to guest post on Silhouette School...apply to sub!


.png)


do I need to seal the tile I have etched? Or can I stain the etched tile?
ReplyDeleteThis comment has been removed by a blog administrator.
ReplyDeleteI would have never thought of etching tile. Thank you they look great.
ReplyDeleteYou did a great job. Thank you for sharing your project with me.
ReplyDelete