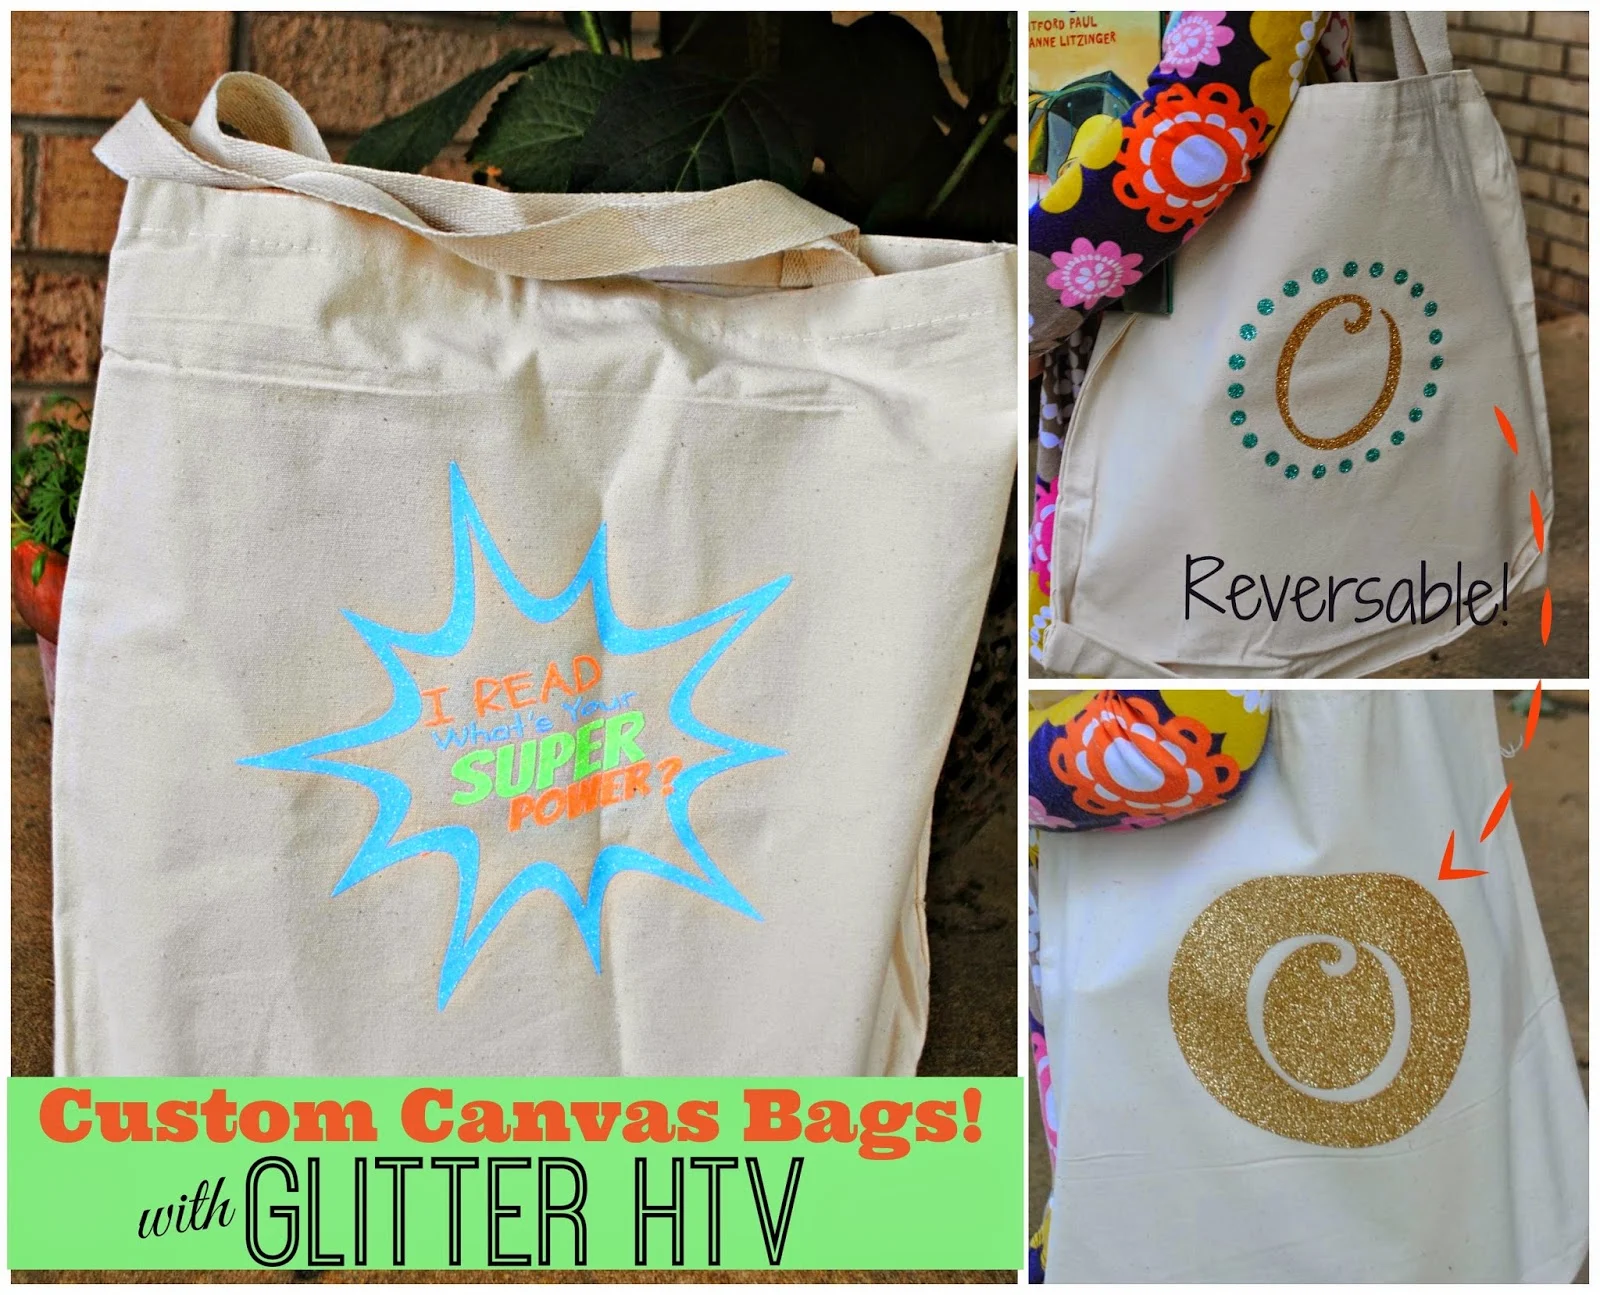
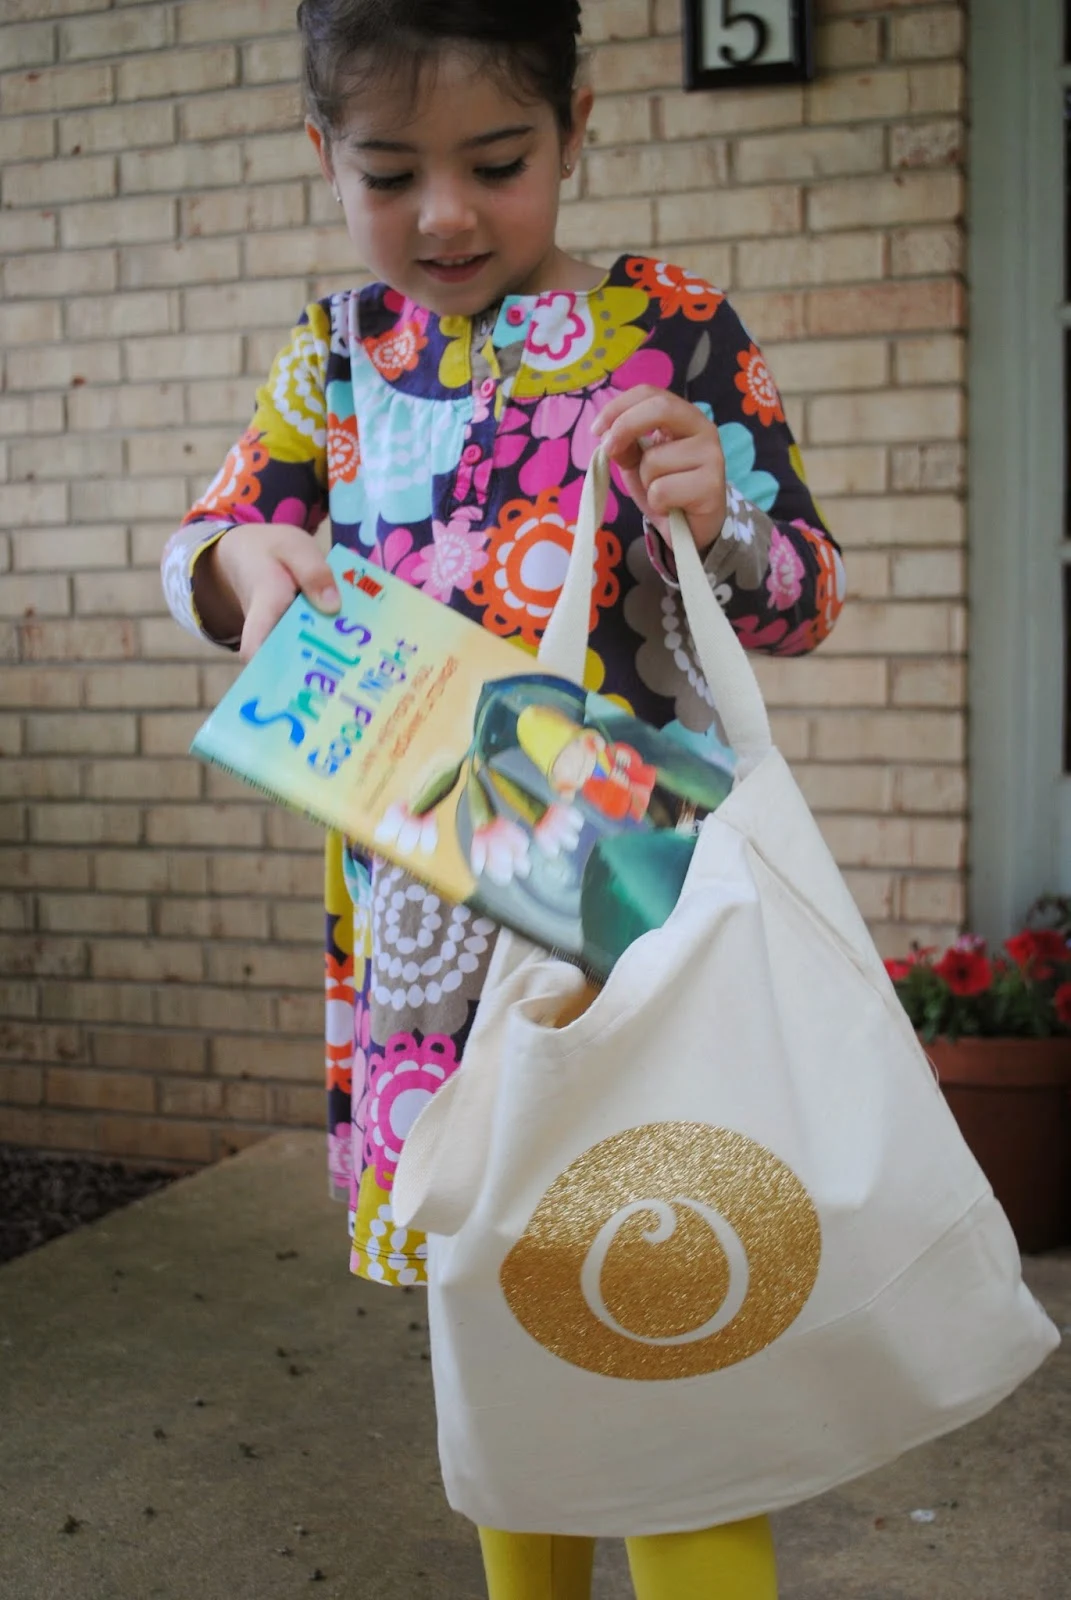
I know what I could ask for: school to start (kidding, of course)! Let's just say we're a week into summer and the kids are already looking at me like "What now, Mom?" about every half hour. Thankfully our local library is only a few minutes away and the kids are always up for picking up some new books and DVDs. I thought I'd made it easy on us by making each of them a personalized book bag to carry their loot.
I picked up the canvas bags as the craft store for just $2 each. Then I got to work customizing them with glitter heat transfer vinyl from Expressions Vinyl. Expressions Vinyl has a huge selection of vinyl and tons of colors in the new glitter sheets. I went with teal and gold glitter HTV for my daughter's bag (and a mini matching bag for her American Girl) and neon blue, green, and orange glitter HTV for my son's superhero-inspired bag. If you're an HTV newbie, check out the basics tutorial here since we will touch on the steps, but not go into too much detail here assuming you have read the Heat Transfer Vinyl 101 lesson.
I started by creating the designs for the bags in Silhouette Studio. For my 3 year old son's bag I used a design from PicMonkey that looks like the traditional superhero 'BAM'. If you're not sure how to bring a design from PicMonkey into Studio, check out the tutorial here. After I traced the design I added the text "I Read What's Your Super Power?". Then I mirrored the design since it included text! I've included the free .studio cut files below for you to download if you're interested....just remember, as always, these are for personal use only.
Since I wanted to cut each of the pieces on different color vinyl, I used the fill tool to fill in the designs and text according to the color of vinyl it would be cut on. This is just my way of reminding myself what designs should be cut on each piece of vinyl. I highlighted the BAM and the second line of text and from the Cut Style menu select "Cut". The rest of the design is set to "No Cut" since I will be cutting them out of other colors.
Now that my design is ready, I can start preparing the vinyl. I started by cutting the large 'Bam' on the blue neon glitter HTV. The vinyl comes in 12 x 12" sheets, but I have the Portrait, so I had to trim it down to fit in the machine and on the mat. It's not necessary to use the mat when you cut vinyl, but I like to when I can so I loaded the vinyl on my mat with the shiny side (glitter side) down. The neon colors have a white foam-like backing on them - that's the side that should be facing up when you cut. The gold and teal have a clear backing, but you should be able to tell which is the shiny side.
When your glitter HTV is ready, go back into Studio and from the Cut Settings window scroll down to choose your medium. This was kind of trial and error. I originally tried cutting on the smooth Heat Transfer Vinyl settings, but the glitter HTV wasn't cut through. I ended up upping my blade depth to a 5, thickness 17 and slowed down the speed slightly. Depending on the love you give your blade...I use mine daily...you may also need to double cut.
Now load your mat, with the glitter Heat Transfer Vinyl on it, into the machine and cut. Once it's finished cutting you should be able to see the cut lines on the back of the HTV.
Remove it from the Silhouette and now it's time to weed. Remove the excess vinyl from around your design, but keep the actual design on the backing. I put the blue 'bam' on the bag first.
Then I cut all the text and positioned it. The nice thing about HTV is you can move it around to get the design in the exact spot you need it without worrying the vinyl will stick. Once it's how you like it, you can iron it all at once...just be sure you iron onto the bag and not onto another piece of backing. You may find it easier to iron down one piece of text at a time.
With my iron on the Cotton setting (no steam) I placed a thin sheet of fabric between the vinyl and the iron and then pressed down on the design with my iron for 1 minute. The backing was easily removed leaving the glitter HTV in place.
If any areas are being stubborn and now lying flat, you can run back over them with the iron to set them. I repeated this process until the entire design was on the bag.

My biggest concern was whether the glitter would rub off or if the little bit that's left on the backing after weeding would be left on the fabric when ironing on the design, but it's not.
The biggest downfall of the gold and teal glitter htv is the backing itself, not the vinyl. Some of the glitter HTV sheets (other than the neon colors) have a clear backing that make it extremely difficult to see the cut lines.

But I had to modify the larger bag slightly since I didn't have enough gold glitter vinyl to cut another large circle. The large circle with the monogram cut out on the other side of the bag is just the negative space that was left after I weeded. I didn't want to waste all that perfectly beautiful gold glitter vinyl so I made her bag two-sided. I actually think I like that side better than my original design :) The gold glitter really makes it pop.
Now I know you're just drooling over all that glitter HTV, aren't you?!

Note: This post may contain affiliate links. By clicking on them and purchasing products through my links, I received a small commission. That's what helps fund Silhouette School so I can keep buying new Silhouette-related products to show you how to get the most out of your machine!
Thanks for coming to class today at Silhouette School. If you like what you see, I'd love for you to pin it!


.png)


Just did my first heat transfer vinyl with expressions black siser glitter and worked perfectly. Thanks for your tutorials!!!
ReplyDeleteimpressive blog. click here to know more about heat.
ReplyDeleteThanks a lot for the purpose of amazing advice showing to this very blog page. All people decide. I'm certain very happy to search out this amazing internet site.
ReplyDeleteAssignment Help
That was really amazing and marvelous post that you have shared here, thanks for sharing this post with us assignment writer is the best service provider of assignment for many of the clients.
ReplyDeleteAs always great tutorial! I love glittery HTV BUT it is killer on the eyes with that clear backing!!
ReplyDelete