Have you ever cut a design with lots of little pieces that all need to be cut on different colors or patterns of paper? There's no need make various cuts, you can actually do it with just one cut - the secrets in the set up.
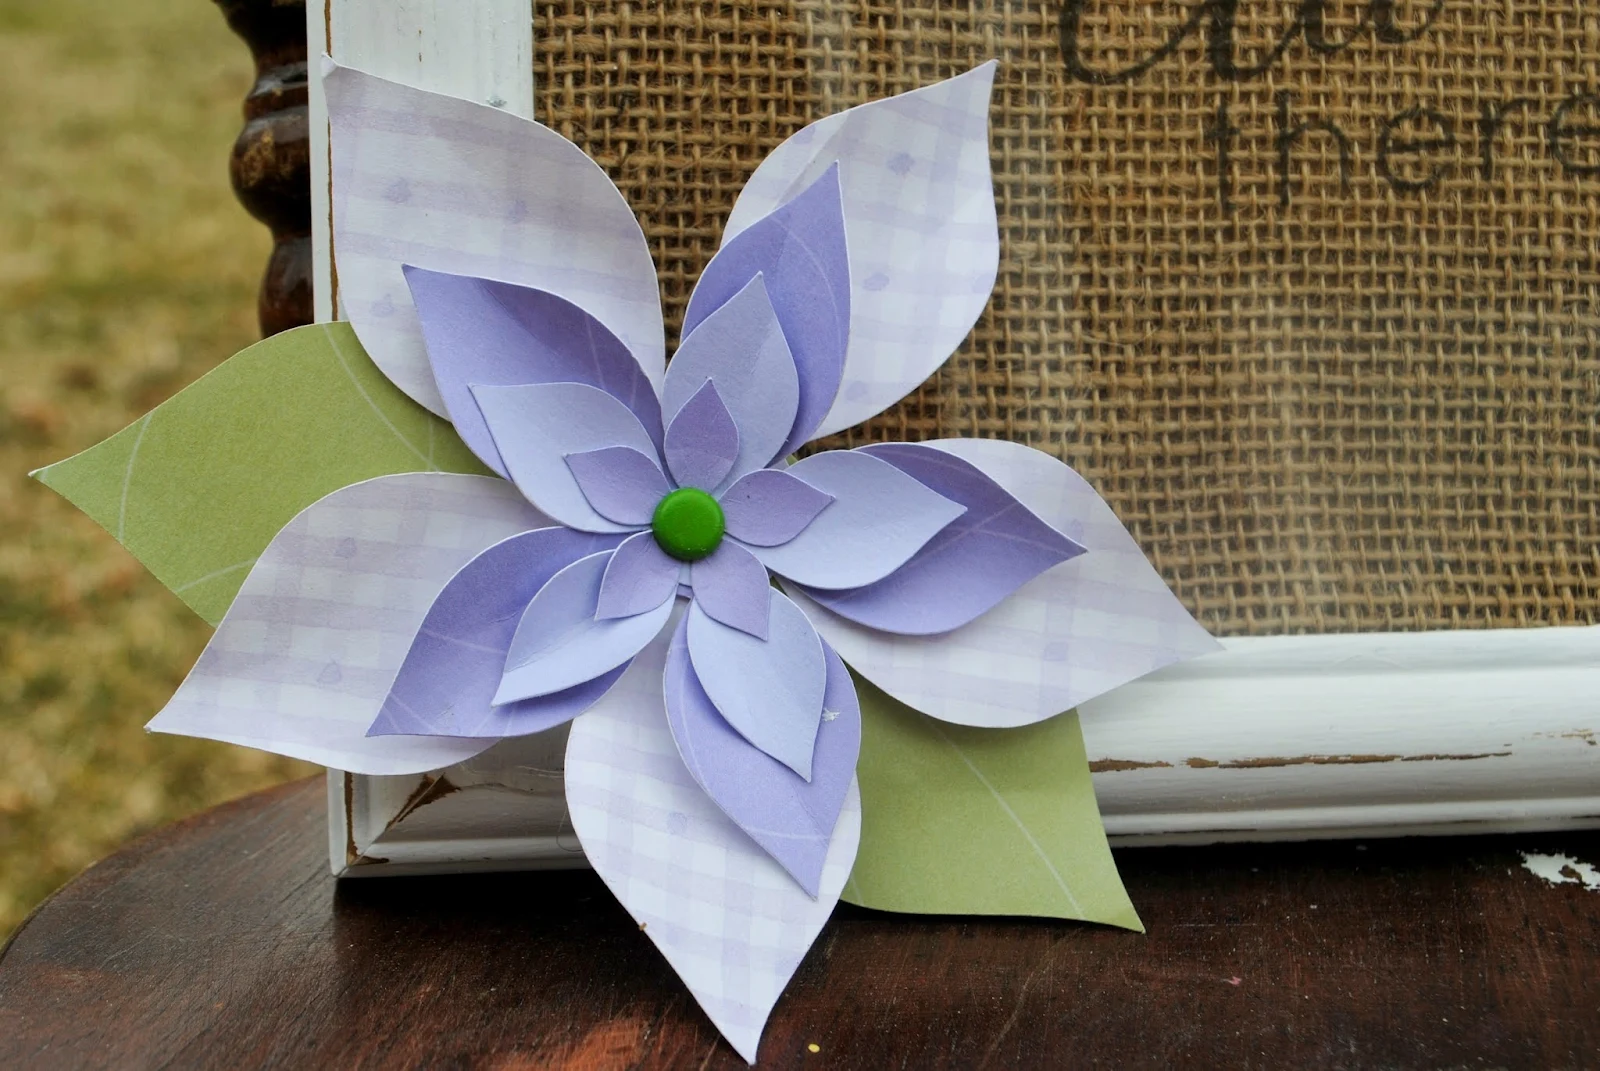
I recently made these 3D paper flowers.
I used the same flower design in four different sizes on four different papers so the flower had a layered look. Since all four of my flowers fit in one work area I didn't want to have to make four different cuts. I only wanted to do one pass even though I was using four different patterns of paper.
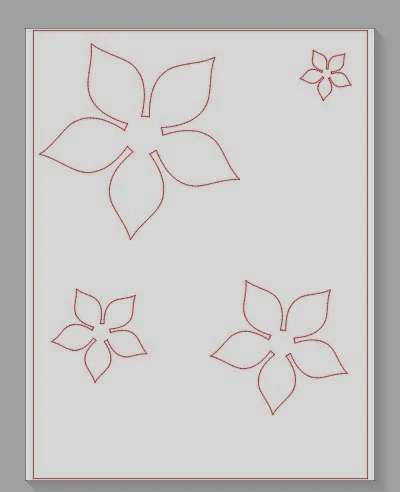
Here's how my design looked once I was finished with it.
Before I cut it, I revealed the cutting mat. This will show me exactly where to place my paper. To do this click the "Open the Page Tools Window." Then slide the bar to reveal the cutting mat. The grid that is revealed is identical to the cutting mat.
You can see that the large flower in the top left is 5 boxes wide and 6 boxes tall. The piece of paper that I want that flower to cut on must cover those exact boxes on my mat. I like to give myself a little room, even though I have found my Silhouette to be very precise.
I do the same measurements for each of the other three flowers and place their paper on the coordinating boxes on my cutting mat.
If you have the room it is helpful to spread your design out a bit, but if you have a lot of pieces, it's definitely not necessary. Just make sure designs aren't sharing boxes unless they are to be cut on the same paper.
Now just send your design to cut and in one foul swoop you'll get all of your design elements.
(This photo is obviously
from another cut - sorry forgot to snap a photo of the purple flower, but it's the same
design and the same placement).
And that's all there is to it. See those grid marks do come in pretty handy sometimes, don't they?
For the full tutorial on making these 3D paper flowers click here.
Thanks for coming to class today at Silhouette School. If you like what you see, I'd love for you to pin it!
Get Silhouette to Cut on Different Paper in One Cut (Fail Proof)
Monday, March 17, 2014
Labels:
Basics,
Craft Ideas,
How to,
How to...,
Paper Crafts,
Shortcuts,
Silhouette CAMEO Beginner Tutorials,
Silhouette Crafts,
Silhouette Studio,
Tips & Tricks,
Tutorials
loading..
5 comments
Thanks for leaving a comment! We get several hundred comments a day. While we appreciate every single one of them it's nearly impossible to respond back to all of them, all the time. So... if you could help me by treating these comments like a forum where readers help readers.
In addition, don't forget to look for specific answers by using the Search Box on the blog. If you're still not having any luck, feel free to email me with your question.
Subscribe to:
Post Comments (Atom)


.JPG)

.JPG)


.png)


I have done this on as little as a 1" x 2" scrap of paper. It's pretty much amazing! I just used a tiny piece of tape to secure it, so the scrap wouldn't wiggle around at all. It works like a charm!
ReplyDeletewhat size matt did you use it looks larger than a 12 by 12
ReplyDeleteIt's actually smaller than 12x12 - that is a portrait mat.
DeleteI am about to purchase a Cameo and want to use it to make greeting cards. This is where I get confused. How do you know what cut depth, speed, and thickness settings to use for papers?
ReplyDeleteThis comment has been removed by the author.
ReplyDelete