So you're ready to take the next step...and take Silhouette Print and Cut 102, I see! Good for you. The Print and Cut Tutorial for Beginners is where I recommend you begin if you haven't worked with print and cut files on your Silhouette yet. Once you get the basics down, it's easy to move on and personalize and change Print and Cut files to get them exactly how you want them.
This post is going to basically be a continuation of the Basic Silhouette Print and Cut Tutorial so I'm going to assume you're familiar with the basics of printing and cutting. We're also going to be working with the same design that I used the first time around so it should look familiar.
Bring your Print and Cut design into the Silhouette Studio work area.
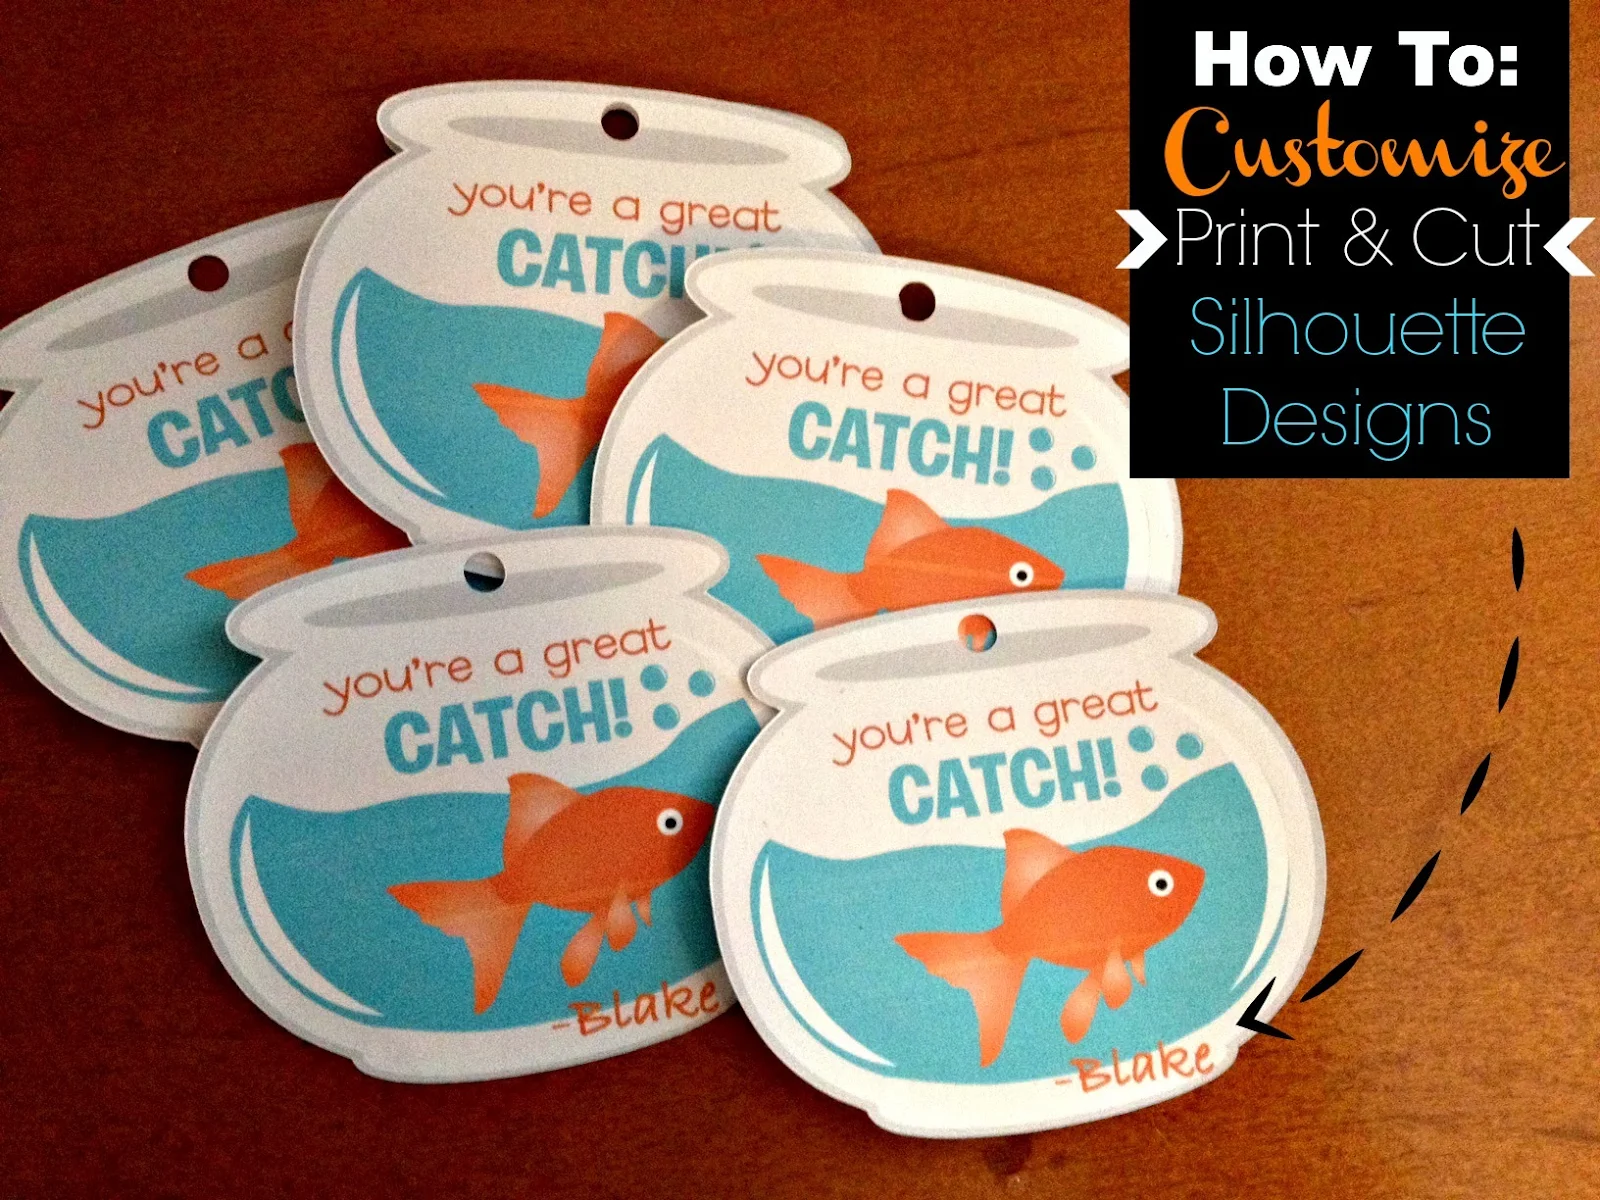
This is the design I used to make Valentine's for my son's pre-school classmates. I wanted to add his name to the tags. I wanted his name to be printed on the tags, but not actually cut out. So, if you're ready to do something similar, let's do this!
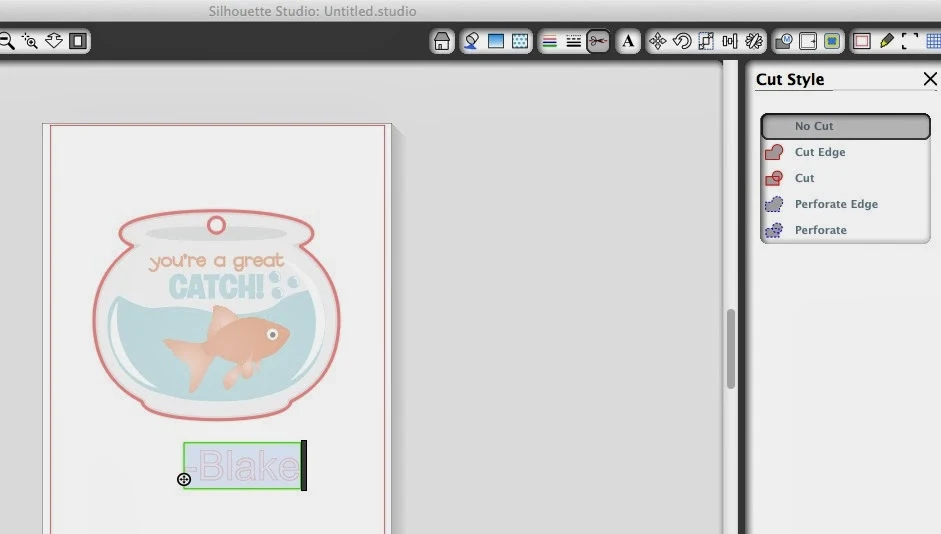
To add text to this I used the text tool and typed as I normally would. If I leave the text as it is now, the Silhouette will treat it as an area that needs to be cut. That's indicated by the red outline. But I don't want that. I want it to be solidly printed on the tag.
So to change this text to no cut I have to do three things:

2. Pick a text fill color - Click back on the name to get the box around it and select the 'Open the Fill Color Window' (circled in the photo below). Pick a color or use the color selector to color match from somewhere in the design. Now you're font is filled with color, but there is still a different color line around it.
3. Pick a line color - With the name still selected, click the 'Open the Line Color Window' (circled in the photo below) and pick a color for your text's outline.
Now highlight the entire design and the text you just added and group (select > right click > group) them together so they become one design.
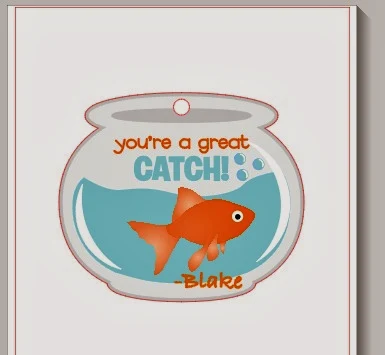
When you go to print and cut your design the name will be printed as part of the design, but the Silhouette will know not to cut out the text.
For the full 101 tutorial on how to Print and Cut with the Silhouette, click here.
Thanks for coming to class today at Silhouette School. If you like what you see, I'd love for you to pin it!


.png)


Good morning how do I transfer a design in Microsoft word to silhouette so I can print and cut?
ReplyDelete